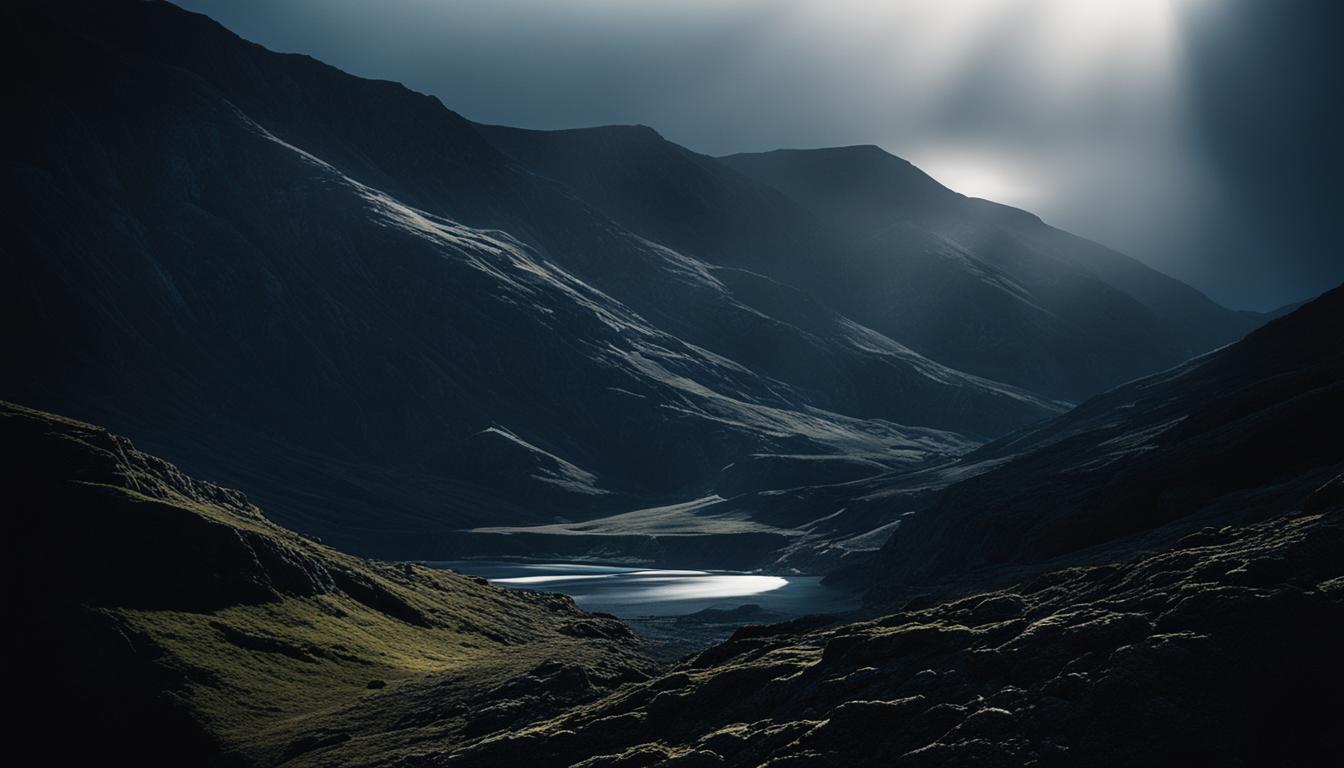
Welcome to our guide on low light photography tips! Capturing stunning images in challenging light conditions can be a thrilling and rewarding experience. Whether you’re shooting at twilight, in dimly lit interiors, or under the night sky, understanding the techniques for shooting in low light and challenging conditions is essential.
Mastering low light photography requires us to embrace the shadows and learn to work with the available light. In this article, we will discuss various techniques that will help you capture stunning images, regardless of the light conditions.
Exploring low light photography opens up a world of creative possibilities. With a solid understanding of exposure and the right approach, you can capture unique and compelling images that convey the mood and atmosphere of the scene. Let’s dive into the techniques that will take your low light photography to the next level.
Key Takeaways:
- Adjusting camera settings is crucial in low light photography.
- Embrace the available light and look for pockets of light to create interesting shadows and highlights.
- Experiment with different ISO, aperture, and shutter speed settings to achieve the desired exposure.
- Use external lights or reflectors to supplement the available light.
- Edit your low light images to enhance mood and minimize distractions.
How to Expose for Low Light Photography
When shooting in low light, it’s important to understand how to properly expose your images. While some photographers prefer to underexpose their images to match the dark atmosphere, there are other approaches to consider. By shooting as if you are capturing images in daylight and adjusting your settings accordingly, you can achieve optimal results even in challenging lighting conditions.
One of the key techniques in low light photography is utilizing the available light effectively. Look for pockets of light that can create interesting shadows and highlights in your composition. These pockets of light can add depth and dimension to your images, making them visually captivating.
To avoid motion blur in low light conditions, pay attention to your shutter speed. Keep it fast enough to freeze any movement in your subject. If necessary, increase the ISO setting to allow for a faster shutter speed.
Experimenting with different settings is essential in low light photography. Adjust your ISO, aperture, and shutter speed to achieve the desired exposure. By varying these settings, you can control the amount of light entering your camera and capture the perfect balance between highlights and shadows.
In challenging lighting situations, it’s often helpful to refer to the camera’s histogram. The histogram provides a visual representation of the distribution of tones in your image, allowing you to quickly assess the exposure and make necessary adjustments.
Pro Tip: When shooting in low light, don’t be afraid to push the boundaries of your camera’s capabilities. Experimentation is key to discovering new approaches and unleashing your creative potential.
Below is a table summarizing the key camera settings for shooting in low light:
| Setting | Recommendation |
|---|---|
| ISO | Choose a low ISO to minimize noise in your images. |
| Aperture | Use a wide aperture (low f-stop number) to let in more light and create a shallow depth of field. |
| Shutter Speed | Adjust the shutter speed to balance the exposure and freeze motion. Use a faster shutter speed to avoid blur. |
Remember, mastering low light photography takes practice and experimentation. By understanding how to expose for low light conditions and utilizing the proper camera settings, you can capture stunning images in even the most challenging lighting situations.
Tips for Adjusting Settings in Low Light Photography
When shooting in low light, adjusting your camera settings is crucial. By understanding the techniques for low light photography and the challenges it presents, you can capture stunning images even in difficult lighting conditions. Here are some tips to help you achieve the best results:
- Set a low ISO: Start by setting a low ISO to minimize noise in your images. This will ensure cleaner and sharper low light photos.
- Use a wide aperture: To let in more light and create a shallow depth of field, use a wide aperture. This technique can enhance the visual impact of your low light shots.
- Adjust your shutter speed: Finding the right balance between exposure and freezing motion is essential in low light photography. Experiment with different shutter speeds to achieve the desired effect.
- Consider shooting in RAW format: Shooting in RAW format gives you more control over editing and minimizes noise. It allows you to make adjustments to exposure, white balance, and other settings in post-processing.
- Use external lights: When shooting in low light conditions, supplementing the available light with external lights can greatly improve the quality of your images. This reduces the need for high ISO settings and minimizes noise.
- Adjust your white balance: Accurate colors are crucial in low light photography. Take the time to adjust your white balance settings to achieve the desired color accuracy in your low light images.
By using these techniques and adjusting your camera settings accordingly, you can overcome the challenges of shooting in low light and capture stunning photos that truly stand out.
“Adjusting camera settings appropriately is key to capturing great low light images. By setting a low ISO, using a wide aperture, adjusting the shutter speed, shooting in RAW format, utilizing external lights, and adjusting the white balance, you can overcome the challenges of shooting in low light and achieve remarkable results.”
Tips for Shooting in Challenging Lighting Conditions
Challenging lighting conditions, such as twilight, blue hour, nighttime, indoor low light, shadowed areas, and weather conditions, can present unique opportunities for capturing breathtaking images. As photographers, we have the ability to embrace these conditions and use them to our advantage.
Experimentation is key when shooting in challenging lighting conditions. Try different camera settings, angles, and light sources to create interesting and creative shots. Don’t be afraid to step out of your comfort zone and push the boundaries of what is possible. You never know what stunning images you may capture.
A tripod or other stabilization techniques can be invaluable when shooting in challenging lighting conditions. They help to minimize camera shake, ensuring sharp and focused images. Additionally, being mindful of the available light and adjusting your camera settings accordingly can greatly improve the quality of your photographs.
Remember, challenging lighting conditions offer unique visual effects that can add depth, mood, and drama to your images. By embracing these conditions and utilizing the tips mentioned here, you’ll be well-equipped to capture stunning photographs in any lighting situation.

The Power of Challenging Lighting Conditions
“Challenging lighting conditions provide photographers with an opportunity to explore their creativity and push the boundaries of what can be captured. Don’t shy away from the shadows or difficult lighting situations. Embrace them, experiment, and witness the magic that unfolds.” – Photographer Name
How to Minimize Grain in Low Light Photography
Grain or noise can be a common issue in low light photography. To minimize grain, it’s important to expose your images properly and avoid underexposure.
When shooting in low light, exposures are often longer, meaning more time for noise to creep into the image. By slightly overexposing your images and bringing the exposure down in post-processing if needed, you can minimize the visibility of grain.
“To minimize grain, slightly overexpose your images and bring down the exposure in post-processing if needed.”
Another important factor in reducing noise is shooting in RAW format. RAW files contain more data and give you better control over noise reduction during editing.
Furthermore, adjusting your ISO settings can significantly reduce noise. Use a lower ISO setting to minimize grain. While higher ISO settings may be necessary in extremely low light conditions, they tend to produce more noise.
Consider using a faster lens with a wider aperture to allow more light into your camera. This helps you achieve a proper exposure without having to increase your ISO too much.
Low Light Photography Tips Summary:
- Expose your images to the right to avoid underexposure
- Shoot in RAW format for better noise control in post-processing
- Use a lower ISO setting to minimize noise
- Consider using a faster lens with a wider aperture
By following these tips, you’ll be well on your way to minimizing grain and capturing stunning low light images.
Editing Tips for Low Light Photography
The editing process is an essential step in enhancing the quality of your low light images. By making strategic adjustments and applying various techniques, you can transform ordinary shots into extraordinary masterpieces. Here are some editing tips to help you bring out the best in your low light photos:
Lower the Exposure
When working with low light images, don’t be afraid to lower the exposure in post-processing to achieve the desired look. This adjustment can help enhance the mood and atmosphere of your photos, making them more visually captivating.
Play with the Tone Curve
Experiment with the tone curve tool to enhance contrast and deepen shadows in your low light images. By manipulating the curve, you can bring out subtle details and add depth to your photos, creating a more dynamic visual impact.
Consider Black and White Conversion
Converting low light images to black and white can be a compelling creative choice. By removing distractions caused by color variations, you can place greater emphasis on the mood, texture, and composition of your photos, resulting in more impactful and evocative imagery.
Clean up the Background
Use cloning or healing tools to remove any distracting elements or imperfections in the background of your low light photos. This technique helps ensure that the main subject remains the focal point and enhances the overall visual appeal of the image.
Experiment with Different Editing Techniques
Don’t be afraid to explore various editing techniques to discover what works best for your low light photography. From adjusting brightness and contrast to applying selective sharpening or noise reduction, each technique can help you achieve the desired aesthetic and overcome some of the challenges posed by low light shooting conditions.

Remember, the editing process is subjective, and it’s essential to develop your own style and artistic vision. With practice and experimentation, you’ll gain a deeper understanding of how to optimize your low light photos and create captivating visual narratives.
Conclusion
Mastering low light photography requires practice, experimentation, and a solid understanding of exposure. By adjusting your camera settings, embracing the available light, and utilizing post-processing techniques, you can capture stunning images even in challenging lighting conditions.
Don’t be afraid to push the boundaries and try new approaches. With time and experience, your low light photography skills will greatly improve, allowing you to capture unique and compelling images in any lighting situation.
Remember to keep practicing and exploring different techniques to enhance your low light photography. Embrace the shadows, experiment with camera settings, and make the most of the available light. Through dedication and a willingness to learn, you’ll develop the skills necessary to capture breathtaking shots in even the most difficult lighting conditions.
So, grab your camera and start honing your low light photography skills. Embrace the challenge, capture the beauty of the shadows, and let your creativity shine. With the right techniques and a passion for capturing the moment, you’ll be able to produce stunning low light images that will leave viewers in awe.
FAQ
What are some tips for shooting in low light and challenging conditions?
Embrace the shadows and learn to shoot in different light conditions. Understand exposure and use the available light effectively to capture stunning low light images. Experiment with adjusting settings, using the light you have available, and post-processing techniques to enhance your results.
How should I expose my images when shooting in low light?
Shoot as if you are shooting in daytime and adjust your settings accordingly. Use the light you have available and look for pockets of light to create interesting shadows and highlights. Keep an eye on your shutter speed to avoid motion blur. Experiment with different ISO, aperture, and shutter speed settings to achieve desired exposure.
What camera settings should I adjust when shooting in low light?
Start by setting a low ISO to minimize noise in your images. Use a wide aperture to let in more light and create a shallow depth of field. Adjust your shutter speed to balance the exposure and freeze motion. Consider shooting in RAW format for more control over editing and reducing noise. Use external lights to supplement available light and adjust your white balance for accurate colors.
What techniques can I use to shoot in challenging lighting conditions?
Embrace the unique visual effects of challenging lighting conditions and use them to your advantage. Experiment with different settings, angles, and light sources to create interesting shots. Consider using a tripod or stabilization techniques to avoid camera shake. Be mindful of the available light and adjust your settings accordingly.
How can I minimize grain in low light photography?
Properly expose your images and avoid underexposure to minimize grain. Expose to the right by slightly overexposing and adjusting the exposure in post-processing if needed. Shoot in RAW format for better noise control. Use a lower ISO setting and consider using a faster lens with a wider aperture to allow more light in. Avoid sharpening the overall image to prevent accentuating noise.
What are some editing tips for low light photography?
Lower the exposure in post-processing to achieve desired look. Use the tone curve to enhance contrast and deepen shadows. Consider converting images to black and white for emphasizing the mood. Clean up the background using cloning or healing tools. Experiment with different editing techniques to bring out the best in your low light photos.


