Food photography is a popular and in-demand subcategory of professional photography that requires a unique blend of technical skills, precise composition, and artistic flair. From delectable desserts to savory main courses, capturing stunning images of different types of food can be a challenging but rewarding endeavor. In this article, we will explore essential tips and techniques for shooting desserts, beverages, and main courses, along with valuable food photography advice and inspiration.
Key Takeaways:
- Learn how to capture the beauty of desserts, beverages, and main courses through food photography.
- Discover tips and techniques for shooting different types of food and enhancing their visual appeal.
- Explore food styling techniques and creative composition to elevate your photos.
- Find inspiration for capturing mouthwatering food presentation and culinary imagery.
- Master post-processing techniques to enhance your food photography.
Essential Equipment and Setup for Dessert Food Photography
When it comes to dessert food photography, having the right equipment and setup is essential to capture mouthwatering shots. As professional food photographers, we understand the importance of using the correct tools to showcase the deliciousness and exquisite details of desserts. Let’s explore the essential equipment and setup for dessert food photography to ensure you create captivating and visually appealing images.
Camera for Food Photography
A high-quality camera is the backbone of successful dessert food photography. Look for a camera that offers excellent image quality, autofocus capabilities, and the ability to perform well in low-light conditions. This will ensure that you can capture the intricate textures, vibrant colors, and enticing details of the desserts with precision and clarity.
Food Photography Lens
Investing in a suitable lens is crucial when it comes to dessert food photography. Opt for a lens with a focal length of around 35mm or 50mm, as these are versatile options for indoor or small space photography. These lenses allow you to capture intricate details while providing a flattering perspective that showcases the dessert’s beauty.
Tripod for Food Photography
To achieve sharp and blur-free images, a stable tripod is crucial. It helps eliminate camera shake, especially when shooting in low-light conditions or using slower shutter speeds. A tripod also provides stability and allows you to carefully compose your shots, ensuring every element in the frame is perfectly in place.
Food Photography Background
Choosing the right background is crucial to enhance the visual appeal of desserts in food photography. Consider using clean, minimalist backgrounds that allow the dessert to take center stage. You can also experiment with textured surfaces or props that complement the style, color, and theme of the dessert you’re photographing.
Food Photography Lighting
Proper lighting is key to capturing the true essence of desserts. Natural light is often the preferred choice as it provides a soft and flattering illumination that enhances the dessert’s appearance. However, you can also consider using artificial lighting such as softboxes or diffusers to control and manipulate the lighting conditions, ensuring a well-lit and beautifully illuminated dessert.
Food Photography Props
Props can add creativity and freshness to your dessert food photography. Choose props that complement the dessert’s theme, color palette, and overall aesthetic. From vintage cutlery to fresh fruits, flowers, or colorful toppings, the right props can elevate your composition and make your dessert images visually engaging and enticing.
With the right equipment and setup, you’ll be well-equipped to capture stunning images of desserts that make viewers’ mouths water. These essential tools and techniques allow you to showcase the intricate details, vibrant colors, and mouthwatering appeal of your dessert creations in the best possible light.
Tips for Capturing Scrumptious Dessert Shots
Shooting desserts requires specific techniques to capture their scrumptiousness and appeal. At the heart of dessert food photography is the ability to make viewers salivate with just a single image. To achieve this, we need to pay attention to every detail in order to create mouthwatering photographs that showcase the dessert’s texture, colors, and presentation.
Prepare the Dessert
Before diving into the photography process, it’s important to properly prepare the dessert. Ensure that it is fresh, visually appealing, and neatly plated. Take the time to remove any imperfections, such as crumbs or smudges, using a small brush or toothpick to tidy up the dish.
Styling is Key
When it comes to dessert styling, simplicity is often the way to go. Use complementary props that add a pop of color or enhance the dessert’s theme. Fresh fruits, edible flowers, or a dusting of powdered sugar can elevate the overall aesthetic. Remember, less is often more.
Choosing the Right Angles
Experiment with different angles to find the one that best showcases the dessert’s features. Try shooting from a high angle to capture the overall presentation, or get up close for an intimate perspective that highlights the details. Don’t be afraid to get creative and try unconventional angles that make the dessert stand out.
Capture Detail Shots
Detail shots are essential for dessert photography as they allow you to showcase the intricate elements of the dessert. Zoom in on the texture of a flaky crust, the oozy filling, or the layers of a decadent cake. These close-up shots provide a sensory experience and captivate viewers.
Get Creative with Framing
One way to add visual interest to dessert photography is through creative framing techniques. For example, frame the dessert within a window or doorway to create a sense of depth. Use leading lines to guide the viewer’s eye towards the main subject. Play around with negative space to emphasize the dessert and make it the star of the frame.
Remember, the goal of dessert food photography is to evoke emotions and sensations through texture, color, and garnishes. By implementing these tips and techniques, you’ll be on your way to capturing scrumptious dessert shots that leave viewers craving a taste.

Elevating Beverage Photography with Style and Composition
When it comes to beverage photography, capturing enticing and refreshing images requires careful attention to style and composition. By following these beverage photography tips, you can enhance the appearance and appeal of your drink photographs.
Beverage Styling
Styling and arranging your beverage plays a significant role in creating visually pleasing images. Experiment with different garnishes, such as fruit slices, herbs, or colorful straws, to add a touch of elegance and freshness to your composition. Use the beverage’s ingredients to your advantage and showcase them in a visually appealing way.
Glassware Selection
Choosing the right glassware is crucial to showcase the drink effectively. Different types of glassware can highlight various aspects of the beverage, such as its color, texture, and carbonation. Experiment with different glass shapes and sizes to find the perfect match for your drink.
Backgrounds for Beverage Photography
The background you choose sets the mood and enhances the overall composition of your beverage photography. Opt for backgrounds that complement the colors and theme of your drink. Consider using textured surfaces, wooden boards, or vibrant backdrops to add visual interest and depth to your images.
Lighting Techniques
The right lighting is crucial for capturing the appearance and texture of the drink. Natural light can beautifully illuminate the beverage, especially when shooting outdoors or near a window. Softbox or diffused artificial lighting can provide more control over the lighting conditions and help eliminate harsh shadows.
By utilizing these beverage photography tips for styling, glassware selection, backgrounds, and lighting techniques, you can elevate your drink photographs to a new level of visual excellence.
Techniques for Capturing Stunning Main Course Images
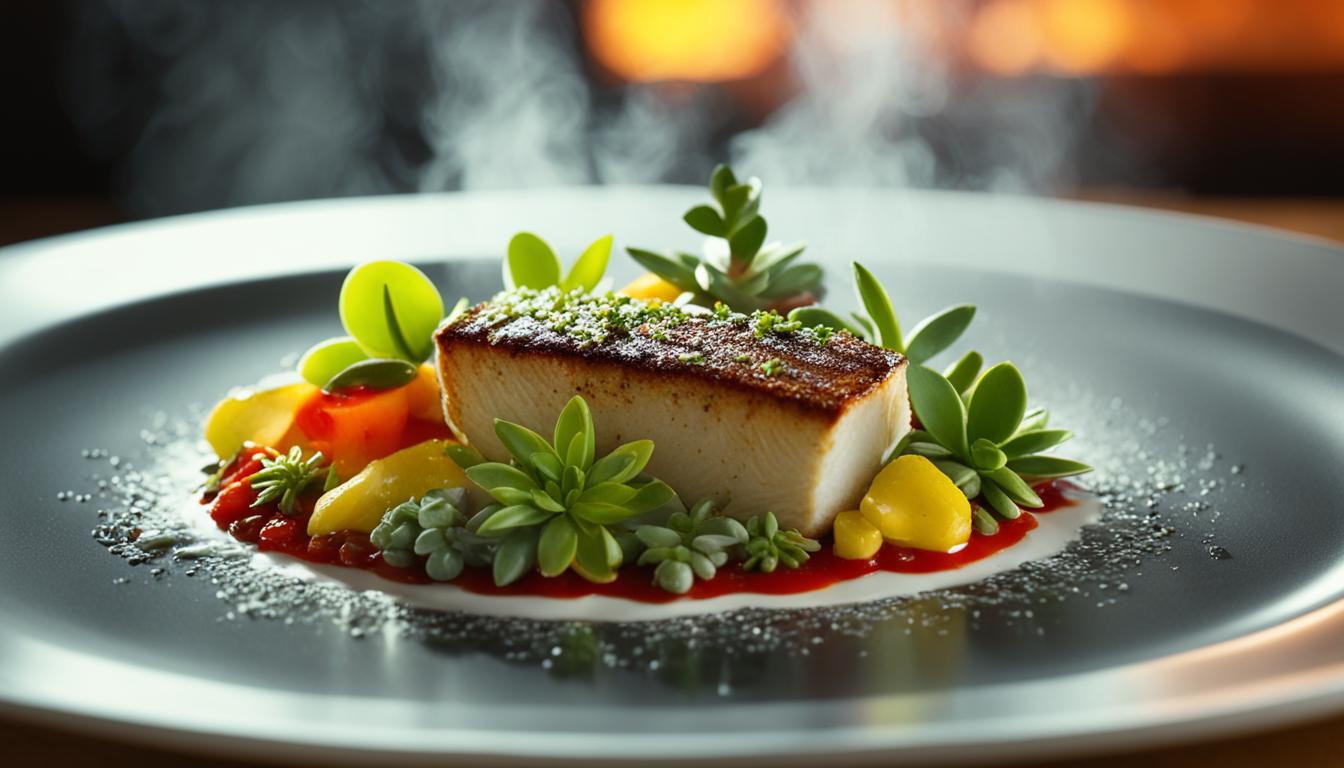
When it comes to creating captivating images of main courses, it’s essential to master various techniques that enhance the dish’s presentation and appeal. From perfecting plating techniques to selecting the right angles, here are some valuable tips that will elevate your main course photography:
1. Plating Techniques for Main Courses
Plating is an art in itself and can significantly impact the visual appeal of a main course. Consider the following techniques:
- Create visually appealing arrangements by arranging the main components of the dish thoughtfully.
- Use complementary colors to enhance the vibrancy and aesthetic appeal of the plate.
- Utilize negative space to bring focus to the main course and highlight its key elements.
2. Angle Selection
Choosing the right angle can make a significant difference in how the main course is perceived. Experiment with different angles to find the most flattering perspective:
- Shoot from a bird’s-eye view to showcase the entire plate and its intricate details.
- Capture side angles to emphasize the height, layers, and textures of the dish.
- Get close-up shots to highlight the finer details and textures of individual ingredients.
3. Action Shots
Action shots add dynamism and excitement to main course photography. Consider incorporating movement into your shots to bring the dish to life:
- Capture the process of drizzling sauce, sprinkling garnishes, or slicing meat for a visually engaging scene.
- Experiment with slow shutter speeds to capture the motion blur of pouring sauces or garnishing the dish.
- Shoot from different angles to capture the action from various perspectives.
4. Adding Depth with Props
Props can add depth and context to your main course images, elevating them to the next level. Here are some prop ideas to consider:
- Include complementary ingredients or spices that enhance the main course’s flavors.
- Add props that accentuate the theme or cuisine of the dish, such as rustic cutlery or traditional serving plates.
- Experiment with different textures and materials to create visually interesting compositions, like wooden boards or textured fabrics.
By applying these techniques, you’ll be able to capture stunning main course images that are not only visually appealing but also showcase the culinary artistry behind each dish.
The Importance of Food Styling and Composition
Food styling and composition are essential elements in food photography. They allow us to take ordinary meals and transform them into visually stunning works of art. By carefully arranging the food, playing with colors and textures, and incorporating props and garnishes, we can create captivating images that not only showcase the dish but also evoke emotions and tell a story through visual storytelling.
When it comes to food styling techniques, creativity is key. We can experiment with different compositions to find the most aesthetically pleasing arrangement for each dish. Whether it’s the use of leading lines or the rule of thirds, finding the right composition can greatly enhance the visual impact of the photograph.
The Art of Visual Storytelling
Food photography is not just about capturing a dish; it’s about creating an experience for the viewer. Visual storytelling allows us to convey the taste, aroma, and overall ambiance of the food. By carefully selecting props that complement the dish, we can transport the viewer to a specific time, place, or mood.
“Food styling and composition are the tools we use to capture the essence of a dish and make it come alive on screen. Like any form of art, it’s about creating a connection with the viewer and evoking emotions.”
Through strategic placement of props and garnishes, we can add depth, context, and visual interest to the composition. A simple sprig of fresh herbs or a sprinkle of colorful spices can make all the difference in enhancing the overall appeal of the dish.
Adding Creative Food Composition
Composition goes beyond just arranging the elements in a visually appealing way. It’s about adding layers, creating depth, and directing the viewer’s attention. We can achieve this by incorporating different elements such as plates, cutlery, and textures that harmonize with the overall theme of the dish.
The use of contrasting colors, shapes, and sizes can also add visual interest and create a dynamic composition. By strategically placing different components of the dish, we can guide the viewer’s gaze and highlight the most important aspects.
Utilizing Food Styling Props
Props are powerful tools in food styling. They can enhance the story we want to tell and provide visual cues to the viewer. For example, using vintage utensils can create a nostalgic feel, while modern and minimalist props can convey a sense of elegance and sophistication.
When selecting props, it’s important to consider their visual appeal and how they complement the dish. Props should not overpower the main subject but rather add to its overall aesthetic. By experimenting with different props, we can create unique and visually striking compositions.
Enhancing Food Photography with Post-Processing Techniques
Post-processing is an essential step in food photography to enhance the images and achieve the desired look. Through careful editing, we can bring out the vibrancy, details, and textures of the food, transforming it from appetizing to irresistible. In this section, we will explore various post-processing techniques, including color correction, exposure adjustment, and other editing tips, to take your food photography to the next level.
Color Correction
Color correction is a crucial aspect of post-processing that allows you to enhance the colors and tones of your food images. By adjusting the white balance, saturation, and hue, you can ensure that the colors accurately represent the dish while giving it a visually appealing look. Whether you want to make your cake look more vibrant or enhance the earthy tones of a veggie dish, color correction techniques will help you achieve the desired effect.
Exposure Adjustment
Proper exposure is key to capturing the details and textures of the food accurately. In post-processing, exposure adjustment enables you to balance the brightness and contrast to create a well-exposed image. You can correct underexposed or overexposed areas, emphasize highlights, and bring out shadows to add depth and dimension to your food photographs.
Other Editing Tips
- Sharpening: Enhance the clarity and details of your food images by applying selective sharpening techniques.
- Noise Reduction: Reduce digital noise in low-light images, ensuring a clean and professional look.
- Cropping: Use cropping to improve composition and eliminate distractions, focusing on the main elements of the dish.
- Retouching: Remove imperfections or unwanted elements in the frame through careful retouching techniques.
When applying these post-processing techniques, it is important to maintain a consistent editing style and workflow for a cohesive collection of food photographs. This will help establish your unique visual brand and ensure that your images stand out in a saturated food photography market. Experiment with different editing approaches to find a style that best represents your creative vision and highlights the deliciousness of the dishes you capture.

By embracing post-processing and mastering the art of editing, you can elevate your food photography, adding that final touch to create stunning, mouthwatering images that captivate viewers. The combination of well-executed photography skills and thoughtful post-processing techniques unlocks endless possibilities for creating compelling culinary imagery that leaves a lasting impression.
Conclusion
Mastering the art of shooting different types of food, from desserts and beverages to main courses, requires a combination of technical skills, creativity, and attention to detail. By following the tips and techniques shared in this article, photographers can elevate their food photography game and capture stunning images that evoke the taste, aroma, and visual appeal of the dishes.
Whether you’re a professional food photographer or an enthusiast looking to improve your skills, experimenting with different styles, compositions, and lighting techniques will help you create captivating culinary imagery. Remember to pay attention to details such as food styling, plating techniques, and prop selection to enhance the overall composition.
With the right equipment, setup, and knowledge, you can showcase the beauty and artistry of food through your lens. So grab your camera, get creative, and let your passion for food photography shine. Happy shooting!
FAQ
What is food photography?
Food photography is a subcategory of professional photography that focuses on capturing stunning images of different types of food, including desserts, beverages, and main courses.
What equipment do I need for dessert food photography?
Essential equipment for dessert food photography includes a high-quality camera, a suitable lens, a stable tripod, a well-chosen background, proper lighting techniques, and optional props.
What are some tips for capturing scrumptious dessert shots?
To capture mouthwatering dessert shots, tips include preparing the dessert for shooting, styling the surroundings or the dessert itself, choosing advantageous angles, capturing detail shots, using creative framing techniques, and evoking emotions through texture, color, and garnishes.
How can I elevate my beverage photography?
You can elevate your beverage photography by paying attention to style and composition. Tips include styling and arranging the beverages, selecting appropriate glassware, choosing suitable backgrounds, and utilizing lighting techniques to enhance the appearance and texture of the drink.
What techniques can I use for capturing stunning main course images?
To capture stunning main course images, techniques include mastering plating techniques, selecting the right angles, capturing action shots, and utilizing props to add depth and context to the composition.
How important is food styling and composition in food photography?
Food styling and composition play a significant role in food photography as they allow photographers to transform ordinary meals into visually stunning works of art. Creative composition, the use of props and garnishes, and the art of visual storytelling are all important aspects of food styling and composition.
What post-processing techniques can enhance food photography?
Post-processing techniques that can enhance food photography include color correction, exposure adjustment, and other editing tips to bring out the vibrancy, details, and textures of the food. Maintaining a consistent editing style and workflow is also essential for professional food photography.
What are the Best Desserts to Photograph for Food Photography Workshops and Courses?
When it comes to food photography workshops courses, the best desserts to photograph are ones with vibrant colors and interesting textures. Think decadent chocolate cakes, colorful macarons, or beautifully plated fruit tarts. These visually appealing desserts will help students practice their skills and create stunning images for their portfolios.


