Mastering the art of drone cinematography can elevate your filmmaking to new heights. In this comprehensive guide, we’ll explore essential drone cinematography techniques. From understanding drone features and mastering basic techniques to advanced tactics and post-production, you’ll learn the secrets of professional drone cinematographers.
Key Takeaways:
- Choose the right drone for professional drone photography, considering features, camera resolution, stabilization, and flight performance.
- Master camera settings such as shutter speed, aperture, ISO, and white balance for optimal footage.
- Utilize accessories like ND filters, extra batteries, and drone cases for enhanced cinematography.
- Learn basic drone cinematography techniques, including flight patterns, camera movements, and composition techniques.
- Improve your drone cinematography skills by planning and pre-visualizing shots, experimenting with creative ideas, and exploring niches.
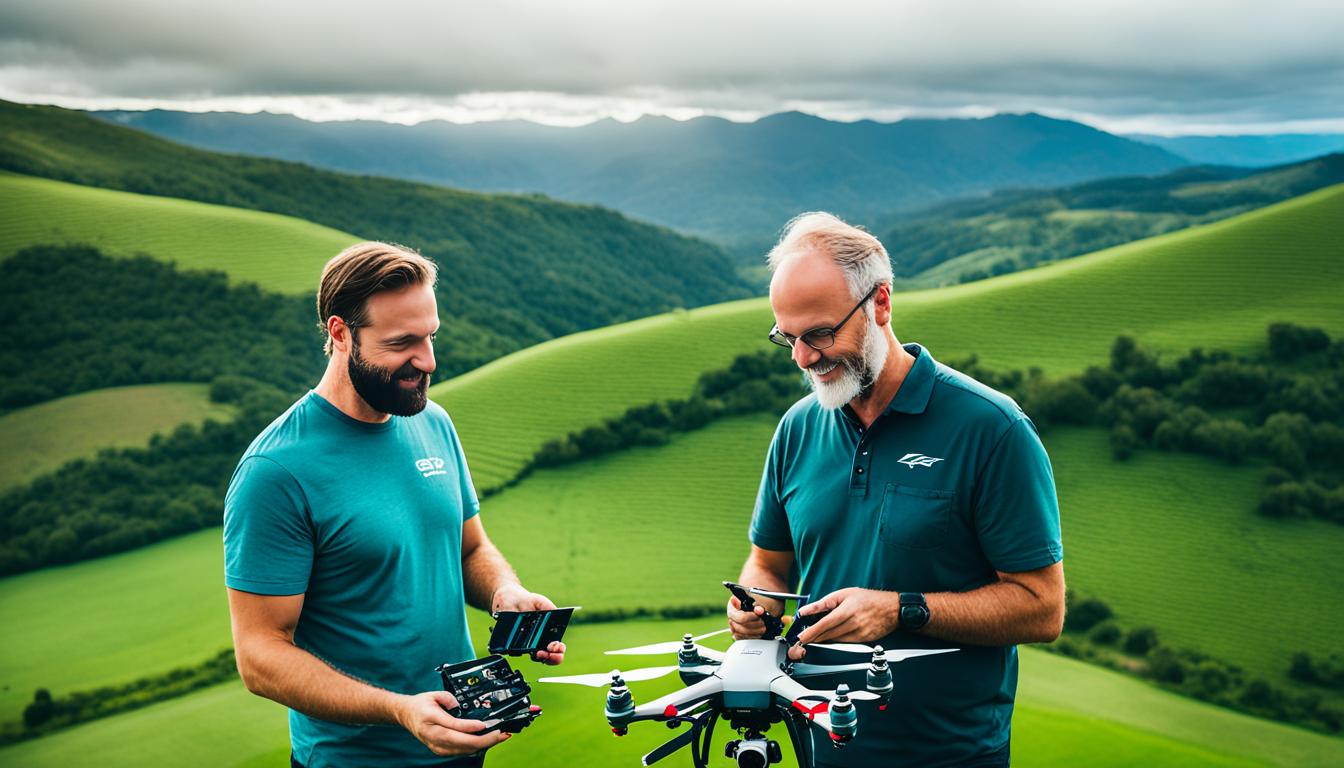
Choosing the Right Drone for Cinematography
When it comes to professional drone photography, selecting the right drone is paramount. To capture stunning aerial footage, consider the following factors: drone features, camera resolution, stabilization, and flight performance.
Camera Resolution
Opt for a drone with high-resolution cameras, such as 4K or even 6K. This ensures crisp, detailed footage that showcases the beauty of your surroundings. With advanced camera technology, every detail will be brought to life, creating visually stunning shots.
Stabilization
Smooth camera movements are essential for professional drone photography. Look for a drone that features a high-quality gimbal. This stability mechanism keeps your camera steady and minimizes vibrations, resulting in smooth and stable footage even during dynamic flights.
Flight Performance
Flight performance plays a crucial role in capturing the perfect shot. Choose a drone with longer flight times, allowing for extended shooting sessions without interruption. Additionally, advanced GPS features provide precise positioning, enabling you to compose your shots perfectly.
By carefully considering these drone features, you can ensure that your aerial cinematography reaches professional levels. Let’s explore the top drones in the market that boast these essential features:
| Drone Model | Camera Resolution | Stabilization | Flight Time |
|---|---|---|---|
| DJI Phantom 4 Pro | 4K | 3-axis gimbal | 30 minutes |
| DJI Inspire 2 | 6K CinemaDNG | 5.2K gimbal | 27 minutes |
| Autel Robotics Evo II Pro | 6K | 3-axis gimbal | 40 minutes |
These drones excel in their respective areas, providing high-resolution footage, exceptional stabilization, and extended flight times. Choose the drone that best fits your cinematography needs, and take your professional drone photography to new heights.
Mastering Camera Settings for Optimal Footage
To capture stunning footage with your drone, it’s crucial to understand and adjust camera settings accordingly. Mastering key camera settings such as shutter speed, aperture, ISO, and white balance will empower you to achieve the best possible results. Let’s dive into each of these settings and explore their significance in optimizing your footage.
Shutter Speed: Controlling Motion Blur
Shutter speed plays a vital role in determining the amount of motion blur captured in your footage. It refers to the length of time your camera’s sensor is exposed to light. A fast shutter speed freezes motion and is ideal for capturing crisp, detailed shots of fast-moving subjects. On the other hand, a slower shutter speed introduces motion blur, which can create a sense of dynamism and fluidity in your footage.
Aperture: Manipulating Depth of Field
Aperture refers to the size of the opening in your camera’s lens that allows light to pass through. It controls the depth of field, which is the range of distance that appears to be in sharp focus in your footage. A wide aperture (small f-number) creates a shallow depth of field, resulting in a blurred background and a prominent subject. Conversely, a narrow aperture (large f-number) increases the depth of field, ensuring that both the foreground and background are in focus.
ISO: Adjusting Sensitivity to Light
ISO measures the sensitivity of your camera’s sensor to light. A low ISO setting (e.g., 100) is suitable for bright lighting conditions, as it reduces noise and produces sharp images. In contrast, a higher ISO setting (e.g., 800 or above) increases the camera’s sensitivity and is well-suited for low-light situations. However, be cautious when using a high ISO setting, as it may introduce grain or digital noise into your footage.
White Balance: Ensuring Accurate Colors
White balance refers to the process of calibrating your camera to accurately reproduce colors under different lighting conditions. It ensures that whites appear neutral and that all other colors are rendered correctly. Selecting the appropriate white balance setting (e.g., daylight, cloudy, or tungsten) helps eliminate unwanted color casts and ensures that the colors in your footage are true to life.
By mastering these camera settings – shutter speed, aperture, ISO, and white balance – you’ll have the necessary foundation to capture optimal footage with your drone. Experiment with different settings in various scenarios to find the perfect balance and realize your creative vision.

Utilizing Accessories for Enhanced Cinematography
Investing in quality accessories can further enhance your drone cinematography experience. When it comes to capturing professional-quality footage, the right gear can make all the difference. Here are three essential accessories that every drone cinematographer should consider:
1. Neutral Density (ND) Filters
Capturing cinematic motion blur is crucial for achieving visually stunning footage. Neutral density (ND) filters help reduce the amount of light entering the camera, allowing you to use slower shutter speeds and create a more natural-looking motion blur effect. By using ND filters, you can capture smoother video and avoid overexposed shots, especially in bright outdoor conditions. Experimenting with different ND filter strengths can give your footage a unique and professional touch.
2. Extra Batteries
Longer shooting times can be essential, especially when you’re in the middle of capturing that perfect shot. Invest in extra batteries to ensure you have enough power to last through extended filming sessions. Having backup batteries not only allows you to continue shooting without interruptions but also provides peace of mind, knowing that you won’t miss out on any incredible moments due to power limitations.
3. Drone Cases
To protect your valuable equipment during transport, investing in a reliable drone case is a must. Drone cases are designed to provide secure storage and transportation for your drone, controller, batteries, and accessories. They come in various sizes and designs, offering protection from impact, dust, and water. Whether you’re heading out for a professional shoot or exploring nature’s wonders, a sturdy drone case ensures that your gear stays safe and organized.
By incorporating these accessories into your drone cinematography toolkit, you’ll be well-equipped to capture breathtaking footage while maximizing the potential of your drone.
Now that you understand the importance of ND filters, extra batteries, and drone cases, let’s move on to the next section where we’ll delve into mastering basic drone cinematography techniques.
Mastering Basic Drone Cinematography Techniques
When it comes to capturing dynamic footage with your drone, understanding flight patterns is essential. By mastering various flight patterns, you can create more engaging and visually captivating shots. Let’s explore some basic drone cinematography techniques that will help you elevate your aerial photography skills.
Flying Patterns
Flight patterns refer to the paths your drone takes while in the air. Here are some common flight patterns used in drone cinematography:
- Orbiting: This technique involves circling a subject, creating a captivating aerial view with a 360-degree perspective.
- Tracking: By following a subject’s movement, you can capture smooth and seamless shots that convey a sense of motion.
- Reveal Shots: With this technique, you start with a close-up view of a subject and gradually pull back to reveal the surrounding landscape, adding a dramatic effect to your footage.
Experimenting with different flight patterns will allow you to create diverse and captivating shots that engage your audience.
Smooth Camera Movements
Mastering smooth camera movements is crucial for achieving professional-looking drone shots. Here are some tips to help you achieve smooth camera movements:
- Use a Gimbal: A gimbal stabilizes your camera and reduces unwanted vibrations, resulting in smoother footage.
- Fly in Calm Conditions: Windy conditions can make it challenging to achieve steady shots. Choose calm weather conditions for optimal results.
- Practice Manual Control: Manual control allows you to have more precise control over your drone’s movements, resulting in smoother footage.
Composition Techniques
Composition techniques play a vital role in creating visually striking drone shots. Here are some composition techniques you can apply to your aerial photography:
- Rule of Thirds: Divide your frame into nine equal sections and position your subject along the lines or at the intersections, creating a more visually balanced composition.
- Leading Lines: Utilize natural or man-made lines to guide the viewer’s eye towards your subject, adding depth and visual interest to your shot.
- Foreground Interest: Incorporate interesting elements in the foreground of your shot to add depth and create a more engaging composition.
- Symmetry: Look for symmetrical elements in your scene and frame them in a way that highlights their symmetry, creating a visually pleasing shot.
- Framing: Use natural elements, such as trees or archways, to frame your subject and draw attention to it.
By applying these composition techniques, you can take your drone cinematography to the next level and create captivating and visually stunning shots that tell a compelling story.

Improving Drone Cinematography Skills
To take your drone cinematography skills to the next level, it’s essential to focus on planning and pre-visualization. By carefully planning your shots and visualizing the desired outcome, you can create stunning and impactful drone footage. Here are some key tips to improve your drone cinematography skills:
Scout Locations
Before heading out to shoot, it’s important to scout locations. Research the area, identify potential spots of interest, and assess the surroundings for any obstacles or safety concerns. By scouting locations in advance, you can plan the best flight paths and ensure smooth footage.
Create Storyboards or Shot Lists
Creating storyboards or shot lists can help you organize your ideas and visualize the shots you want to capture. Take note of specific angles, camera movements, and compositions you want to experiment with. This will ensure you don’t miss any important shots and provide a clear direction during your shoot.
Check Weather Conditions
Weather conditions play a crucial role in drone cinematography. Check the weather forecast before your shoot to ensure optimal shooting conditions. Look for days when the wind is calm and the lighting is favorable. Overcast days can reduce harsh shadows, while golden hour lighting can add a beautiful cinematic touch to your footage.
Experiment with Different Camera Angles, Heights, and Movements
Don’t be afraid to get creative with your camera angles, heights, and movements. Capture shots from unique perspectives to add visual interest to your footage. Experiment with low and high angles, aerial tracking shots, and smooth camera movements to bring your shots to life.
Drone Cinematography for Various Niches
Drone cinematography can be applied to various niches, from real estate and weddings to indie filmmaking. Each niche presents unique opportunities to showcase your creativity and capture breathtaking footage. Explore different industries and adapt your drone cinematography skills to suit the specific requirements of each niche.
To inspire you, here are a few creative ideas for drone shots in different niches:
- In real estate, aerial shots can highlight the property’s size, location, and surroundings, providing a unique perspective for potential buyers.
- Weddings can benefit from aerial shots of the venue, outdoor scenery, and sweeping shots of the couple as they exchange vows.
- Indie filmmaking can utilize drones to capture cinematic establishing shots, action sequences, and dramatic landscapes.
By combining effective planning, creative ideas, and niche-specific techniques, you can elevate your drone cinematography skills and create stunning visuals that capture the imagination of your audience.
Exploring Advanced Drone Cinematography Techniques
Ready to take your drone cinematography skills to the next level? In this section, we’ll dive into some advanced techniques that will elevate the visual impact of your footage. Let’s explore the parallax effect, dolly zoom, and lighting techniques.
Experimenting with the Parallax Effect
The parallax effect involves combining drone movement and focal length changes to create a sense of depth and dimension in your shots. By adjusting the drone’s altitude and focal length simultaneously, you can enhance the visual appeal of your footage. Play around with different combinations to find the perfect balance that suits your creative vision.
Creating Stunning Visuals with the Dolly Zoom
The dolly zoom technique, popularized in movies like “Jaws,” creates a visually striking and surreal effect. By changing the focal length while moving the drone, you can create a unique distortion that adds drama and tension to your footage. Explore different situations where the dolly zoom can enhance the storytelling aspect of your aerial shots.
Mastering Lighting Techniques for Enhanced Footage
Understanding and controlling lighting is crucial for capturing breathtaking aerial footage. Take advantage of golden hour, the period shortly after sunrise or before sunset when the light is soft and warm. Use natural light sources, such as the sun or moon, to create unique lighting effects and add depth to your shots. Additionally, consider color grading in post-production to enhance the mood and atmosphere of your footage.
These advanced drone cinematography techniques will help you differentiate your work and captivate your audience. Experiment with the parallax effect, dolly zoom, and lighting techniques to elevate the visual impact of your footage. In the next section, we’ll delve into post-processing techniques that can further enhance your drone photographs.
Conclusion
In conclusion, drone photography is an exciting field that allows us to capture stunning aerial shots. By utilizing advanced composition techniques, such as those discussed in this guide, we can elevate our drone photography skills to achieve visually striking visuals.
Choosing the right drone, mastering camera settings, utilizing accessories, and learning flight patterns and smooth camera movements are all essential for successful drone cinematography. Additionally, employing post-processing techniques can further enhance the visual appeal of our drone photographs. By shooting in RAW format and applying dynamic range enhancement, perspective correction, color grading, noise reduction, sharpening, and detail enhancement, we can take our drone photography to the next level.
However, it is crucial to consider legal and safety considerations when flying drones for photography purposes. Familiarize yourself with local regulations and obtain any necessary permits or licenses. Always prioritize the safety of yourself, others, and the environment when operating a drone. By adhering to legal and safety guidelines, we can enjoy the incredible possibilities of m43 drone photography while respecting the well-being of all.
FAQ
What are some advanced composition techniques in drone photography?
Advanced composition techniques in drone photography include the rule of thirds, leading lines, foreground interest, symmetry, and framing.
What factors should I consider when choosing a drone for cinematography?
When selecting a drone for cinematography, consider factors such as camera resolution, stabilization, and flight performance. Look for drones with high-resolution cameras, a high-quality gimbal, longer flight times, and advanced GPS features.
What camera settings should I master for optimal footage?
Key camera settings to master for optimal footage include shutter speed, aperture, ISO, and white balance. Shutter speed controls motion blur, aperture affects depth of field, ISO adjusts sensitivity to light, and white balance ensures accurate colors.
What accessories can enhance my drone cinematography experience?
Accessories such as neutral density (ND) filters, extra batteries, and drone cases can enhance your drone cinematography experience. ND filters reduce light for more cinematic motion blur, extra batteries provide longer shooting times, and drone cases protect your equipment during transport.
What are some basic drone cinematography techniques I should master?
Basic drone cinematography techniques include learning flight patterns such as orbiting, tracking, and reveal shots, as well as achieving smooth camera movements using gimbals for stabilization and applying composition techniques such as the rule of thirds and leading lines.
How can I improve my drone cinematography skills?
To improve your drone cinematography skills, effective planning and pre-visualization are essential. Scout locations, create storyboards or shot lists, and check weather conditions for optimal shooting. Additionally, experiment with different camera angles, heights, and movements to capture unique shots.
What advanced drone cinematography techniques should I explore?
Advanced drone cinematography techniques to explore include the parallax effect, which combines drone movement with focal length changes, and the dolly zoom technique, which creates a surreal visual effect by changing focal length while moving the drone. Lighting techniques and controlling lighting for enhanced footage are also important to understand.
What are some post-processing techniques for drone photography?
Some post-processing techniques for drone photography include shooting in RAW format, dynamic range enhancement, perspective correction, color grading, noise reduction, sharpening, and detail enhancement.
What legal and safety considerations should I keep in mind when flying drones for photography?
When flying drones for photography, it’s important to consider legal regulations, such as obtaining the necessary permits and following local drone laws. Safety considerations include maintaining line of sight, avoiding restricted airspace, and being mindful of the privacy of others.
How Can Post-Processing Enhance Composition Techniques in Drone Photography?
Postprocessing drone photos techniques can greatly enhance the composition of aerial shots. By adjusting colors, contrast, and saturation, photographers can make their images more dynamic and visually striking. Additionally, cropping and straightening can help to improve the overall balance and harmony of the composition.