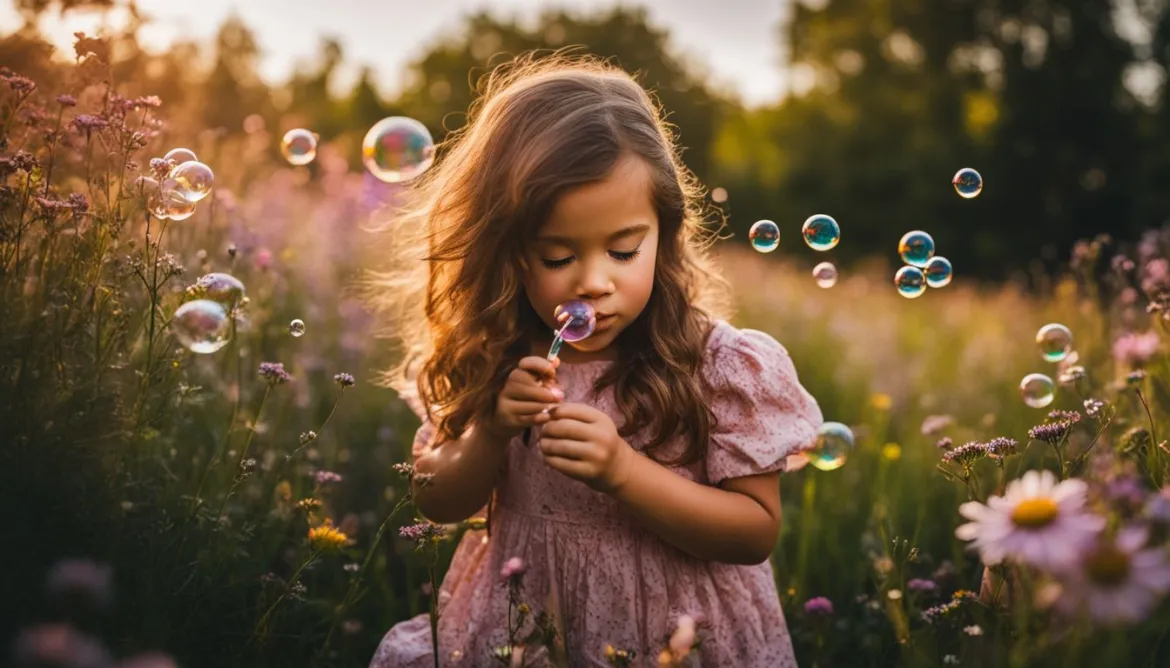
Welcome to the universe of photo retouching. In this guide, we’ll explore the importance of photo retouching and how it can enhance your images. Whether you’re a beginner looking to learn the basics of portrait editing or an amateur photographer wanting to improve your photo retouching skills, this guide is designed to help you get started.
Editing and retouching portraits is an art form that allows you to bring out the best in your photographs. With the right techniques and tools, you can transform ordinary images into stunning works of art. In this guide, we’ll discuss essential techniques for beginners, recommended photo editing software options, and provide valuable tips to help you on your journey to becoming a skilled portrait editor.
Key Takeaways:
- Understanding the importance of photo retouching and how it can enhance your images
- Exploring essential tools and software options for portrait editing
- Learning basic adjustments like brightness, contrast, and saturation
- Mastering essential portrait editing techniques such as blemish removal and skin retouching
- Transforming backgrounds to create visually captivating compositions
The Importance of Photo Retouching
Photo retouching is a valuable skill that allows you to enhance the quality of your images, correct imperfections, and bring out the best in your photographs. Whether you’re a professional photographer aiming for flawless results or an amateur photographer looking to improve your snapshots, photo retouching is an essential skill to learn.
By applying various techniques and utilizing powerful editing tools, you can enhance image quality, create stunning visual effects, and reflect your creative vision. Photo retouching enables you to correct imperfections such as blemishes, wrinkles, or distracting elements, transforming your images into aesthetically pleasing works of art.
For professional photographers, photo retouching goes beyond correcting imperfections. It allows them to add their personal touch and unique style to their work, ensuring their photographs truly reflect their artistic vision. By mastering the art of photo retouching, professional photographers can elevate their images and deliver exceptional results to their clients.
Even if you’re an amateur photographer, learning the skill of photo retouching can greatly enhance your images. It enables you to improve the overall composition, balance colors, highlight important details, and create a polished look. With photo retouching, you can transform ordinary snapshots into extraordinary photographs.
Whether you’re working on portraits, landscapes, or any other genre of photography, having the ability to retouch and enhance your images is a valuable skill that opens up countless possibilities for creativity and self-expression.
Next, let’s explore the essential tools you need to get started with photo retouching.
Essential Tools for Photo Retouching
To start with photo retouching, you’ll need reliable photo editing software. The industry standard for professional retouching is Adobe Photoshop. It offers a wide range of tools and effects, allowing you to transform your images with precision and creativity.
If you prefer a user-friendly interface and comprehensive image organization features, Adobe Lightroom Classic is an excellent choice. It streamlines your workflow and provides a seamless editing experience.
For photographers who work with RAW files, Capture One is highly recommended. It excels in extracting the maximum potential from RAW files, offering advanced editing capabilities and unparalleled image quality.
Whether you’re a professional or just starting out, these photo retouching software options are essential tools that will help you achieve your desired results.

The Industry Standard: Adobe Photoshop
“Adobe Photoshop is like a Swiss army knife for photo retouching. It provides a layer-based system that allows for detailed adjustments and precise control over your edits. With its vast array of tools and effects, Photoshop remains the go-to software for professionals in the industry.”
The User-Friendly Choice: Adobe Lightroom Classic
“Adobe Lightroom Classic offers a user-friendly interface that is both intuitive and efficient. Its powerful organization features make it easy to manage and edit large collections of photos. Lightroom is a great choice for photographers who want a streamlined editing process without sacrificing quality.”
Unleash the Power of RAW: Capture One
“Capture One is known for its exceptional ability to handle RAW files. It provides unmatched image quality, advanced editing tools, and a robust set of features. If you’re looking to bring out the full potential of your RAW files, Capture One is the software for you.”
Getting Started with Photo Retouching
Now that you’ve selected your preferred photo editing software, it’s time to dive into the exciting world of photo retouching. In this section, we’ll guide you through the initial steps of getting acquainted with your software’s user interface, tools, and functions. By familiarizing yourself with the basics and practicing with various adjustments, you’ll quickly develop the skills you need to enhance your portraits.
Exploring the User Interface
The user interface is the heart of your photo editing software, allowing you to access all the tools and functions necessary for retouching. While it might seem overwhelming at first glance, don’t worry – we’re here to help you navigate through it.
Start by familiarizing yourself with the different panels, menus, and toolbars. Take the time to understand their organization and purpose within the software. Most photo editing programs provide customizable layouts, so feel free to arrange the interface in a way that suits your workflow best.
Remember, the user interface is designed to provide a seamless experience as you edit your portraits. Take advantage of any available tutorials or introductory resources provided by the software to deepen your understanding of how to navigate the user interface effectively.
Essential Tools and Functions
Once you feel comfortable with the software’s user interface, it’s time to explore the essential tools and functions that will help you bring your portraits to life.
💡 Pro Tip: Familiarize yourself with keyboard shortcuts for frequently used tools and functions. These shortcuts can significantly speed up your editing process and enhance your overall efficiency.
The specific tools and functions available to you will depend on the software you’ve chosen. However, there are a few fundamental adjustments that you should focus on as a beginner:
- Brightness: Adjusting the overall lightness or darkness of an image can significantly impact its mood and visual impact.
- Contrast: Enhancing the difference between light and dark areas can add depth and dimension to your portraits.
- Saturation: Adjusting the intensity of colors can make your portraits more vibrant or subtle, depending on your creative vision.
By mastering these basic adjustments, you’ll develop a solid foundation for further advanced retouching techniques.
Practice and Experimentation
As with any new skill, practice is essential to improve your photo retouching abilities. Set aside dedicated time to experiment with different techniques and adjustments, getting comfortable with the tools and functions at your disposal.
🌟 Inspiration Corner: Consider analyzing and attempting to recreate the editing styles of renowned photographers or artists. Deconstruct their work to understand the techniques they’ve used, and apply these insights to your own practice.
Don’t be discouraged by initial challenges. Remember that photo retouching is an iterative process, and through consistent practice and experimentation, you’ll refine your skills and develop your unique style.
Now that you have a solid understanding of the user interface, essential tools, and the importance of practice, it’s time to delve deeper into the techniques for editing and retouching portraits.
| Key Takeaways | |
|---|---|
| 1. Familiarize Yourself with the User Interface | Get to know the different panels, menus, and toolbars of your chosen photo editing software. Customize the layout to suit your workflow preferences. |
| 2. Master the Essential Tools and Functions | Focus on adjusting brightness, contrast, and saturation to bring out the best in your portraits. |
| 3. Practice and Experiment | Dedicate time to practice various techniques and adjustments. Don’t be afraid to explore and experiment with different styles. |
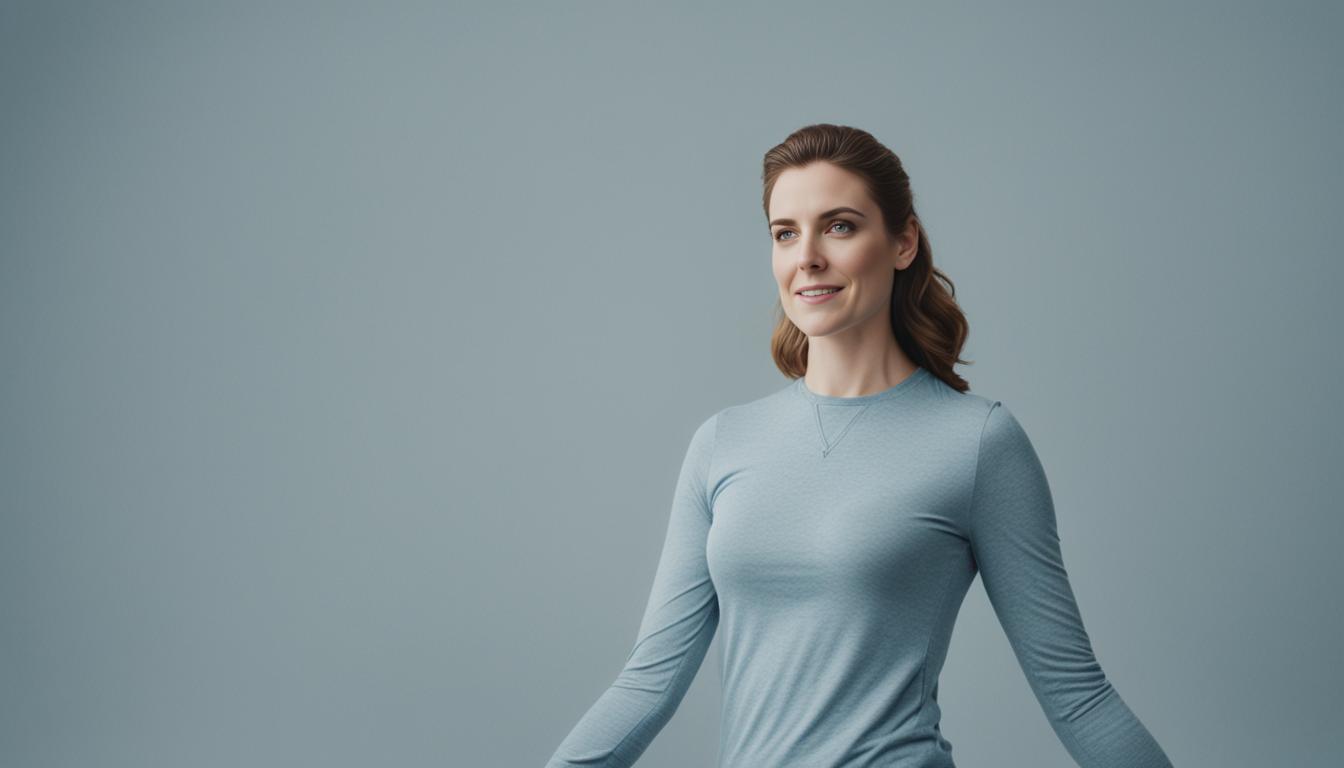
Essential Techniques for Beginners
As a beginner, it’s important to learn essential techniques for editing and retouching portraits. By mastering these techniques, you’ll be able to bring out the best in your images and create stunning visual impact. Let’s explore some key techniques:
1. Adjusting Brightness, Contrast, and Saturation
One of the fundamental techniques in portrait editing is adjusting the brightness, contrast, and saturation levels. The proper adjustment of these elements can significantly enhance the overall look of your portraits. Brightness helps to control the overall illumination of the image, contrast improves the differentiation between light and dark areas, while saturation boosts the vibrance of colors, making them pop.
2. Blemish Removal and Sharpening
To achieve flawless skin in your portraits, blemish removal and sharpening techniques are essential. Blemish removal helps to eliminate any unwanted spots, acne, or imperfections, resulting in smoother and more polished skin. Sharpening, on the other hand, enhances the details and crispness of your subject’s features, providing a clearer and more defined look.
3. Skin Retouching
Skin retouching is a crucial skill in portrait editing. It involves refining and perfecting the skin tone and texture while maintaining a natural and balanced complexion. Advanced techniques like frequency separation and dodge and burn can be used to even out skin tones, reduce wrinkles, and create a smooth, flawless appearance.
4. Background Transformation
Transforming the background can make a significant difference in the overall composition and visual impact of your portraits. Background modification techniques such as masking and blending allow you to replace or modify the original background, creating a more visually captivating and cohesive image.
5. Color Correction and Creative Effects
Color correction plays a vital role in conveying the mood and atmosphere of your portraits. Balancing hues, adjusting saturation, and making selective color corrections can help you achieve a harmonious and visually pleasing color palette. Additionally, experimenting with creative effects and filters can add an artistic touch, allowing you to express your unique style and create enchanting visuals.
Developing proficiency in these essential techniques will give you a solid foundation in portrait editing. Remember to practice, experiment, and explore different approaches to find your own style and create compelling portraits that truly reflect your vision.
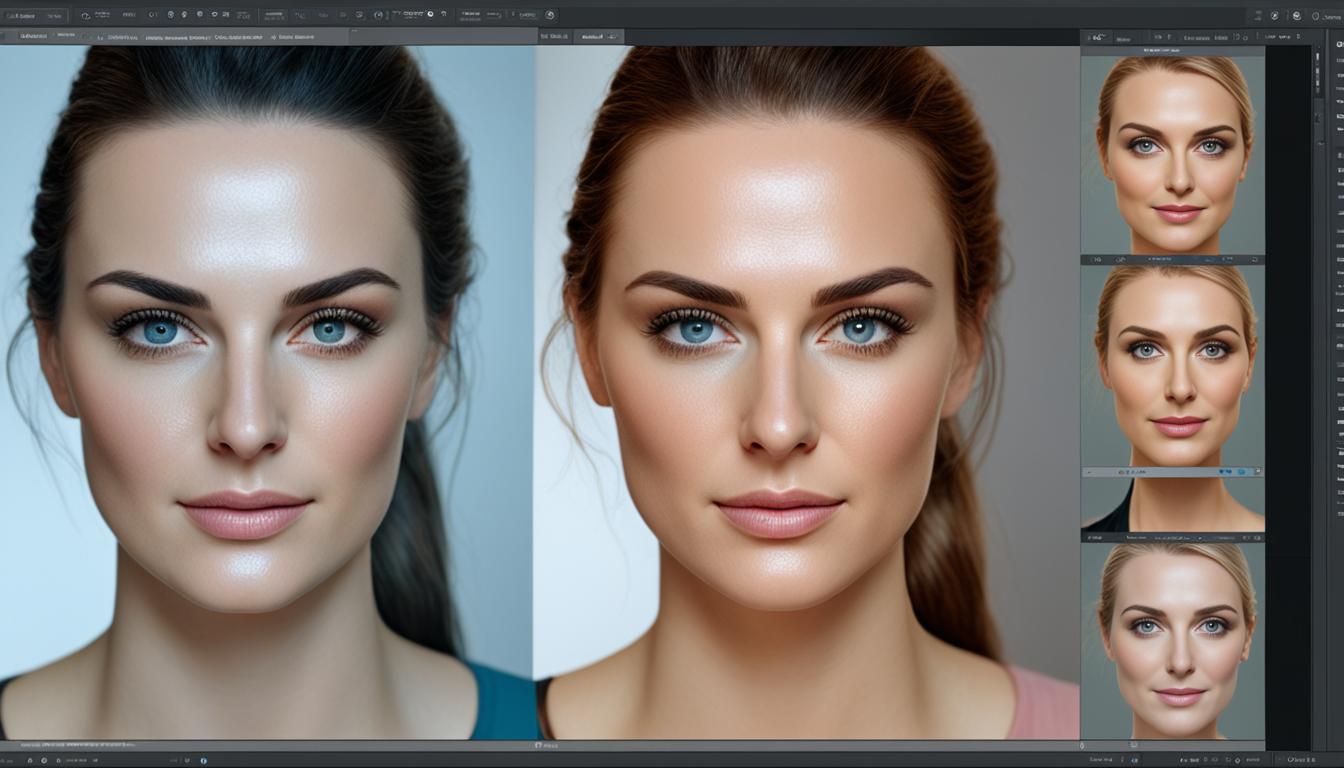
Perfecting Skin Retouching
Achieving flawless skin is crucial in portrait retouching. Techniques like frequency separation and dodge and burn help to create smooth and even skin tones while preserving natural texture. The goal is to achieve a natural and balanced complexion that enhances the overall beauty of portraits.

When it comes to perfecting skin retouching, the process involves several steps. One technique that is commonly used is frequency separation. This technique enables you to separate the texture and color of the skin, allowing you to work on each element individually.
Another technique that is highly effective in achieving smooth and even skin tones is dodge and burn. This technique involves selectively brightening the desired areas (dodging) and darkening the areas that need to be toned down (burning), resulting in a more balanced and uniform appearance.
“The key to successful skin retouching is to strike a balance between enhancing the skin’s appearance and maintaining its natural texture and features.”
Frequency Separation
Frequency separation involves two main steps: creating low and high-frequency layers. The low-frequency layer controls the color and overall appearance of the skin, while the high-frequency layer contains the skin’s texture and fine details.
By using the healing brush or clone stamp tool on the low-frequency layer, you can address any color irregularities, smooth out blemishes, and even out the skin tone. On the high-frequency layer, you can target specific areas that require texture and detail enhancements, such as sharpening the eyes or lips.
Dodge and Burn
The dodge and burn technique allows you to selectively adjust the brightness and darkness of different areas in your portrait. This technique helps to even out skin tones, reduce the appearance of wrinkles, and enhance the contours of the face.
Using the dodge tool, you can brighten areas of the skin that appear dull or shadowed, while the burn tool allows you to darken areas that need tonal correction. By applying these adjustments in a subtle and controlled manner, you can achieve a natural-looking and balanced complexion.
Remember, the key to successful skin retouching is to strike a balance between enhancing the skin’s appearance and maintaining its natural texture and features. With practice and experimentation, you’ll be able to achieve flawless skin and create portraits that exude beauty and perfection.
Transforming Backgrounds
Backgrounds play a vital role in setting the mood and impact of images. They have the power to enhance the subject, create a specific atmosphere, and tell a visual story. With the power of photo retouching, you can transform backgrounds to create a realistic and visually captivating composition.
One of the techniques used for background modification is masking. Masking allows you to isolate specific areas of the image and make targeted adjustments to the background. By using precise and detailed masking, you have the freedom to replace or modify the original background while preserving the fine details of the subject.
Another technique that adds depth and realism to background transformation is blending. Blending involves seamlessly integrating the subject with the new background, ensuring a cohesive and natural-looking composition. Through skillful blending, the subject-background separation becomes virtually undetectable, resulting in a visually stunning outcome.
By combining masking and blending techniques, you can create a realistic and visually captivating background that complements your subject. Play with different backgrounds, experiment with colors and textures, and let your imagination guide you in creating compelling compositions.
Mastering Color Correction
Color correction plays a crucial role in conveying the mood and atmosphere of portraits. By balancing hues, adjusting saturation, and fine-tuning luminance levels, you can create harmonious color palettes that enhance the storytelling aspect of your images.
Experimenting with different color grading techniques allows you to develop your unique visual style, adding a distinctive touch to your portraits. Whether you prefer vibrant and bold colors or a more muted and subtle look, color correction gives you the creative freedom to bring your vision to life.
When it comes to color balancing, it’s important to consider the overall tone and mood you want to convey. Warm tones can evoke a sense of coziness and intimacy, while cooler tones create a more calm and serene atmosphere. By adjusting the hue and saturation, you can enhance the emotional impact of your portraits.
Don’t be afraid to push the boundaries and experiment with different color combinations. By embracing your creativity, you can create a unique visual style that sets your portraits apart. Whether you prefer vibrant and bold colors or a more muted and desaturated aesthetic, color correction allows you to express your artistic vision.
Creating Harmonious Color Palettes
One of the key goals of color correction is to achieve a harmonious color palette that enhances the overall impact of your portraits. By fine-tuning the colors, you can create a balanced and visually pleasing composition.
“The right color palette can evoke different emotions and set the stage for your storytelling.”
Start by adjusting the overall color balance of your image. This involves ensuring that the colors appear natural and accurate. You can also experiment with color grading techniques to create a specific mood or atmosphere.
Another important aspect of color correction is to maintain consistency throughout your portfolio. This helps establish a unique visual style that is recognizable and cohesive. Consider creating presets or using consistent color grading techniques across multiple images to achieve this.
Enhancing Impact with Saturation
Saturation adjustment is a powerful tool in color correction, allowing you to control the intensity of colors in your portraits. By increasing saturation, you can create vibrant and eye-catching images that demand attention. On the other hand, decreasing saturation can create a more subdued and muted look.
However, it’s crucial to exercise caution when adjusting saturation. Too much saturation can lead to unrealistic and oversaturated colors, while too little can result in flat and dull images. Find the right balance that suits the mood and atmosphere you want to convey.
“Saturation adjustment is a delicate process that can significantly impact the visual impact of your portraits.”
Fine-Tuning Luminance for Impactful Portraits
Luminance adjustment plays a key role in achieving balanced exposure and enhancing the overall impact of your portraits. By fine-tuning the luminance levels, you can highlight important details, control the brightness and darkness of specific areas, and create a visually captivating composition.
Experiment with different luminance adjustments to emphasize the subject of your portrait or create a specific lighting effect. Additionally, consider using dodge and burn techniques to selectively brighten or darken certain areas, adding depth and dimension to your images.
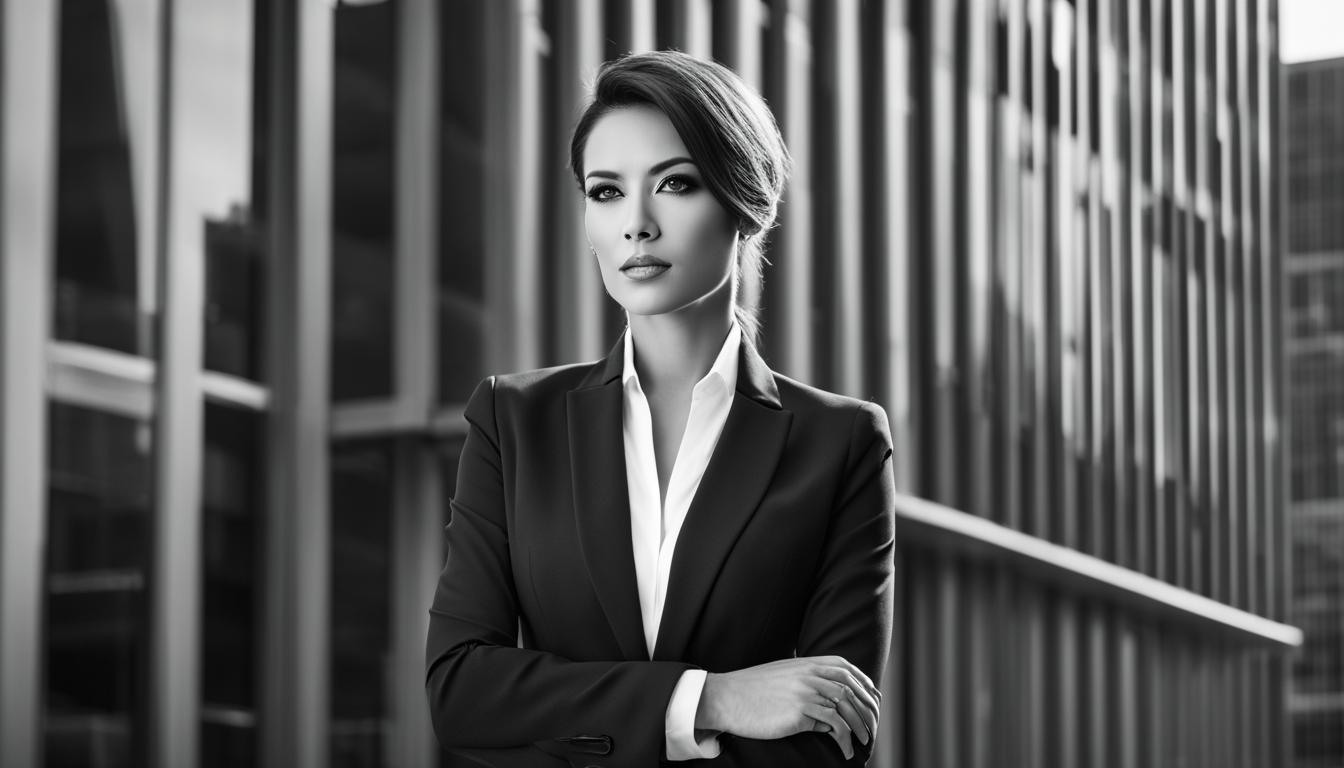
Creative Effects and Filters
Adding artistic effects and filters to your portraits can truly enchant your visuals and help you express your artistic vision. By experimenting with various filters, overlays, and artistic effects, you can transform your images into breathtaking works of art. These tools give you the ability to leave a lasting impression on viewers and create images that truly reflect your unique artistic style.
Whether you want to give your portraits a vintage look, create dreamy atmospheres, or add dynamic visual elements, there are countless effects and filters available that can help you achieve your desired result. With just a few clicks, you can enhance the mood, tone, and overall aesthetic appeal of your photographs.
For instance, you can apply a dramatic black and white filter to create a timeless and moody atmosphere. Or you can experiment with vibrant and saturated colors to make your subjects pop and grab the viewer’s attention. The options are endless, and it all depends on your artistic vision and the story you want to convey.
Filters and overlays can also be used to add texture, depth, and dimension to your portraits. By applying subtle overlays or textures, you can create a sense of nostalgia or give your images a unique and captivating look. Additionally, artistic effects like bokeh or light leaks can add a touch of magic and whimsy to your photographs.
When using creative effects and filters, it’s important to strike a balance and ensure that they enhance the overall composition without overpowering the subject. The goal is to create a harmonious blend of artistic elements that complement and elevate your portraits.
Ultimately, creative effects and filters allow you to unleash your creativity and transform your portraits into captivating pieces of art. So don’t be afraid to experiment, play around with different effects, and let your artistic vision guide you as you create enchanting visuals that truly express who you are as an artist.
Now, let’s take a moment to explore some examples of creative effects and filters:
Lens Flare Overlay
A lens flare overlay can instantly add a touch of drama and magic to your portraits. By incorporating a burst of light and vibrant colors, it creates a visually captivating effect that draws the viewer’s attention to the subject.
Watercolor Filter
Transform your portraits into beautiful watercolor paintings with a watercolor filter. This effect adds a soft and dreamy look to your images, giving them a unique and artistic touch.
Glitch Effect
Add a modern and edgy twist to your portraits with a glitch effect. This filter creates visual distortions, pixelation, and color shifts, resulting in a dynamic and eye-catching effect that pushes the boundaries of traditional photography.
| Filter/Effect | Description |
|---|---|
| Lens Flare Overlay | Adds bursts of light and vibrant colors, creating a dramatic and magical effect. |
| Watercolor Filter | Transforms portraits into soft and dreamy watercolor paintings, adding an artistic touch. |
| Glitch Effect | Creates visual distortions, pixelation, and color shifts for a modern and edgy look. |
Conclusion
Congratulations on completing your journey into the world of photo retouching! Throughout this beginner’s guide, we have equipped you with essential techniques and tools to enhance the quality of your images and create stunning portraits. By following the portrait editing workflow and utilizing recommended software such as Adobe Photoshop, Lightroom, or Capture One, you are now ready to take your editing skills to the next level.
Remember, practice and experimentation are vital to developing your own unique style. As you continue your photo retouching process, don’t be afraid to push boundaries and try new portrait editing tips. This is where the magic happens, and you can truly transform your images into visual masterpieces.
By enhancing images through photo retouching, you have the power to create captivating portraits that reflect your artistic vision. So go ahead, embark on this creative journey, and let your passion for portrait editing shine through. With dedication and perseverance, you’ll soon be producing awe-inspiring results that will leave a lasting impression on viewers.
FAQ
What is photo retouching?
Photo retouching is the process of enhancing the quality of images by correcting imperfections, adjusting colors, and improving overall visual impact.
Why is photo retouching important?
Photo retouching is important because it allows photographers to bring out the best in their photographs, correct any flaws or imperfections, and reflect their creative vision.
What are some essential photo editing software options for beginners?
Some recommended photo editing software options for beginners include Adobe Photoshop, Adobe Lightroom Classic, and Capture One. These software programs offer a range of tools and effects to enhance your images.
How do I get started with photo retouching?
To get started with photo retouching, you need to familiarize yourself with the user interface, tools, and functions of your chosen photo editing software. Begin by learning basic adjustments such as brightness, contrast, and saturation, and practice experimenting with different techniques to develop your skills.
What are some essential techniques for editing and retouching portraits?
Essential techniques for editing and retouching portraits include adjusting brightness, contrast, and saturation levels to enhance visual impact, removing blemishes and imperfections, sharpening details, perfecting skin retouching, transforming backgrounds, mastering color correction, and exploring creative effects.
How can I achieve flawless skin in portrait retouching?
To achieve flawless skin in portrait retouching, you can use techniques like frequency separation and dodge and burn to create smooth and even skin tones while preserving natural texture. The goal is to achieve a natural and balanced complexion that enhances the overall beauty of the portraits.
How can I transform backgrounds in photo retouching?
In photo retouching, you can transform backgrounds by using techniques like masking and blending. These techniques allow you to replace or modify the original background while maintaining fine details of the subject, resulting in a realistic and visually captivating composition.
What is the importance of color correction in portrait editing?
Color correction is essential in portrait editing as it helps to enhance the storytelling and mood of the portraits. By balancing hues, adjusting saturation, and fine-tuning luminance levels, you can create harmonious color palettes that convey the desired atmosphere and enhance the impact of your images.
What are creative effects and filters in photo retouching?
Creative effects and filters in photo retouching allow you to add a touch of enchantment to your portraits. Experiment with various filters, overlays, and artistic effects to transform your images into breathtaking works of art. These tools enable you to express your artistic vision and leave a lasting impression on viewers.
What have I learned from this beginner’s guide to editing and retouching portraits?
In this beginner’s guide, you have learned the basics of editing and retouching portraits. By following the techniques and using the recommended tools and software, you can enhance the quality of your images and create stunning portraits. Remember to practice, experiment, and develop your own unique style.
What Editing and Retouching Tools Do I Need as a Portrait Photographer?
As a portrait photographer, essential portrait photography gear includes editing and retouching tools like Adobe Photoshop and Lightroom. These programs allow you to enhance skin tones, remove blemishes, and adjust lighting to create stunning portraits. Investing in these tools is crucial for achieving professional-looking results in your photography.