Are you ready to take your travel photography to the next level? With our expert tips, you can maximize the golden and blue hours, capturing stunning images that truly stand out. These magical hours provide soft, warm light that adds a touch of magic to your photos.
During the golden hour, just after sunrise or before sunset, the sky is bathed in a beautiful golden glow. This lighting creates a warm and dreamy atmosphere, perfect for capturing breathtaking landscapes and portraits. The blue hour, occurring right before sunrise or after sunset, offers a serene blue hue that adds a touch of tranquility to your images.
To make the most of these special lighting conditions, it’s important to understand how to capture light in photography. With our travel photography tips, you’ll learn how to harness the beauty of natural light, whether it’s during the golden or blue hours or any other time of the day.
Key Takeaways:
- Maximize the golden and blue hours by waking up early and staying out late to capture the beautiful light.
- Experiment with composition techniques like the rule of thirds, framing, and leading lines to add interest and balance to your photos.
- Utilize different lighting techniques such as backlighting, capturing sun flares, and creating silhouettes to create dramatic effects.
- Understand the technical aspects of photography like the exposure triangle, aperture, ISO, and shutter speed, to have full control over your images.
- Post-process your photos using editing software to enhance colors, contrast, and overall look of your images.
By mastering these travel photography tips and techniques, you’ll be able to capture memorable moments during your travels and create stunning visuals that will leave a lasting impression. So grab your camera and get ready to make the most of the golden and blue hours in your travel photography!
General Travel Photography Tips for Beginners
As beginners or intermediate travel photographers, it’s important to know the fundamentals. In this section, we will provide general photography tips that are essential for all photographers. Whether you’re capturing stunning landscapes, vibrant street scenes, or candid portraits, these tips will help you improve your travel photography skills.
1. Know Your Camera
An integral part of becoming a better photographer is understanding how to use your camera to its fullest potential. Take the time to read the manual and familiarize yourself with its features and settings. Experiment with different shooting modes and understand how they affect your images.
2. Master Composition
Composition is key in photography. It’s all about arranging the elements within your frame to create a visually pleasing and impactful image. Experiment with the rule of thirds, leading lines, and different perspectives to add interest and depth to your photos.
3. Plan Ahead
Before embarking on your travels, research the locations you’ll be visiting. Look for iconic landmarks, hidden gems, and unique perspectives you want to capture. Create a shot list to guide your photography journey and make the most of your time on location.
4. Frame Your Shots
Consider the foreground, middle ground, and background when composing your shots. Look for natural frames, such as arches or windows, to enhance the visual impact of your images. Framing adds depth and draws the viewer’s eye into the scene.
5. Interact with People
Travel photography is not just about capturing landscapes; it’s also about capturing the essence of a place through its people. Interact with locals, learn about their culture, and ask for permission to photograph them. This will add a human element to your travel photos and tell a compelling story.
“Photography is the story I fail to put into words.” – Destin Sparks
- Embrace natural light: Travel photography often involves shooting outdoors, so make use of natural light. During the day, avoid harsh midday light and look for softer illumination in the early morning or late afternoon.
- Capture candid moments: Some of the most memorable travel photos are spontaneous and unposed. Keep your camera ready and be patient, waiting for those authentic and candid moments to unfold.
- Experiment with different perspectives: Don’t be afraid to get low, high, or close to your subjects. Changing your perspective can create unique and visually engaging images that stand out.
By following these general travel photography tips, you’ll be well on your way to capturing stunning images that preserve your travel memories and share the beauty of the world with others.
Technical Travel Photography Tips
To capture stunning travel photos, it’s important to understand the technical aspects of photography. In this section, we will delve into the exposure triangle of photography, which includes aperture, ISO, and shutter speed. We’ll also discuss the benefits of shooting in manual mode and the importance of shooting in RAW. Additionally, we’ll touch on post-processing techniques to enhance your photos.
The Exposure Triangle: Aperture, ISO, and Shutter Speed
When it comes to photography, the exposure triangle is a fundamental concept to grasp. It refers to the three critical elements that determine the exposure and overall look of your photos: aperture, ISO, and shutter speed.
“Understanding the exposure triangle is like having a secret key to unlock the full potential of your camera.”
Aperture refers to the opening of the lens through which light enters the camera. It controls the depth of field, determining how much of the image is in focus. A wider aperture (lower f-number) creates a shallow depth of field, while a smaller aperture (higher f-number) results in a wider depth of field.
ISO measures the sensitivity of your camera’s image sensor to light. A lower ISO number (e.g., ISO 100) is ideal for shooting in well-lit conditions, while a higher ISO number (e.g., ISO 1600) is useful in low-light situations. However, higher ISO settings can introduce digital noise into your photos.
Shutter speed determines the amount of time the camera’s shutter remains open, controlling the duration of exposure. A faster shutter speed (e.g., 1/1000s) freezes fast-moving subjects, while a slower shutter speed (e.g., 1/30s) can create motion blur for a sense of movement.
Mastering the exposure triangle allows you to have full control over the balance between these three elements, enabling you to achieve the desired creative effects in your travel photos.
The Benefits of Shooting in Manual Mode and RAW
While shooting in auto mode can be convenient, manual mode provides more creative control over your photos, especially in challenging lighting situations. It allows you to independently adjust aperture, ISO, and shutter speed, giving you the flexibility to capture the desired exposure.
Shooting in RAW format, rather than JPEG, preserves the maximum amount of image data captured by your camera. This allows for greater flexibility during post-processing, with increased control over details, colors, and dynamic range.
Post-Processing Techniques
Once you’ve captured your travel photos, post-processing can further enhance their visual impact. Here are a few techniques to consider:
- Adjusting exposure and white balance: Fine-tune the exposure and color temperature to correct any inconsistencies in lighting.
- Applying sharpening and noise reduction: Enhance the overall sharpness of your images and reduce unwanted digital noise.
- Refining colors and saturation: Make selective adjustments to colors and saturation levels to create a more visually appealing image.
Remember, post-processing should always enhance your photos rather than drastically alter them. The goal is to achieve a natural and pleasing final result that showcases the beauty of your travel experiences.
By understanding the exposure triangle, shooting in manual mode, and utilizing post-processing techniques, you’ll be well-equipped to capture stunning travel photos that truly stand out.
The Importance of Golden and Blue Hours
When it comes to travel photography, timing is everything. Capturing the perfect shot often relies on being in the right place at the right time. That’s where the golden and blue hours come in.
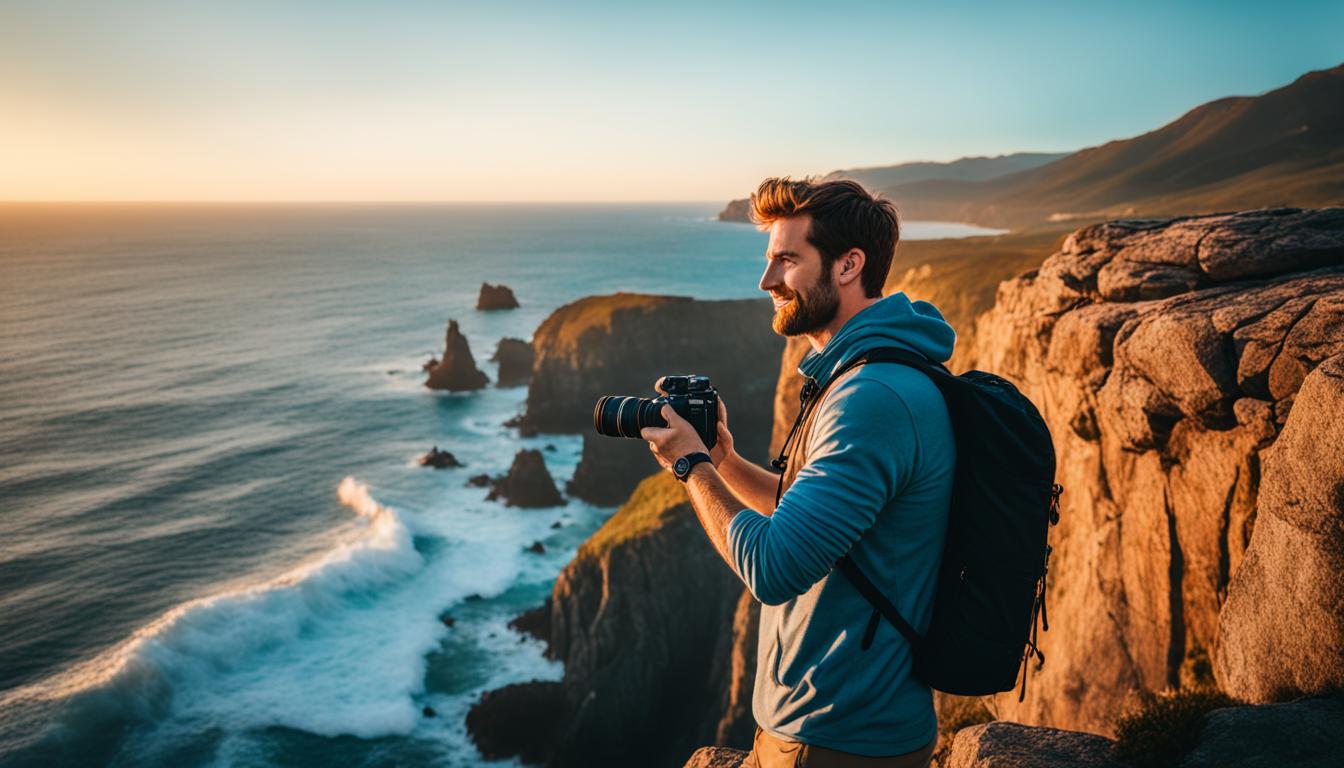
The golden hour refers to the period shortly after sunrise or before sunset, when the sun is low in the sky. During this time, the light is soft, warm, and bathes everything in a magical glow. It’s the best time for photography, especially for capturing landscapes, portraits, or any scene where you want to create a dreamy atmosphere.
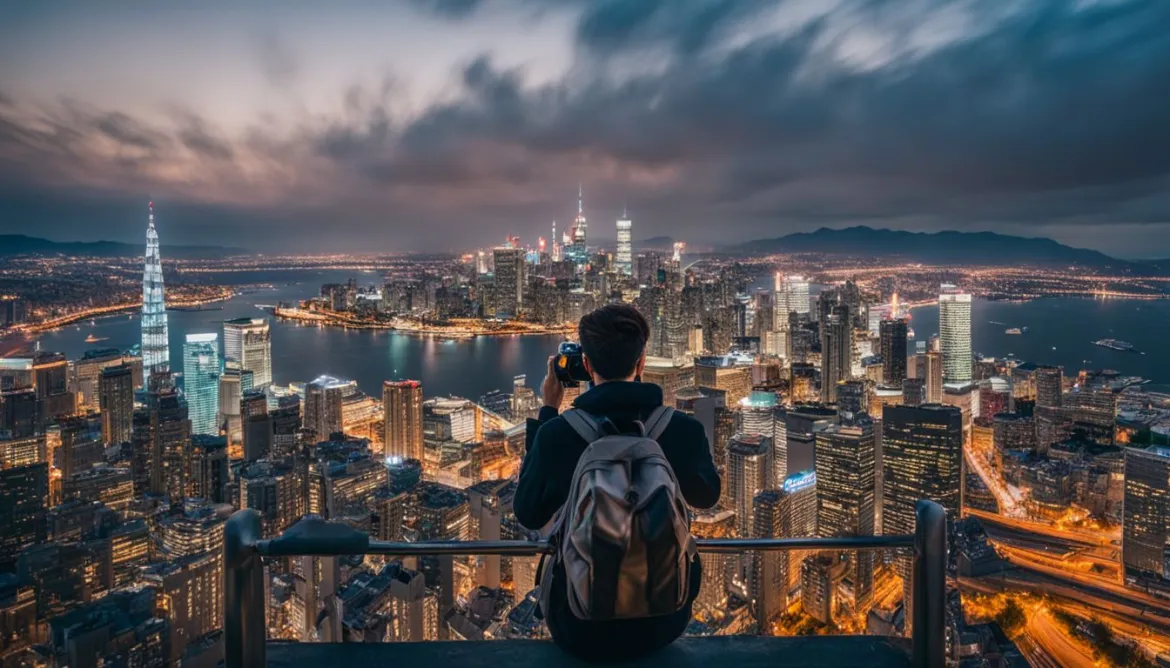
On the other hand, the blue hour occurs before sunrise or after sunset when the sky takes on a captivating blue hue. This hour offers a unique opportunity to capture dramatic, moody images with a captivating ambiance.
Both the golden and blue hours provide natural light photography enthusiasts with optimal conditions for capturing stunning images. The soft, warm light of the golden hour and the ethereal blue tones of the blue hour create a magical ambiance, and objects in the frame are beautifully illuminated. The colors are enhanced, and the photos come alive, evoking emotions and creating a visual impact.
Waking up early and staying out late may seem challenging, but the effort is rewarded with breathtaking images. The golden and blue hours offer a sense of tranquility and serenity, with fewer people around and a peaceful atmosphere. It’s the perfect time to immerse yourself in your surroundings and truly connect with the beauty of the destination you’re photographing.
Make the Most of Golden and Blue Hours
To maximize your photography during the golden and blue hours, here are a few tips:
- Plan ahead: Research the best location and composition for your shot during these hours. Scout the area beforehand to identify potential subjects and vantage points.
- Arrive early and stay late: Take advantage of the entire duration of the golden and blue hours. The best light often occurs just before sunrise and just after sunset.
- Experiment with compositions: Use leading lines, framing techniques, and symmetry to create visually engaging compositions that draw the viewer’s attention.
- Utilize natural elements: Incorporate elements such as water reflections, silhouettes, and sun flares to add interest and depth to your photos.
- Shoot in manual mode: Take control of your camera settings to adjust the exposure, aperture, and shutter speed according to the specific lighting conditions.
Remember, capturing light in photography is an art. The golden and blue hours provide photographers with the best time for photography, allowing them to create images that are truly captivating and filled with emotion. By understanding the importance of these magical hours and applying the right techniques, you’ll be able to elevate your travel photography to new heights.

Composition and Lighting Techniques
In travel photography, composition and lighting play a vital role in capturing stunning images that tell a compelling story. By mastering various composition techniques and understanding how to utilize different lighting conditions, you can elevate your travel photos to the next level. In this section, we will explore the art of composition and the importance of lighting in creating captivating travel photographs.
Composition Techniques
When it comes to composition, incorporating certain techniques can significantly enhance the visual impact of your travel photos. Here are a few techniques to consider:
- Rule of Thirds: This classic composition technique involves dividing your frame into nine equal parts using two horizontal and two vertical lines. By placing key elements of your photo along these lines or at their intersections, you can create a more balanced and visually pleasing composition.
- Framing: Framing refers to using elements within the scene, such as archways, windows, or branches, to frame your main subject. This technique adds depth and visual interest to your photos, guiding the viewer’s eye to the focal point.
- Leading Lines: Leading lines are lines or paths within a photo that draw the viewer’s attention towards the main subject. These lines can be straight or curved and can be created by elements like roads, railings, or even patterns in architecture. Utilizing leading lines adds depth and guides the viewer’s eye through the image.
By incorporating these composition techniques into your travel photography, you can create visually dynamic and engaging images that capture the essence of your destination.
Lighting Techniques
Lighting is another crucial aspect to consider when capturing travel photos. Here are some lighting techniques that can add drama and interest to your images:
- Backlighting: Backlighting occurs when the main source of light is behind your subject. This technique creates a striking glow around the edges of your subject, emphasizing their shape and adding depth to the image.
- Sun Flare: Sun flare occurs when sunlight enters the camera lens, creating beautiful, ethereal bursts of light in your photos. Incorporating sun flares can add a dreamy and whimsical atmosphere to your images.
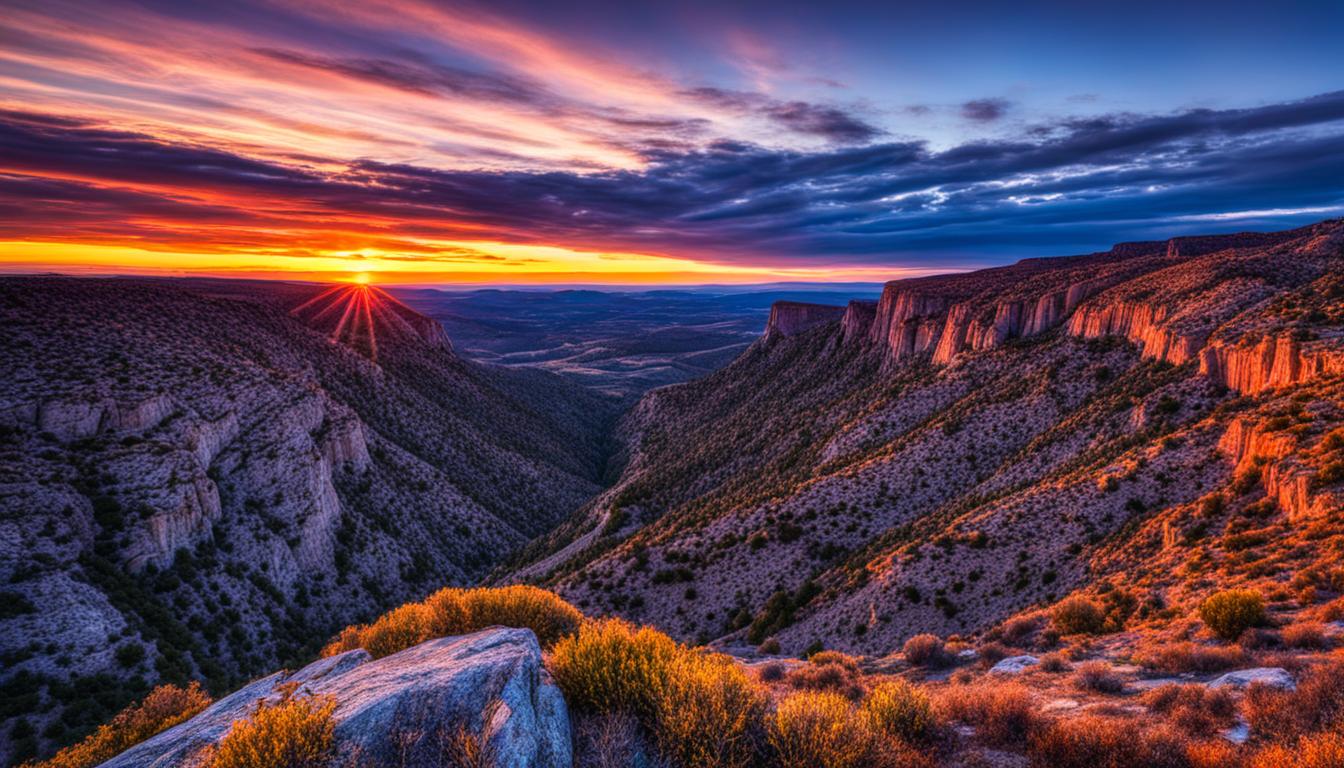
- Silhouette: Silhouettes are created when the subject is backlit, causing it to appear as a dark, defined shape against a brighter background. This technique can convey a sense of mystery and drama to your travel photos.
By experimenting with these lighting techniques, you can add a sense of allure and drama to your travel photos, capturing the essence of the moment in a visually captivating way.
Summary
Understanding composition and lighting techniques is essential for creating impactful travel photos. By incorporating the rule of thirds, framing, and leading lines, you can compose visually engaging images that lead the viewer’s eye through the frame. Additionally, experimenting with backlighting, sun flares, and silhouettes can add drama and interest to your photos, resulting in captivating and memorable travel images.
Conclusion
In conclusion, mastering the golden and blue hours in travel photography is essential for capturing extraordinary images that leave a lasting impression. By implementing the travel photography tips and techniques we’ve discussed, you’ll be equipped with the knowledge to maximize the potential of these magical lighting conditions.
Remember, preparation is key. Plan your shots in advance, considering the location and timing of the golden and blue hours. Scout out potential shooting spots and envision the kind of images you want to create. This will allow you to make the most of the limited time window and ensure you capture the best possible shots.
Additionally, don’t be afraid to experiment with different compositions and lighting conditions. Utilize the rule of thirds, leading lines, framing techniques, and explore unique perspectives. Embrace backlighting to create stunning silhouettes or capture the warmth of the golden hour. Be open to sun flares, as they can add a touch of magic to your travel photos.
With continuous practice, patience, and a keen eye for detail, your travel photography skills will flourish. Keep refining your craft, studying the work of other photographers for inspiration, and never stop seeking new ideas. By maximizing the golden and blue hours, you’ll be able to create breathtaking images that transport viewers to the heart of your travel adventures.
FAQ
What are the golden and blue hours in photography?
The golden hour is the period shortly after sunrise or before sunset when the sun’s light is soft, warm, and magical, creating a golden hue. The blue hour, on the other hand, occurs before sunrise or after sunset when the sky takes on a beautiful blue color. These hours offer optimal natural lighting conditions for capturing stunning travel photos.
How can I make the most of the golden and blue hours in my travel photography?
To maximize the golden and blue hours, it’s crucial to plan your shots in advance. Scout locations, determine the best spots to capture the desired lighting, and arrive early or stay out late accordingly. Additionally, experiment with different compositions and techniques, such as backlighting, using leading lines, and capturing sun flares, to fully utilize the unique qualities of these special times of day.
Should I use automatic or manual mode during the golden and blue hours?
Shooting in manual mode allows you to have full control over your exposure settings, which is particularly useful during the golden and blue hours when lighting conditions can change quickly. By adjusting your aperture, ISO, and shutter speed manually, you can ensure that your photos accurately capture the beauty of these moments. However, if you’re a beginner, using automatic mode can still yield great results.
Do I need to shoot in RAW format during the golden and blue hours?
Shooting in RAW format gives you more flexibility during post-processing to further enhance your images. Since the dynamic range of light during the golden and blue hours can be challenging to capture accurately, shooting in RAW allows you to adjust the exposure, color temperature, and other factors without degrading image quality. It is recommended to shoot in RAW if you have the option available.
What composition techniques work well during the golden and blue hours?
During the golden and blue hours, composition is key to creating visually striking photos. Some effective composition techniques include the rule of thirds, wherein you divide the frame into a grid and place your subjects along the intersecting lines, and utilizing leading lines to guide the viewer’s eye. Additionally, framing your shots with natural elements or architecture can add depth and interest to your images.
How can I capture beautiful silhouettes during the golden and blue hours?
Silhouettes can be achieved during the golden and blue hours by exposing for the brightness of the sky rather than the foreground. Position your subject against a bright background, such as the setting sun, and meter for the sky. This will result in a well-defined silhouette, highlighting the shape and contours of your subject against the colorful sky.
How Can Travel Photographers Minimize Their Environmental Impact During Golden and Blue Hours?
Travel photographers can minimize their environmental impact during golden and blue hours by utilizing ecofriendly travel photography techniques. This includes being mindful of their surroundings, packing out any trash, and avoiding disruptive behavior to wildlife. Additionally, using ecofriendly photography gear and practicing responsible tourism can help protect the environment.


