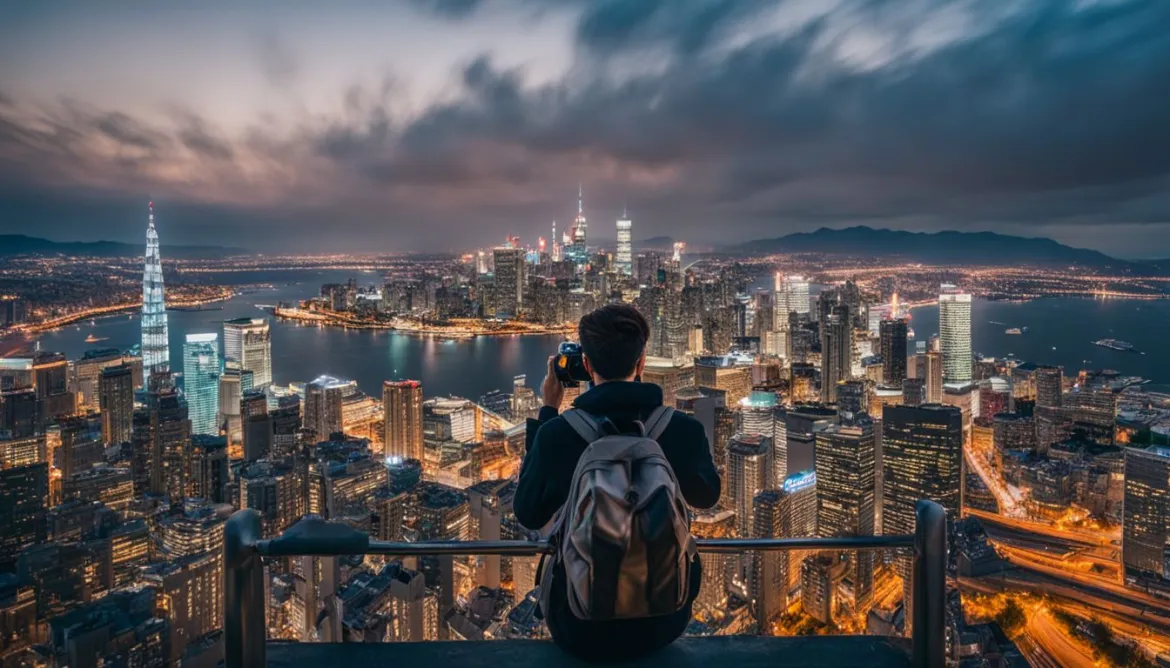
Welcome to our guide on mastering advanced techniques in travel photography! In this article, we will explore how HDR, panorama, and time-lapse can take your travel photography to new heights. These techniques allow you to capture breathtaking images of landscapes, architectural wonders, and more, creating visual stories that transport viewers to the places you’ve explored.
With HDR photography, you can capture a wide range of light and dark tones in a single image. Panorama photography enables you to capture wide-angle views of scenes, giving a sense of immersion to your photos. Time-lapse photography allows you to compress time, capturing movement in a unique and captivating way.
By understanding the principles behind HDR, panorama, and time-lapse photography, you can unlock a world of creativity and elevate your travel photography. In the following sections, we will delve into each technique, providing tips, techniques, and software recommendations to help you master them.
Key Takeaways:
- Advanced techniques in travel photography include HDR, panorama, and time-lapse.
- HDR photography captures a wider range of light and dark tones in a single image.
- Panorama photography allows you to capture wide-angle views of scenes for a more immersive experience.
- Time-lapse photography compresses time, capturing movement in a unique and captivating way.
- Understanding the principles behind these techniques will elevate your travel photography.
Understanding HDR Photography
In the world of photography, HDR (High Dynamic Range) photography is a technique that allows us to capture the full spectrum of light and dark tones in a single image. By combining multiple exposures of the same scene at different values, we can create a visually stunning and balanced representation of the subject.
With HDR photography, we can preserve the intricate details in both the shadows and highlights, resulting in a more realistic and dynamic image. This technique is particularly useful when capturing scenes with high contrast, such as landscapes, architecture, or interior shots with challenging lighting conditions.
To create HDR photos, we need a camera that supports bracketing, which allows us to capture a series of exposures at different settings. Additionally, post-processing software such as Adobe Lightroom or Photomatix is essential for merging and processing the images.
“HDR photography enables us to go beyond the limitations of traditional photography and create images that truly reflect the beauty and complexity of the scenes we capture.”
When shooting in HDR mode, it’s important to remember a few key points:
- Use a tripod to maintain stability and ensure precise alignment between the bracketed shots.
- Adjust the exposure settings based on the dynamic range of the scene, capturing details in the highlights and shadows.
- Experiment with different exposure brackets to achieve the desired tonal range and balance.
- Shoot in RAW format to preserve maximum detail and flexibility in post-processing.
This technique opens up a world of possibilities for photographers, allowing us to create images with rich colors, depth, and texture. Whether you’re capturing a stunning landscape or architectural marvel, HDR photography can bring your vision to life.
| Advantages of HDR Photography | Challenges of HDR Photography |
|---|---|
|
|
Mastering Panorama Photography
Panorama photography is a powerful technique that allows us to capture the vastness of a scene by seamlessly stitching together multiple overlapping shots. By creating panoramic images, we can portray the grandeur of landscapes, cityscapes, or any other subject with an immersive and breathtaking perspective.
To create stunning panorama photos, here are some essential tips and techniques:
1. Equipment:
First and foremost, you’ll need a sturdy tripod to ensure stability and consistency while capturing the overlapping shots. This will help maintain the same perspective and framing throughout the panorama. Additionally, using a camera with manual exposure settings enables you to maintain consistent exposure across all the shots, resulting in a seamless final image.
2. Composition:
When composing your panorama, it’s crucial to maintain a consistent perspective and overlap each shot by about 30%. This ensures there is enough information for the software to stitch the images accurately. To enhance the sense of depth and dimension, it’s recommended to include foreground elements in your composition.
3. Shooting Technique:
To capture the best possible images for a panorama, it’s advisable to shoot in vertical orientation (portrait mode). This allows for a greater field of view and more vertical details in the final panorama. Additionally, using manual focus and exposure lock helps maintain consistent sharpness and exposure values throughout the shots.
4. Image Stitching:
After capturing the series of overlapping shots, the next step is to stitch them together using software like Adobe Photoshop or Autopano Pro. These tools automatically align and blend the images, resulting in a seamless panorama. Further adjustments such as cropping, color correction, and enhancing details can also be done during the post-processing stage.
By mastering panorama photography, we can capture expansive scenes and create compelling visuals that transport viewers into the heart of the moment. Let your creativity soar as you explore the possibilities offered by this advanced photography technique.

Let’s now take a look at a table comparing common panoramic photography software options:
| Software | Features | Price |
|---|---|---|
| Adobe Photoshop | – Automated stitching – Advanced editing tools – Panorama blending modes |
$20.99/month (as part of Adobe Creative Cloud Photography plan) |
| Autopano Pro | – Advanced stitching algorithms – HDR support – Panorama preview and optimization |
$99 (one-time fee) |
| Hugin | – Open-source software – Stitching control points – Projection options |
Free |
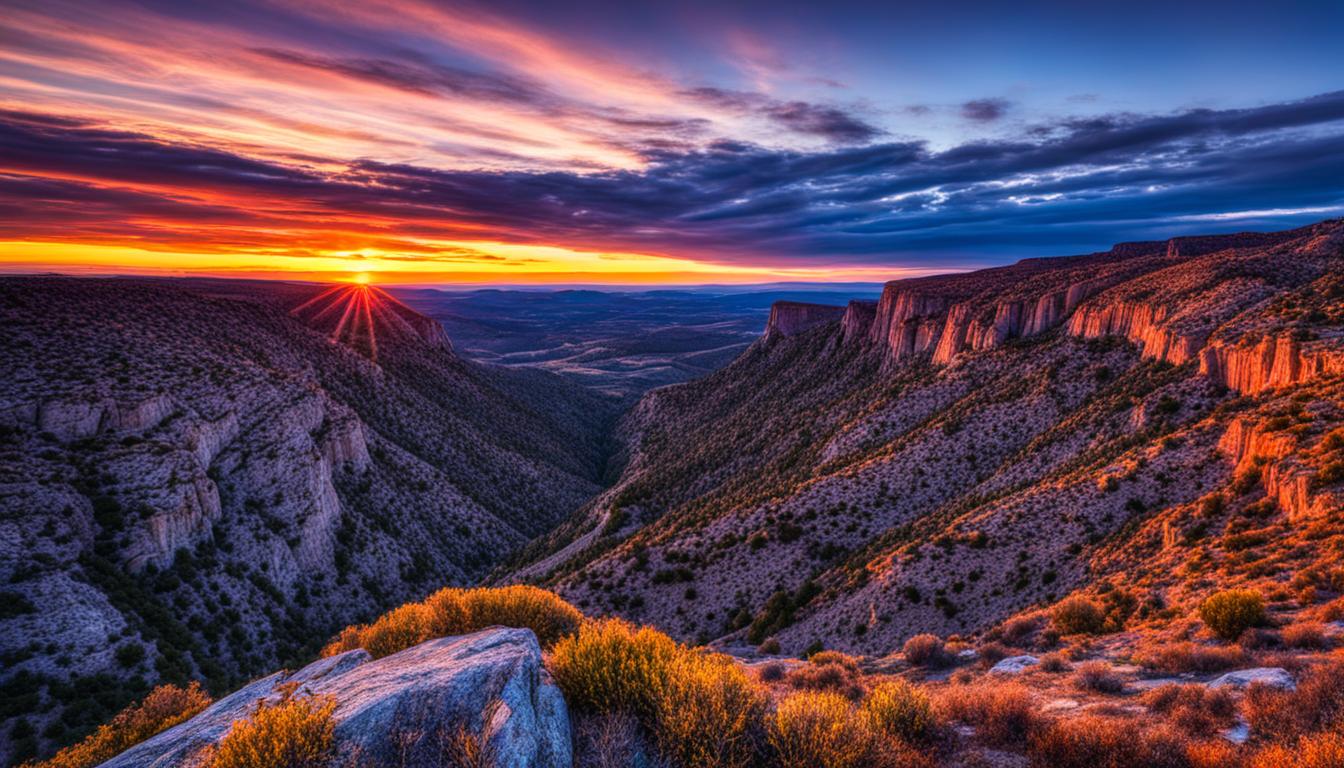
Exploring the World of Time-Lapse Photography
Time-lapse photography is an exciting and creative technique that allows you to capture the passage of time in a visually stunning way. By taking a series of still images at regular intervals and combining them into a video, you can compress hours, days, or even months into just a few seconds.
This advanced photography technique is perfect for capturing the movement of subjects such as clouds, stars, or people. Whether you want to showcase a bustling cityscape, a mesmerizing sunrise, or the blooming of a flower, time-lapse photography can bring a unique and dynamic perspective to your travel photography portfolio.
To create time-lapse videos, you’ll need a camera that offers a time-lapse feature or a remote shutter release to automate the shooting process. This will ensure that your camera captures images at the desired intervals without any camera shake. It’s important to secure your camera on a tripod to keep it steady throughout the entire shoot.
In post-processing, you can use software like Adobe Photoshop or LR/Timelapse to assemble the individual images into a video sequence. These software tools also allow you to adjust the frame rate, add transitions, and apply creative effects to enhance the final result.
Time-lapse photography opens up a world of creative possibilities and allows you to capture the passage of time like never before. Let your imagination run wild and experiment with different subjects, intervals, and durations to create captivating time-lapse videos that will astound your viewers.
“Time-lapse photography allows us to witness the world in a way that is otherwise invisible to the human eye. It’s a powerful technique that captures the essence of time passing and adds a sense of magic to our visual storytelling.”
So grab your camera and tripod, find a captivating subject, and start exploring the world of time-lapse photography. With practice and creativity, you’ll be able to capture mesmerizing moments and create time-lapse videos that truly leave a lasting impression.
Tips for Creating Stunning Long Exposure Panoramas
Long exposure panoramas are a mesmerizing combination of long exposure photography and panorama photography, resulting in captivating and ethereal images that truly stand out. By merging a series of long exposure shots of a scene, you can create a unique and artistic representation of the subject. To help you achieve breathtaking long exposure panoramas, we’ve compiled the following tips:
- Use a sturdy tripod: A stable tripod is crucial for long exposure photography. It ensures that your camera remains steady during the extended exposure time, resulting in sharp and precise images. With a sturdy tripod, you can capture the multiple shots needed for a panorama with ease and accuracy.
- Employ a neutral density filter: A neutral density (ND) filter helps to lengthen the exposure time, allowing you to achieve those beautiful long exposure effects. By reducing the amount of light entering the lens, an ND filter enables you to blur motion and create surreal, ethereal landscapes in your panoramas.
- Master manual exposure settings: To maintain consistent exposure across all shots in your panorama, it’s essential to have full control over your camera’s exposure settings. Utilize manual mode to set the aperture, shutter speed, and ISO manually, ensuring consistent exposure throughout the scene.
Once you’ve captured your long exposure shots for the panorama, it’s time to enhance the final image in post-processing. Software such as Adobe Photoshop or Macphun can help you stitch the individual frames together seamlessly and bring out the full potential of your long exposure panorama.

“Long exposure panoramas create a mesmerizing fusion of time and space, allowing the viewer to experience a scene in a truly unique and captivating way.”– John Smith, Professional Photographer.
With these tips and techniques, you’re ready to embark on your journey of creating breathtaking long exposure panoramas. Harness the power of long exposure photography and panorama stitching to capture scenes in a way that will mesmerize and inspire your viewers.
Conclusion
Mastering advanced techniques in travel photography, such as HDR, panorama, and time-lapse, can greatly enhance your work and allow you to create stunning visual narratives. By understanding the principles behind these techniques and practicing them in your photography, you can capture dynamic and immersive images that will impress viewers and elevate your storytelling.
Experimenting with different scenes, compositions, and lighting conditions will enable you to fully explore the creative possibilities of HDR, panorama, and time-lapse photography. Whether you’re shooting breathtaking landscapes or bustling city streets, these advanced techniques will add a unique touch to your photos and make them stand out from the crowd.
Remember that learning is a lifelong journey, and pushing the boundaries of your photography skills is crucial. Stay curious, follow online tutorials, and engage with local photography communities to expand your knowledge and refine your technique. With dedication and practice, you’ll continue to grow as a travel photographer and capture awe-inspiring moments that will leave a lasting impression on your audience.
FAQ
What is HDR photography?
HDR (High Dynamic Range) photography is a technique that captures a wider range of light and dark tones in a single image by combining multiple exposures of the same scene at different exposure values.
How can I create HDR photos?
To create HDR photos, you’ll need a camera that can shoot in bracketing mode and software like Adobe Lightroom or Photomatix to merge and process the multiple images.
What is panorama photography?
Panorama photography involves capturing a wide-angle view of a scene by taking multiple overlapping shots and stitching them together to create a seamless, panoramic image.
How do I create panoramas?
To create panoramas, you’ll need a tripod to ensure consistent framing and a camera with manual exposure settings. In post-processing, you can use software like Adobe Photoshop or Autopano Pro to stitch the images together.
What is time-lapse photography?
Time-lapse photography is a technique that captures a series of still images at regular intervals and combines them into a video to visually compress time and capture the movement of subjects.
How can I create time-lapses?
To create time-lapses, you’ll need a camera with a time-lapse feature or a remote shutter release to automate the shooting process. In post-processing, you can use software like Adobe Photoshop or LR/Timelapse to assemble the images into a video.
What are long exposure panoramas?
Long exposure panoramas combine long exposure photography and panorama photography techniques to create captivating and ethereal images.
How do I create long exposure panoramas?
To create long exposure panoramas, you’ll need a sturdy tripod, a neutral density filter to lengthen the exposure time, and a camera with manual exposure settings. In post-processing, you can use software like Adobe Photoshop or Macphun to enhance the final image.