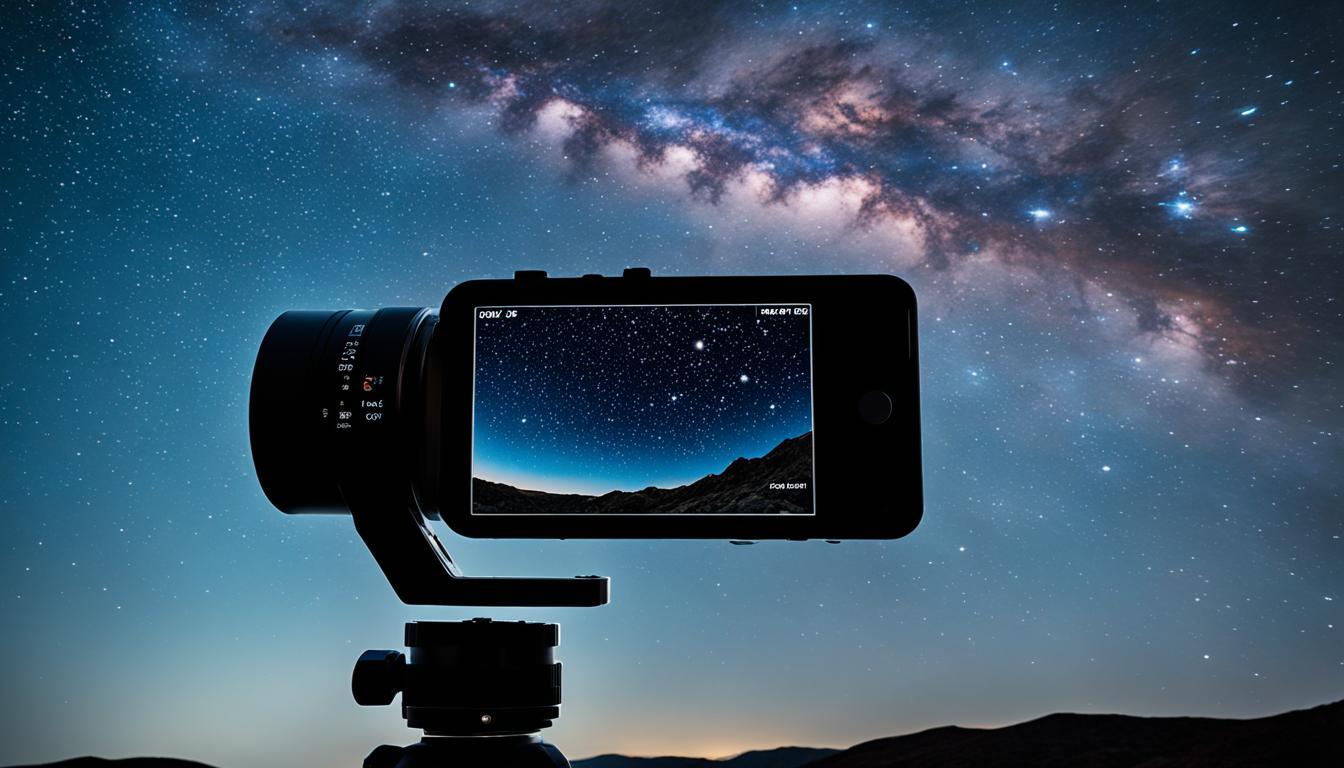
Astrophotography can be a rewarding hobby that allows us to capture the beauty of the night sky. To get started, we need to understand the proper camera settings for astrophotography. Whether we’re using a DSLR camera and telescope or a simple camera lens on a tripod, these settings will help us capture stunning photos of the stars.
Some essential settings to consider include using manual or bulb mode, using a fast aperture of F/2.8 to F/4, setting the white balance to daylight or auto, and shooting in RAW format. Additionally, using manual focus, an ISO of 400-1600 (or more), and a 10-second delay drive mode can also enhance our astrophotography images.
Key Takeaways
- Manual or bulb mode, fast aperture, and RAW format are essential for astrophotography.
- Set the white balance to daylight or auto for accurate color reproduction.
- Use manual focus and an ISO of 400-1600 for sharp and low-noise images.
- Consider using a 10-second delay drive mode to avoid camera shake.
- Experiment with different camera settings to find your own unique style.
Tips for Astrophotography Camera Setup
Before we dive into capturing stunning astrophotography images, it’s crucial to properly set up your camera. By following these tips, you’ll be well-equipped to capture the beauty of the night sky.
1. Secure your camera
Begin by placing your camera on a sturdy tripod to minimize camera shake. This stability is essential for capturing sharp and clear images of the stars.
To further reduce camera shake, utilize a remote shutter release cable. This handy tool allows you to trigger the shutter without physically touching the camera, resulting in sharper images.
3. Set your camera to manual focus
For crisp and focused stars, switch your camera to manual focus mode. Utilize the live view mode to adjust the focus on a bright star, ensuring precise focus on celestial objects.
4. Experiment with focal lengths
Explore different focal lengths to capture varying perspectives of the night sky. Consider using a wide-angle lens to capture a wider expanse of stars, creating a more immersive astrophotography experience.
5. Consider high ISO settings
Boost the sensitivity of your camera’s sensor by using higher ISO settings, typically ranging from 400 to 1600. This amplifies the amount of light captured, resulting in brighter and more detailed astrophotography images.
Implementing these camera setup tips will help you lay a solid foundation for your astrophotography endeavors. Now that you’re ready to capture breathtaking images, let’s move on to understanding essential exposure settings in the next section.
Understanding Astrophotography Exposure Settings
The exposure settings play a crucial role in astrophotography. To capture sharp stars and avoid star trails, it’s essential to use the correct exposure length. One helpful calculation is the “500 rule”, which allows you to determine the maximum exposure time before star trailing occurs.
Here’s how to apply the “500 rule” to your astrophotography:
- Determine the focal length of your lens.
- Divide 500 by the focal length to find the maximum exposure time in seconds.
- Set your exposure time accordingly.
For example, let’s say you’re using a 50mm lens. The calculation would be 500 / 50 = 10. So, the longest exposure time you should use is 10 seconds to capture sharp stars.
Additionally, shooting in RAW format is highly recommended for astrophotography. RAW files contain more data and allow for greater flexibility in post-processing. They also capture the full dynamic range of the night sky, resulting in richer and more detailed images.
Remember, understanding and utilizing the proper exposure settings will greatly enhance your astrophotography results.
Astrophotography Exposure Settings Table
| Lens Focal Length | Maximum Exposure Time |
|---|---|
| 24mm | 20 seconds |
| 35mm | 14 seconds |
| 50mm | 10 seconds |
| 85mm | 6 seconds |
| 200mm | 2.5 seconds |
Referencing the above table, choose the appropriate maximum exposure time based on the focal length of your lens to capture stunning astrophotography images.

Tips and Techniques for Better Astrophotography
To take your astrophotography to the next level, let’s explore some advanced techniques and tricks that can enhance your images and unlock their full potential.
1. Noise Stacking
One technique to reduce noise in your astrophotography images is noise stacking. This involves capturing multiple exposures of the same scene and combining them to create a cleaner final image. By stacking several photos, you can effectively reduce the noise while preserving the details of your subject. Experiment with different exposure times and use dedicated software such as Adobe Photoshop or specialized astrophotography tools to stack and align your images.
2. Focus Stacking
To achieve a larger depth of field and maintain sharp focus throughout your astrophotography image, try focus stacking. This technique involves capturing multiple shots at different focus distances and merging them together in post-processing. By blending the in-focus areas of each image, you can create a final photo with an extended depth of field. This is particularly useful when photographing subjects with both foreground and distant stars.
3. Light Painting
Add an artistic touch to your astrophotography by incorporating light painting. This technique involves illuminating the foreground of your scene using a handheld light source while capturing a long exposure of the night sky. By selectively lighting up specific areas, you can create a dramatic contrast between the illuminated foreground and the starry backdrop. Experiment with different light sources, angles, and exposures to achieve the desired effect.
4. Panoramas
If you want to capture a wider field of view or showcase the vastness of the night sky, consider shooting panoramas. By taking multiple overlapping shots of your desired scene and merging them together in post-processing, you can create a panoramic image that captures a broader perspective. This technique is particularly effective when photographing expansive landscapes or capturing the Milky Way sweeping across the sky.
Note: It’s important to ensure proper alignment and exposure consistency when capturing images for noise stacking, focus stacking, and panoramas. Using a tripod and remote shutter release can help minimize camera shake and ensure smooth transitions between frames.
By incorporating these tips and techniques into your astrophotography workflow, you can elevate your images and capture stunning and unique photographs of the night sky.
| Technique | Description |
|---|---|
| Noise Stacking | Combine multiple exposures to reduce noise in your images |
| Focus Stacking | Merge multiple shots at different focus distances to achieve a larger depth of field |
| Light Painting | Illuminate the foreground with a handheld light source to add artistic elements |
| Panoramas | Merge multiple images to capture a wider field of view |
Conclusion
Astrophotography can be a challenging but rewarding hobby that allows us to capture the breathtaking beauty of the night sky. By understanding and using the proper camera settings, we can unlock the full potential of our equipment and create stunning astrophotography images.
Remember that there is no one-size-fits-all approach to astrophotography. It’s essential to experiment and try different techniques to discover our own unique style and perspective. Don’t be afraid to step out of your comfort zone and push the boundaries of what’s possible.
With practice and patience, we can capture the beauty of the stars and create images that truly leave an impact. So, grab your camera, set up your tripod, and immerse yourself in the wonders of the night sky. The journey into astrophotography is waiting for you!
FAQ
What camera settings should I use for astrophotography?
Some essential camera settings for astrophotography include using manual or bulb mode, a fast aperture of F/2.8 to F/4, setting white balance to daylight or auto, shooting in RAW format, using manual focus, setting ISO between 400 and 1600, and using a 10-second delay drive mode.
How do I set up my camera for astrophotography?
Start by securing your camera on a sturdy tripod and using a remote shutter release cable to minimize camera shake. Set your camera to manual focus and adjust the focus on a bright star using the live view mode. Experiment with different focal lengths and consider using high ISO settings between 400 and 1600.
What exposure settings should I use for astrophotography?
To avoid star trails and capture sharp stars, use the “500 rule” to calculate the maximum exposure time. Divide 500 by the focal length of your lens to determine the maximum exposure time in seconds. Shooting in RAW format is also recommended to have more flexibility in post-processing and capture the full dynamic range of the night sky.
Are there any tips and techniques for better astrophotography?
Yes, you can try advanced techniques like noise stacking and focus stacking to reduce noise and increase the depth of field in your images. Light painting can also be used to illuminate the foreground, and panoramas can help capture a wider field of view.
Can I Use Camera Settings from the Beginner’s Guide for Comprehensive Astrophotography?
Yes, you can definitely apply the camera settings from the beginner’s guide to comprehensive astrophotography. However, you may need to make some adjustments based on the specific conditions and requirements of comprehensive astrophotography. It’s always best to refer to a comprehensive astrophotography guide for the most accurate settings.


