Making a panoramic photo with your drone is an immersive way to capture vast landscapes. Panoramic photos are wide shots that can even appear as 360-degree views. While some drones have built-in software for panoramas, manually stitching photos together can provide more detail and control over composition.
Having the right gear, such as a high-quality camera drone, is essential. DJI drones like the Mavic 3 Pro and Cine are recommended for their built-in panoramic software. However, manually taking photos and using panoramic software like Adobe Photoshop’s Photomerge tool or Panovolo can produce even better results.
Tips for capturing panoramic images include ensuring sufficient overlap between photos, consistent image style, and keeping the drone level. Shooting in RAW format and using neutral density filters are also recommended. Practice and experimentation are key to improving panoramic photography skills.
Key Takeaways:
- Creating panoramic images with drones provides an immersive perspective of vast landscapes.
- Manually stitching photos together can offer more control and detail in the composition.
- DJI drones like the Mavic 3 Pro and Cine have built-in panoramic software, but other options like Adobe Photoshop’s Photomerge tool or Panovolo can produce even better results.
- Tips for capturing panoramic images include ensuring overlap between photos, maintaining a consistent image style, and keeping the drone level.
- Shooting in RAW format and using neutral density filters can enhance the quality of panoramic photos.
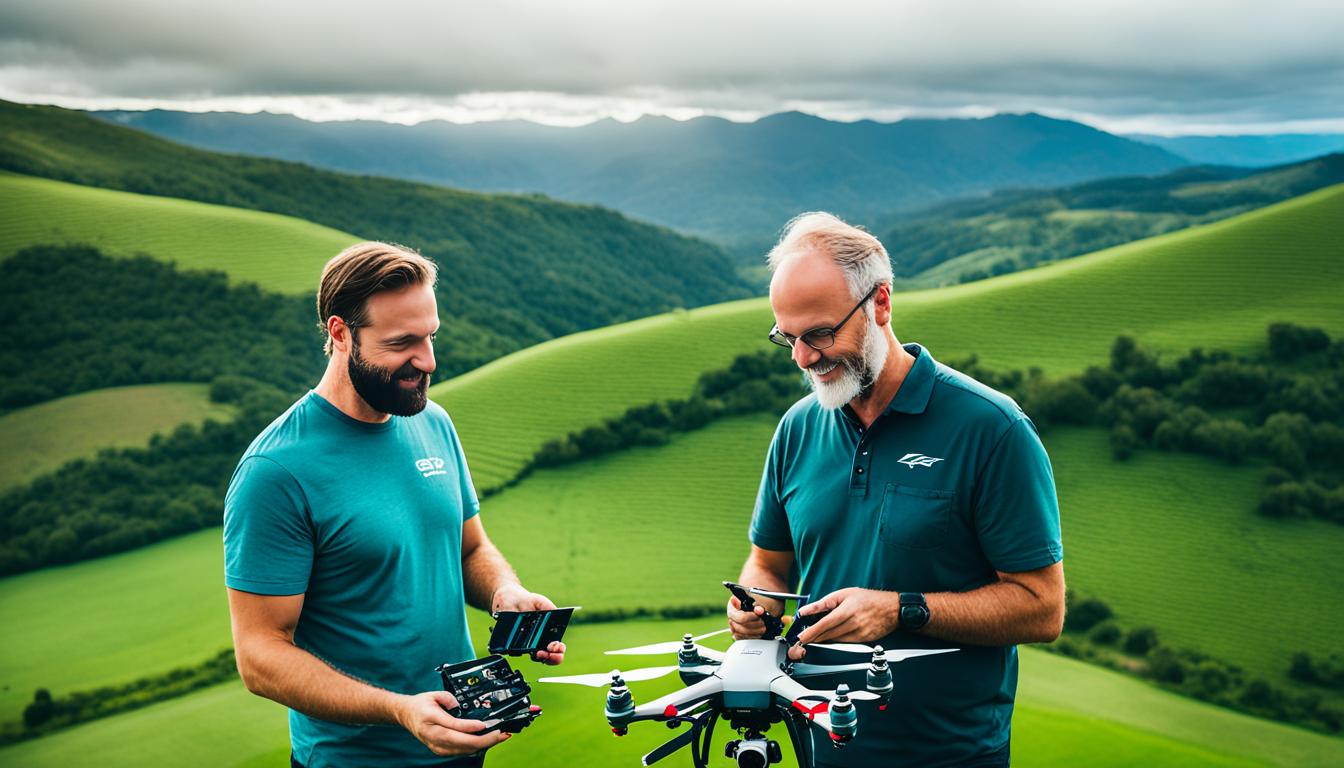
The Right Gear for Panoramic Photography
To create high-quality panoramic images, it’s important to have a camera drone with excellent capabilities. The DJI Mavic 3 Pro and Cine drones are recommended for their built-in panoramic software and image quality.
These drones offer automatic panorama shooting modes that are easy to use. However, some DJI drones have limitations, and using other software options may be necessary. It’s important to choose a drone that supports panoramic photography and has the necessary camera features, such as adjustable aperture.
Other camera drones on the market may also be suitable for panoramic photography, but it’s important to research their capabilities and compatibility with panoramic software.
| DJI Mavic 3 Pro | DJI Mavic Cine |
|---|---|
| Built-in panoramic software | Built-in panoramic software |
| High-quality image capture | High-quality image capture |
| Adjustable aperture | Adjustable aperture |
| Automatic panorama shooting modes | Automatic panorama shooting modes |
| Limited functionality on some DJI drones | Limited functionality on some DJI drones |
Using DJI’s Built-In Panoramic Software
When it comes to panoramic photography, DJI drones offer a convenient and user-friendly solution with their built-in panoramic software. With the DJI smartphone app, you can easily access the Panorama feature and explore various shooting options to capture breathtaking panoramic images. Let’s take a closer look at the panorama shooting options available with the DJI panoramic software:
Sphere Panoramas
The Sphere mode allows you to capture a 360-degree view, creating a spherical image that provides an immersive experience. It’s ideal for capturing wide landscapes, showcasing the surrounding environment in all its glory.
Wide Angle Panoramas
The Wide Angle mode allows you to capture an expansive view with a wider field of view. It’s perfect for capturing large-scale landscapes or architecture, ensuring that every detail is preserved in your panoramic image.
180° Panoramas
The 180° mode allows you to capture a half-circle panoramic image. Whether you want to showcase a stunning sunset or the curvature of a mountain range, this shooting mode offers a unique perspective for your panoramic photography.
It’s important to note that not all DJI drones are compatible with the built-in panoramic software, and some camera models on compatible drones may not support panoramic shooting. Therefore, it’s essential to check the capabilities of your specific drone before utilizing the DJI panoramic software.
Experimenting with different shooting options and effects can help you unleash your creativity and capture stunning panoramas with ease. Whether you opt for the immersive Sphere mode, the wide-angle view of the Wide Angle mode, or the unique perspective of the 180° mode, DJI’s built-in panoramic software provides a range of options to elevate your panoramic photography.
DJI Panoramic Software Shooting Modes and Effects
| Shooting Mode | Effect |
|---|---|
| Sphere | Provides an immersive 360-degree view |
| Wide Angle | Captures an expansive view with a wider field of view |
| 180° | Captures a unique half-circle perspective |
With DJI’s built-in panoramic software and the various shooting modes available, you can effortlessly capture wide and immersive panoramas that showcase the beauty of your surroundings. Whether you’re a professional photographer or an enthusiast, the DJI panoramic software offers a seamless and user-friendly experience for creating stunning panoramic images.
Manually Stitching Photos with Panoramic Software
When it comes to creating stunning panoramic images, manually stitching photos together using specialized panoramic software can offer greater control and detail in the final result. By employing software like Adobe Photoshop’s Photomerge tool and Panovolo, you can take your panoramic photography to the next level.
Adobe Photoshop’s Photomerge tool is a powerful option that allows you to seamlessly merge multiple photographs into a single, continuous panoramic image. With features such as layout options, distortion correction, and vignette removal, you have the flexibility to customize the appearance of your panoramic photo.
For drone panoramic image stitching, Panovolo is a go-to software option. Specifically designed for this purpose, it offers an array of customization options to achieve the perfect panoramic image. With Panovolo, you have control over important elements such as alignment, blending, and projection, ensuring a flawless result.
When manually stitching photos together, there are a few key factors to consider. First, it’s crucial to ensure sufficient overlap between images. This overlap provides the necessary data for the software to accurately align and merge the photos. Additionally, maintaining a consistent image style, such as using the same camera settings for each shot, helps create a cohesive final panoramic image.
Keeping your images level is also important. Using the built-in level indicator on your drone or manually adjusting the camera angle can help achieve a balanced and visually appealing result.
Furthermore, shooting in RAW format can maximize the potential for post-processing adjustments and enhance the overall quality of your panoramic photos. Additionally, using a neutral density filter can assist in controlling exposure, especially in bright conditions, to avoid overexposed highlights.
By incorporating manual stitching techniques and leveraging specialized software, you can elevate the quality and precision of your panoramic images, resulting in breathtaking visuals that truly capture the essence of your subject.
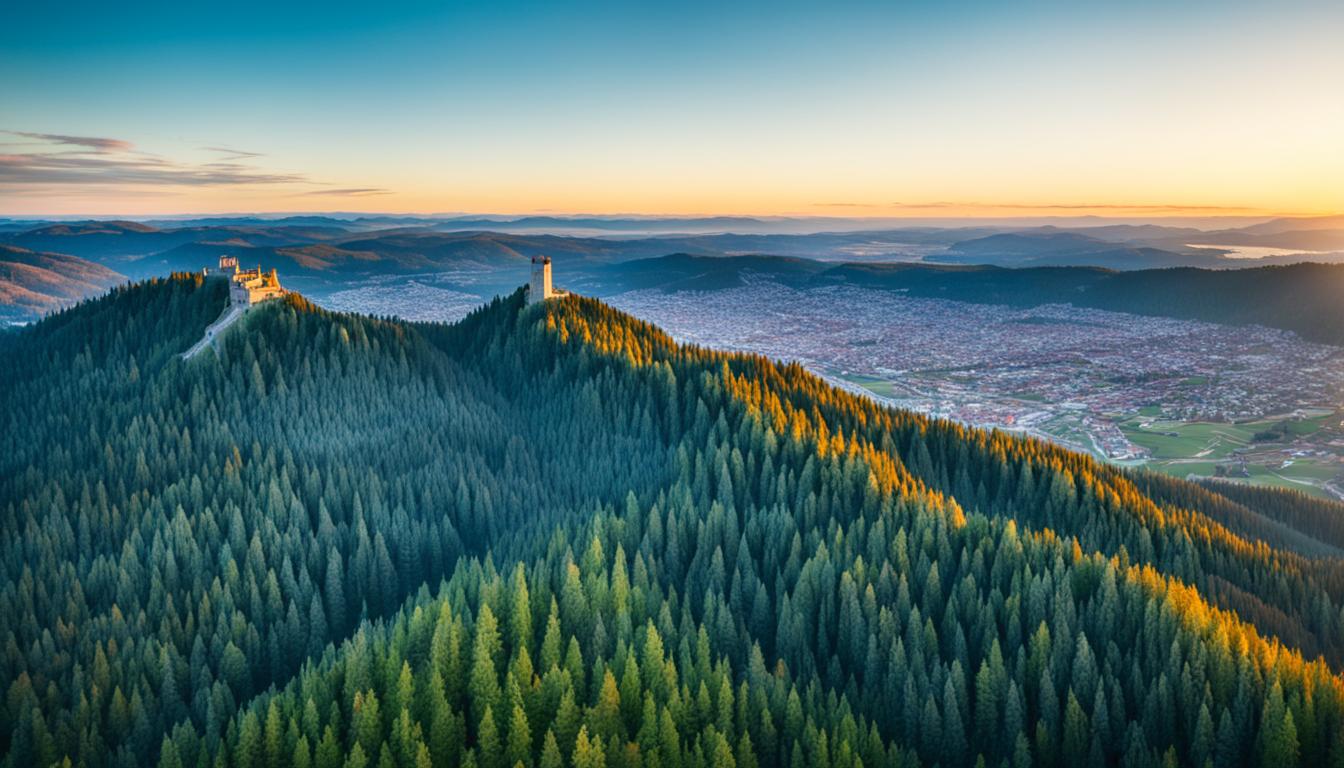
Example Image:
Take a look at this stunning panoramic photo created using manual stitching techniques and specialized software:

With the right tools and techniques, you can achieve similar extraordinary results with your own panoramic photography.
Tips for Capturing Panoramic Images with Drones
When it comes to capturing stunning panoramic images with drones, there are a few specialized techniques that can help you achieve impressive results. Whether you’re a beginner or an experienced drone photographer, these tips will help elevate your panoramic photography skills. Let’s explore them!
- Ensure Sufficient Overlap Between Photos: To successfully stitch and merge your images, it’s important to have a significant overlap between consecutive photos. Aim for approximately 40% overlap for each image, and capture a total of 20-30 images for a smooth and detailed panorama. This overlap gives the software more data to work with, resulting in a more accurate and seamless final image.
- Maintain a Consistent Image Style: Consistency is key in creating a cohesive and visually appealing panoramic image. To achieve this, stick to the same camera settings throughout your photo session. Keep the focal length, aperture, and exposure consistent, ensuring that all images have a similar look and feel when merged together.
- Keep Your Images Level: Level images are essential for a well-aligned panorama. There are two ways you can achieve level images: using the altitude lock features on your drone to maintain a consistent height, or manually adjusting the camera angle to keep the horizon straight. Whichever method you choose, the goal is to eliminate any tilt or slant in your images.
- Shoot in RAW Format: Shooting in RAW format provides greater flexibility in post-processing and editing. RAW files capture more data and allow for more precise adjustments to exposure, white balance, and other settings when editing your panoramic images. This format gives you more control and ensures the highest quality results.
- Use a Neutral Density Filter: A neutral density (ND) filter is a valuable tool for controlling exposure in bright conditions. By reducing the amount of light entering the camera, an ND filter helps avoid blown-out highlights and ensures a balanced exposure across the entire panoramic image. Experiment with different ND filter strengths to achieve the desired effect for your specific shooting conditions.
- Practice and Experiment: As with any photography skill, practice is essential for improving your panoramic photography techniques. Experiment with different compositions, lighting conditions, and software tools to find the approach that works best for you. Don’t be afraid to step out of your comfort zone and try new things. The more you practice, the more refined your skills will become.
By following these tips and techniques, you’ll be well on your way to capturing breathtaking panoramic images with your drone. Remember, overlapping photos, maintaining a consistent image style, keeping your images level, shooting in RAW format, and using a neutral density filter are all key factors in achieving stunning aerial panoramas. So grab your drone, head out to beautiful locations, and let your creativity soar as you practice the art of panoramic photography!
Common Issues and Solutions in Panoramic Photography
Panoramic photography can sometimes present challenges that may affect the final image’s quality and visual appeal. In this section, we will address three common issues encountered in panoramic photography: a distorted horizon line, error messages during merging, and continuity errors in the final image. We will also provide practical solutions to fix these panoramic errors.
1. Distorted Horizon Line
A distorted horizon line can occur when capturing panoramic images, leading to an uneven or skewed appearance. To fix this issue, we recommend using the Puppet Warp function available in editing software like Adobe Photoshop. This tool allows you to straighten and align the horizon, ensuring a level and visually pleasing result.
2. Error Messages during Merging
Error messages may arise when merging images to create a panoramic photo. These messages can be caused by various factors, such as insufficient overlap between images or incompatible projection options. To resolve this issue, try different projection settings when merging and ensure sufficient overlap between each image. Experimenting with these options can help overcome error messages and create a seamless panoramic image.
3. Continuity Errors in the Final Image
In some cases, you may encounter continuity errors in the final panoramic image, where there are noticeable discrepancies or misalignments in the stitched areas. To fix these errors, editing tools like the patch tool or clone stamp tool can be used. These tools allow you to repair and blend the areas where continuity issues occur, resulting in a smooth and visually coherent panoramic image.
By paying attention to details and using the right techniques, these common issues in panoramic photography can be resolved effectively, ensuring a visually appealing and seamless final image.

| Common Issue | Solution |
|---|---|
| Distorted Horizon Line | Use the Puppet Warp function in Adobe Photoshop to straighten and align the horizon. |
| Error Messages during Merging | Try different projection options and ensure sufficient overlap between images. |
| Continuity Errors in the Final Image | Use editing tools like the patch tool or clone stamp tool to repair and blend the areas. |
Conclusion
Creating panoramic images with drones is a captivating and immersive way to capture breathtaking landscapes. Whether you choose to utilize the built-in panoramic software or manually stitch photos using specialized software, the key to success lies in having the right equipment, mastering essential techniques, and exploring various shooting and editing options.
The DJI Mavic 3 Pro and Cine drones are highly recommended for their exceptional built-in panoramic software, offering ease of use and impressive image quality. Alternatively, software tools like Adobe Photoshop’s Photomerge tool and Panovolo provide greater control and customization options for creating stunning panoramas.
To achieve seamless and visually appealing panoramic images, attention to detail is crucial. Ensure sufficient overlap between photos, maintain a consistent image style, and keep the drone level for a cohesive composition. Shooting in RAW format and using neutral density filters can also enhance the quality of your panoramic shots.
With practice and a touch of creativity, you can master the art of creating panoramic images with drones. Explore different techniques, experiment with unique perspectives, and unlock the full potential of your drone’s capabilities. Whether you’re a professional photographer or an enthusiast, panoramic photography with drones offers limitless possibilities for capturing awe-inspiring vistas from above.
FAQ
What is panoramic photography with drones?
Panoramic photography with drones is a technique of capturing wide shots that can even appear as 360-degree views. It allows you to capture vast landscapes and create immersive images.
What gear do I need for panoramic photography with drones?
To create panoramic images with drones, you will need a camera drone with excellent capabilities. The DJI Mavic 3 Pro and Cine drones are recommended for their built-in panoramic software and image quality.
Can I use DJI’s built-in panoramic software?
Yes, DJI drones offer built-in panoramic software that allows for easy panoramic photography. The DJI smartphone app includes a Panorama feature with various shooting options, such as Sphere, Wide Angle, and 180° panoramas.
Is there other panoramic software I can use?
Yes, instead of relying on automated panoramic software, you can manually stitch photos together using specialized software like Adobe Photoshop’s Photomerge tool or Panovolo. These software options provide more control and detail in the resulting panoramic image.
What are some tips for capturing panoramic images with drones?
Tips for capturing panoramic images with drones include ensuring sufficient overlap between photos, maintaining a consistent image style, keeping the drone level, shooting in RAW format, using neutral density filters, and practicing and experimenting to improve your skills.
What are common issues in panoramic photography and how can I fix them?
Common issues in panoramic photography include a distorted horizon line, error messages during merging, and continuity errors in the final image. These can be fixed using tools like the Puppet Warp function in Adobe Photoshop, trying different projection options, and using editing tools like the patch tool or clone stamp tool to repair and blend areas.
What is the conclusion for creating panoramic images with drones?
Creating panoramic images with drones is a rewarding and immersive way to capture stunning landscapes. By having the right gear, practicing essential techniques, and experimenting with different shooting and editing options, anyone can master the art of panoramic photography with drones.
Is Mastering Drone Flight Essential for Creating Panoramic Images with Drones?
Yes, mastering drone flight techniques is essential for creating panoramic images with drones. Smooth, controlled movements are key to capturing high-quality, seamless panoramic shots. Without expertise in drone flight, the images can come out shaky and unprofessional. Therefore, learning drone flight techniques is crucial for creating breathtaking panoramic images with drones.