Welcome to our guide on drone photography in landscapes! Drones have revolutionized the way we capture stunning images of the world around us. With their ability to fly and capture unique perspectives, drones offer endless possibilities for capturing breathtaking shots of beautiful landscapes.
In this article, we will provide you with essential tips and rules to enhance your drone photography skills. Whether you are a beginner or an experienced drone photographer, these tips will help you take your landscape photography to new heights.
Key Takeaways:
- Plan your shots by considering local laws and restrictions, and look for interesting angles and compositions
- Use the right settings on your drone’s camera, including shutter speed, ISO, and f-stop
- Shoot in RAW format for maximum editing flexibility and image quality
- Exercise patience and be aware of battery life, particularly for sunset and sunrise shots
- Fly safely and legally by familiarizing yourself with the regulations in your area
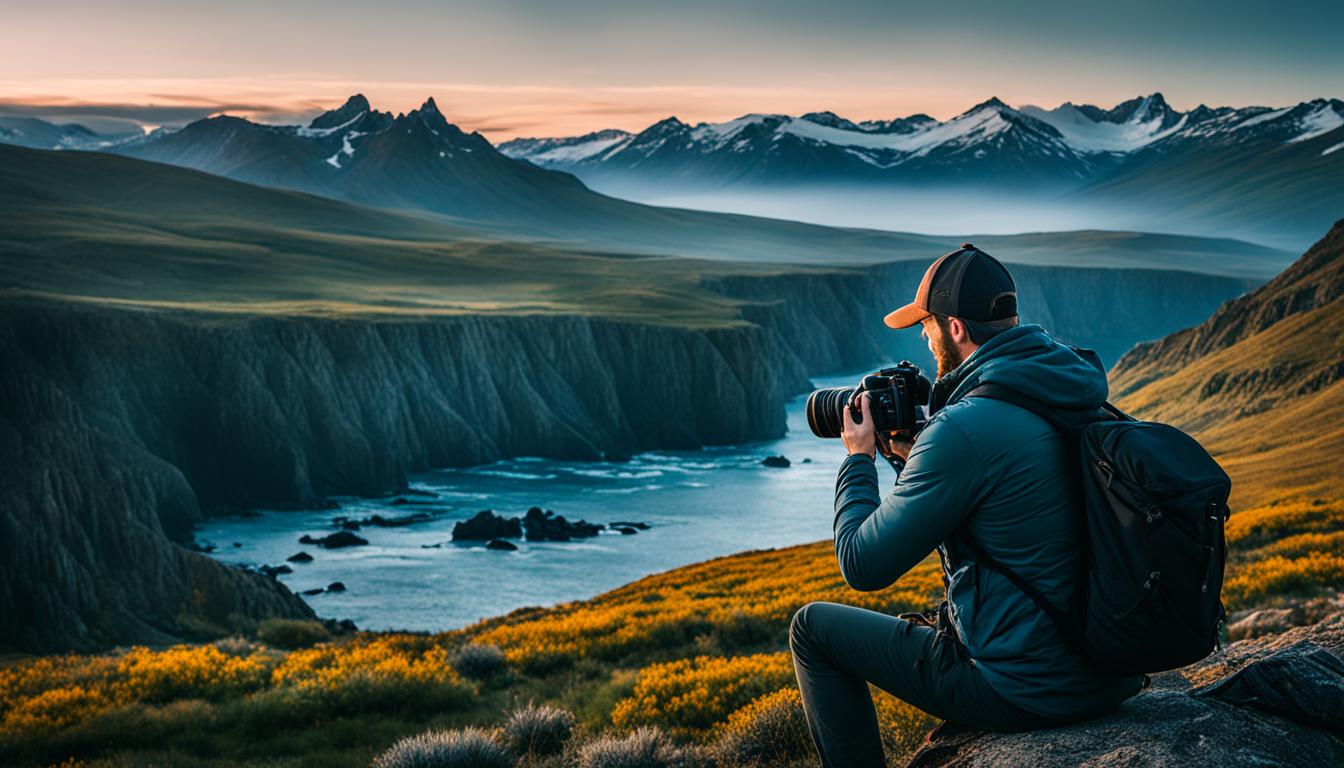
Plan Your Shots
When it comes to drone photography, planning is key. Before you take off, it’s important to consider a few factors that will help you capture amazing shots. First and foremost, check the local laws and restrictions in your area to ensure that you are flying legally. Each location may have specific rules and regulations regarding drone usage, so it’s crucial to familiarize yourself with them.
Once you have a clear understanding of the local laws, it’s time to dive into the creative aspect of planning your shots. One of the most important things to consider is finding interesting angles and compositions. Rather than replicating what has already been done, strive to create something new and exciting. Think outside the box and experiment with different perspectives.
“Photography is the art of observation. It has little to do with the things you see and everything to do with the way you see them.” – Elliott Erwitt
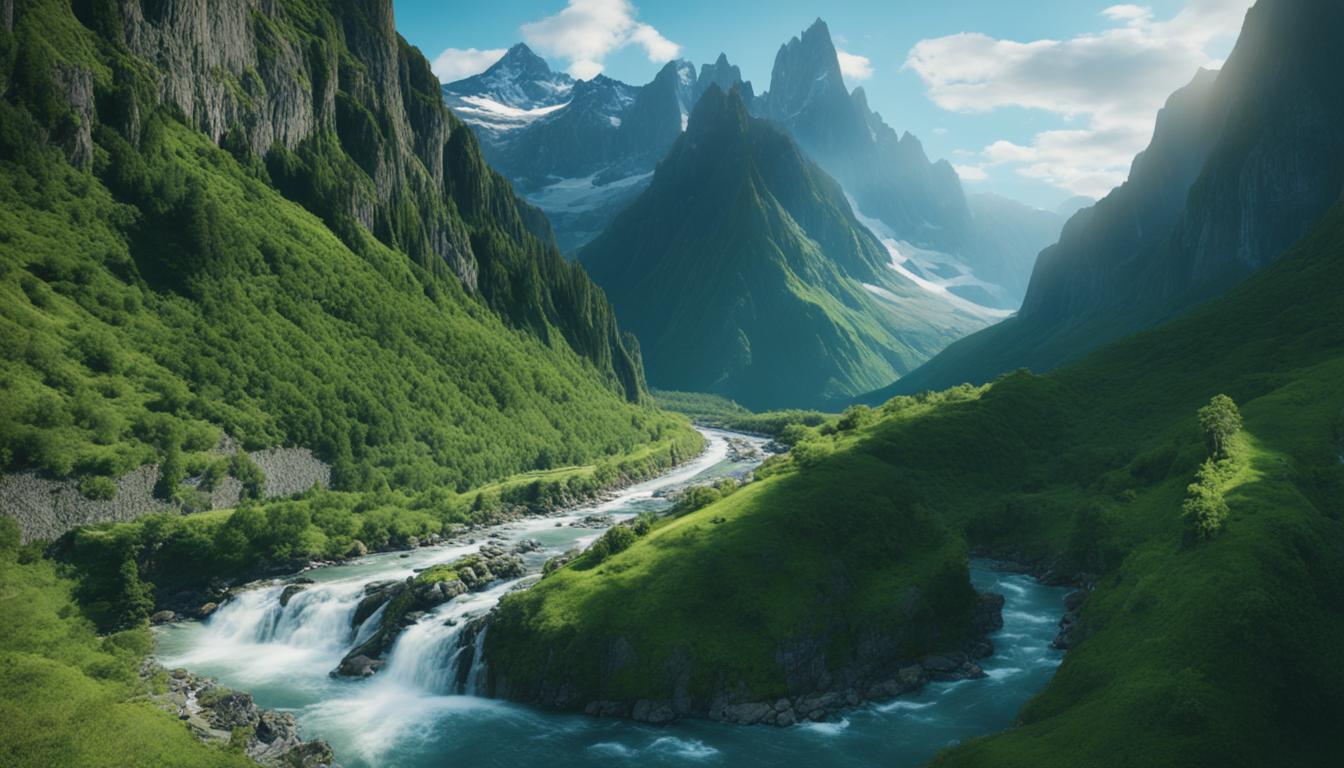
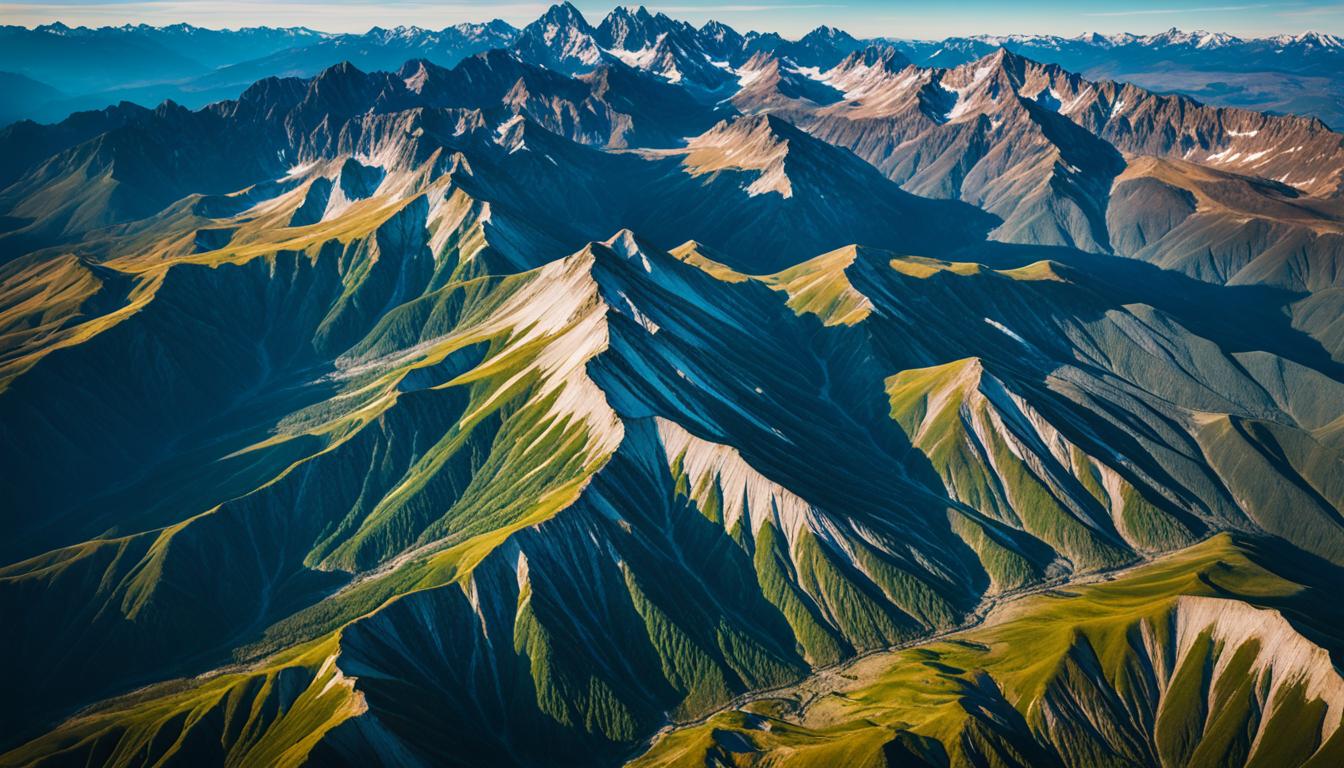
To give you a visual idea of how angles and compositions can impact your drone photography, take a look at the image below:
| Angle/Composition | Description |
|---|---|
| Aerial View | Offers a unique perspective from above, allowing you to capture the entire landscape in a single shot. Perfect for showcasing vast landscapes and patterns. |
| Low Angle | Provides a different viewpoint by shooting from a lower elevation. This angle adds depth to your images and highlights foreground elements. |
| Leading Lines | Utilize natural or man-made lines in the landscape to create a sense of depth and guide the viewer’s eye towards the main subject of the photo. |
| Frame within a Frame | Look for natural elements like trees, arches, or windows to frame the main subject, adding depth and interest to your composition. |
| Golden Hour | Take advantage of the warm and soft lighting during the golden hour, which occurs shortly after sunrise or before sunset. This provides a natural and enchanting atmosphere to your images. |
| Reverse Perspective | Experiment with shooting upwards towards the sky, capturing the vastness and scale of the environment. This can add drama and awe to your photos. |
By planning ahead and considering these different angles and compositions, you can add depth, intrigue, and breathtaking beauty to your drone photography.
Use the Right Settings
When it comes to drone photography, understanding and utilizing the right camera settings can make all the difference in capturing high-quality photos. With the right adjustments, you can achieve the desired effect and enhance your images to their fullest potential.
Here are some key camera settings to consider:
- Shutter Speed: The shutter speed determines how long the camera’s sensor is exposed to light. Adjusting the shutter speed allows you to control the amount of motion blur in your photos. A higher shutter speed freezes fast-moving objects, while a slower shutter speed creates a sense of motion.
- ISO: ISO measures the sensitivity of your camera’s sensor to light. Lower ISO values (e.g., 100-400) are ideal for capturing well-lit scenes, while higher ISO values (e.g., 800-3200) are useful in low-light conditions. However, keep in mind that higher ISO settings can introduce image noise.
- F-stop: The f-stop determines the depth of field (DOF) in your photos, affecting how much of the scene appears sharp and in focus. Lower f-stop numbers (e.g., f/2.8) create a shallow DOF, blurring the background and drawing attention to the subject. Higher f-stop numbers (e.g., f/16) result in a larger DOF, keeping more of the scene in focus.
Additionally, many drone cameras offer advanced features that can help you capture stunning shots:
- HDR Mode: High Dynamic Range (HDR) mode combines multiple exposures to create a photo with increased dynamic range, capturing both bright and dark areas with more detail and balanced exposure.
- Panoramic Mode: Panoramic mode allows you to capture wide-angle, sweeping shots of breathtaking landscapes by automatically stitching together multiple images.
A useful tip to streamline your workflow is to save your preferred camera settings as presets. You can easily load these settings for future flights, ensuring consistency and efficiency in your photography process.
“The right camera settings can elevate your drone photography to new heights, allowing you to capture stunning images with precision and creativity.”
Comparing Camera Settings
| Camera Setting | Function | Effect |
|---|---|---|
| Shutter Speed | Controls motion blur | Freezes or conveys motion |
| ISO | Determines sensitivity to light | Adjusts exposure in different lighting conditions |
| F-stop | Defines depth of field | Affects background blur and overall focus |
| HDR Mode | Combines multiple exposures | Expands dynamic range for balanced exposure |
| Panoramic Mode | Stitches together multiple images | Captures wide-angle, sweeping shots |
By understanding and utilizing these drone camera settings, you can unlock your creative potential and capture breathtaking aerial imagery.
Shoot in Raw Format
When it comes to drone photography, shooting in raw format is a game-changer. Unlike JPEG, which is a compressed format, raw files preserve the highest image quality and offer unparalleled flexibility during the editing process. With raw files, we have complete control over key parameters such as exposure, white balance, and contrast, allowing us to fine-tune our images to perfection. Whether you’re planning to print your photos or you simply want maximum editing capabilities, shooting in raw is the way to go.
By shooting in raw format, we capture all the data recorded by the drone’s sensor, giving us more information to work with. This means we can recover details from shadows and highlights, adjust the color balance with precision, and apply localized edits without sacrificing image quality. In essence, shooting in raw format provides us with a digital negative that we can mold and shape according to our creative vision.
To fully harness the power of raw files, it’s important to incorporate them into a robust editing workflow. Software tools like Adobe Lightroom allow us to unlock the true potential of our drone photographs. By making adjustments to exposure, contrast, color, and other parameters, we can enhance the overall look and feel of our images, elevating them from ordinary to extraordinary.
Advantages of Shooting in Raw Format:
- Uncompressed Image Quality: Raw files retain all the details captured by the drone’s sensor, resulting in images of exceptional quality.
- Greater Editing Flexibility: With raw format, we have more latitude to adjust exposure, white balance, and other settings during post-processing.
- Maximized Dynamic Range: Raw files preserve information in both shadows and highlights, allowing for greater tonal control in editing.
- Print-Ready Images: Raw files provide the best starting point for producing high-quality prints.
By shooting in raw format and leveraging the editing capabilities of software tools, we can truly unleash the potential of our drone photography. The creative possibilities are endless, and the results speak for themselves.

Be Patient and Aware
When it comes to capturing the best drone photos, patience is a virtue. Don’t rush the process; take your time to experiment and explore different angles and compositions. The beauty of drone photography lies in its ability to provide unique perspectives, so don’t be afraid to get creative and push the boundaries of your shots.
One important aspect to consider is your battery life. To make the most out of your flight time, it’s a good idea to have spare batteries on hand. This will ensure that you have enough power to keep capturing those breathtaking aerial shots without any interruptions.
One of the most magical moments for drone photography is capturing sunset and sunrise shots. The golden hour offers a warm and soft light that can add a touch of enchantment to your photos. So, be willing to wait for the perfect lighting conditions to create stunning and dramatic images.
“Patience is bitter, but its fruit is sweet.” – Aristotle
Drone Battery Comparison
| Brand | Model | Battery Life | Price |
|---|---|---|---|
| DJI | Phantom 4 Pro | 30 minutes | $169 |
| Autel Robotics | EVO II | 40 minutes | $199 |
| Yuneec | Typhoon H Pro | 25 minutes | $99 |
Having the patience to wait for the right moment, combined with the awareness of your battery life and the use of spare batteries, will help you achieve stunning results in your drone photography. So, take your time, prepare accordingly, and get ready to capture breathtaking shots from above.
Be Safe and Legal
When it comes to drone flying, safety should always be our top priority. It’s important to follow the regulations and rules set forth by the authorities in your area. By doing so, we can ensure a safe and enjoyable experience for everyone.
If you’re planning to sell your drone images, it’s crucial to have the necessary licenses required by your country or region. This not only protects your legal standing as a commercial drone operator but also establishes your credibility in the industry.
In the United Kingdom, for example, all drone operators need to register as a flyer and obtain a pilot ID to fly legally. This process helps regulate the airspace and ensures that all pilots are aware of the drone flying regulations.
Not adhering to the laws can lead to fines, imprisonment, or other penalties. It’s our responsibility as drone photographers to stay informed and educated about the regulations to avoid any legal consequences.

Remember, drone flying regulations exist to keep us and others safe while enjoying the amazing opportunities that aerial photography provides. Let’s respect these rules and regulations to maintain the integrity of this growing industry.
Get the Right Equipment
Choosing the right equipment is crucial for capturing stunning landscape photos with your drone. Here are some popular options to consider:
DJI Mini 3 Pro
The DJI Mini 3 Pro is a compact and lightweight drone that offers excellent maneuverability. It is equipped with a high-resolution camera and advanced features, making it perfect for capturing breathtaking aerial shots.
DJI Mavic 2 Pro
The DJI Mavic 2 Pro is a professional-grade drone with a Hasselblad camera. Its larger sensor and adjustable aperture allow for exceptional image quality, even in low-light conditions. With its advanced obstacle avoidance system, it provides a safe and reliable flying experience.
DJI RC Remote
The DJI RC Remote is a remote controller that offers precise control over your drone’s flight. It features a built-in LCD screen for live video monitoring and a range of up to 4.3 miles, ensuring a stable connection between your drone and the controller.
Fly More Kit Plus
The Fly More Kit Plus is an accessory bundle that includes extra batteries, a charging hub, and a carrying case. With this kit, you can extend your flight time and conveniently transport your drone and accessories.
DJI Neutral Density Filter Set
The DJI Neutral Density Filter Set is a set of filters that reduce the amount of light entering the camera lens. These filters allow you to achieve a slower shutter speed, giving your photos a more cinematic look. They are especially useful when shooting in bright sunlight.
Wide Angle Lens
A wide-angle lens is a valuable addition to your drone photography gear. It allows you to capture a wider field of view, making it easier to capture expansive landscapes and stunning panoramic shots.
Having the right equipment can greatly enhance your drone photography experience and help you capture breathtaking landscape images. Consider these options when selecting your gear and accessories.
Shoot Video, Then Grab Stills
When it comes to drone photography, shooting video can be a game-changer. It allows you to capture dynamic and immersive footage that truly showcases the beauty of the landscapes you’re flying over. But did you know that you can also use that video to capture stunning still photos?
By shooting video with your drone, you can easily grab still images from the footage using editing software like Adobe Lightroom. This technique gives you the flexibility to choose the perfect frame for your still photo, ensuring that you capture the most striking and captivating image.
With the ability to capture high-resolution video with drones nowadays, you can extract sharp and detailed stills that you may otherwise miss if you were solely relying on taking single shots. This opens up a whole new world of possibilities for your drone photography.
When it’s time to grab stills from your video footage, Adobe Lightroom is an excellent tool to use. It provides powerful editing capabilities to enhance your photos and make the most of the captured moment. With Lightroom’s intuitive interface and wide range of editing features, you can adjust exposure, contrast, color grading, and more to create visually stunning stills.
Whether you’re looking to capture a breathtaking aerial panorama or freeze a split-second moment in time, shooting video with your drone and grabbing stills afterwards gives you the freedom to experiment and choose the best shot. It’s a valuable technique that can take your drone photography to the next level.
Remember to Have Fun
Drone photography is an exciting and creative way to capture stunning images from a unique perspective. Let your imagination soar and have fun while flying your drone. Experiment with different techniques and accessories to unleash your creativity and create breathtaking shots.
If you’re looking to take your drone flying experience to another level, consider trying FPV (first person view) flying. With FPV goggles, you can immerse yourself in the flight and see exactly what your drone sees, giving you a thrilling and immersive experience.
To enhance your FPV flying experience, the DJI Avata Pro-View Combo and RC Motion 2 are highly recommended tools. They offer advanced features and capabilities that allow you to take your creativity to new heights. Whether you’re a beginner or an experienced drone pilot, these tools will elevate your FPV flying experience and help you capture stunning aerial shots.
“Flying a drone is not just about capturing amazing photos and videos; it’s about enjoying the journey and exploring the world from a whole new perspective. So, remember to have fun and embrace the unlimited possibilities that drone photography and FPV flying offer.”
So, get out there, fly your drone, and have fun exploring the world from above. Let your creativity soar and capture breathtaking images that will leave a lasting impression.
Conclusion
Drone photography provides a unique and captivating opportunity to capture breathtaking landscapes from a whole new perspective. By implementing the tips and guidelines mentioned in this article, you can elevate your drone photography skills and capture stunning images that will leave a lasting impression. From planning your shots to using the right settings, and flying safely while adhering to regulations, each step plays a crucial role in achieving remarkable results.
To enhance your drone photography, invest in the right equipment such as the DJI Mini 3 Pro or DJI Mavic 2 Pro, and consider accessories like neutral density filters and wide-angle lenses. These tools will transform your aerial shots into works of art.
Remember, drone photography is not just about technicalities; it’s about having fun and exploring your creativity. Use your drone to see the world from a different perspective and experiment with various techniques and angles. Don’t forget to share your images with others, join photography communities to learn from fellow enthusiasts, and stay updated with the latest trends and advancements in the field.
So, go ahead and unleash your creativity with drone photography. Capture stunning landscapes, tell stories through your lens, and always abide by the regulations to ensure both safety and legality. With practice, patience, and a passion for capturing spectacular aerial imagery, the sky is the limit for your drone photography journey.
FAQ
What should I consider when planning my drone photography shots?
It is important to check local laws and restrictions, look for interesting angles and compositions, and strive to create something new and exciting.
What settings should I use on my drone’s camera?
Adjust the shutter speed, ISO, and f-stop to achieve the desired effect. Take advantage of additional features like HDR mode and Panoramic mode.
Why should I shoot in raw format?
Shooting in raw allows for more control during the editing process, maintains the highest image quality, and provides more flexibility for editing and adjustments.
How can I improve my patience and awareness when capturing drone photos?
Take your time to experiment and explore different angles and compositions. Consider having spare batteries to extend your flight time. Sunset and sunrise shots often yield the most dramatic and beautiful photos, so be willing to wait for the perfect lighting conditions.
How can I ensure I am flying my drone safely and legally?
Prioritize safety by following the rules and regulations for drone flying in your area. If you plan to sell your drone images, ensure you have the necessary licenses to avoid fines, imprisonment, or other penalties.
What equipment do I need for landscape drone photography?
Popular drones for landscape photography include the DJI Mini 3 Pro and DJI Mavic 2 Pro. Consider additional equipment such as neutral density filters and wide-angle lenses for enhanced photography. Having extra batteries is also recommended for longer flights.
How can I capture still photos from drone video footage?
Shoot video with your drone and use editing software like Adobe Lightroom to grab still images from the footage. This technique gives you more flexibility and the ability to choose the perfect frame for your still photos.
How can I make my drone photography experience more fun and creative?
Experiment with different techniques and accessories, try FPV flying with goggles for a truly immersive experience, and consider tools like DJI Avata Pro-View Combo and RC Motion 2 for FPV flying.
How can I improve my drone photography skills?
By planning your shots, using the right settings, being patient and aware, flying safely and legally, having the right equipment, shooting video and grabbing stills, sharing your images, having fun, and learning from others, you can elevate your drone photography skills and capture stunning images.
How Can Drone Photography Enhance Landscape Photography?
Drone photography can elevate your travels with drone photography by capturing stunning aerial views of landscapes. It provides a unique perspective, allowing photographers to showcase vast scenery and intricate details from above. With drones, photographers can access remote and difficult-to-reach locations to capture breathtaking imagery.