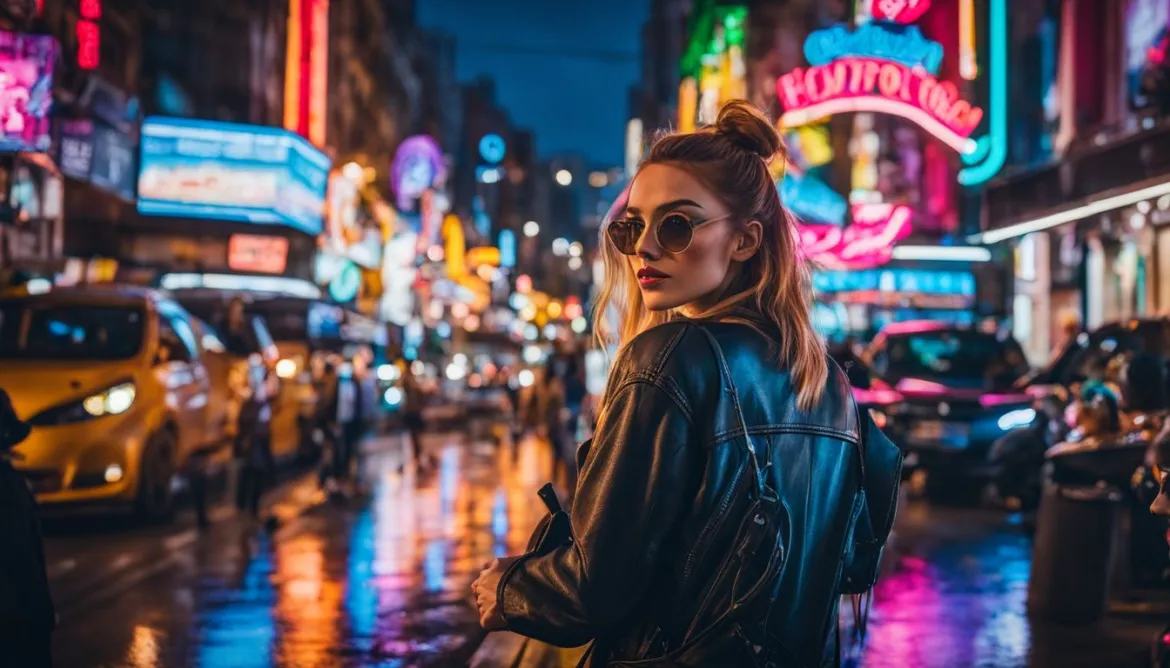
In this expert guide, we will dive into the art of editing and post-processing street photography. We will provide you with top tips and techniques to enhance your street photos and create vivid, impactful images. Whether you are a beginner or an experienced photographer, these tips will help you improve your workflow and bring your street scenes to life.
Key Takeaways:
- Learn how to edit and post-process street photography to enhance your images
- Discover top tips and techniques for a faster editing workflow
- Explore the benefits of using presets and automation for quick adjustments
- Enhance composition and colors with editing techniques
- Remove distractions and correct imperfections in your street photos
Top 10 Photo Editing Tips for a Faster Workflow
When it comes to editing and post-processing street photography, having an efficient workflow is key. Here, we share our top 10 photo editing tips to help you speed up your workflow and save valuable time. By implementing these tips, you can focus on the images that truly matter and create stunning street photos.
- Fix images in-camera: Take the time to get your exposure, composition, and focus right while capturing the shot. This will minimize the need for extensive editing later on.
- Use import and export tools: Be organized from the start by utilizing import and export tools in your editing software. This will streamline the process and ensure all your images are properly organized.
- Create an organized system: Develop a system to easily find and locate your images. This could involve creating folders, using keywords or tags, or utilizing a dedicated photo management software.
- Edit only your best images: Avoid the temptation to edit every single photo you capture. Instead, focus on selecting and editing only the ones that have the most potential and align with your vision.
- Utilize keyboard shortcuts: Become familiar with the keyboard shortcuts in your editing software. This will significantly speed up your editing process and make it more convenient.
- Batch process similar images: If you have a series of similar images, apply the same adjustments to all of them simultaneously using batch processing. This saves time and ensures consistency across your photos.
- Use presets and templates: Take advantage of presets and templates available in your editing software. These pre-determined settings can be a great starting point and help you achieve a consistent look.
- Experiment with different editing techniques: Don’t be afraid to explore different editing techniques and effects. This will allow you to develop your own style and bring a unique touch to your street photos.
- Take breaks: Editing for long stretches can lead to fatigue and decreased concentration. Take regular breaks to rest your eyes and refresh your mind.
- Learn from others: Follow street photography communities, blogs, and online tutorials to learn new editing techniques and gather inspiration from fellow photographers.
By incorporating these photo editing tips into your workflow, you’ll be able to work faster and more efficiently, allowing you to focus on capturing and showcasing the beauty of street photography.
Using Presets and Automation for Quick Adjustments
When it comes to editing and post-processing street photography, using presets and automation can be a total game-changer. At our fingertips, we have powerful tools that can streamline our editing process, saving us time and effort. In this section, we will explore the benefits of using presets and automated tools in software like Adobe Lightroom, and how they can help us make quick adjustments and achieve consistent results with just a click.
Presets are pre-determined sets of editing adjustments that can be applied to our images with a single click. They allow us to achieve a specific look or style without spending excessive time on individual adjustments. By using presets, we can experiment with different editing styles and create a cohesive look across our street photography portfolio.
Automation takes the concept of presets even further by applying adjustments automatically based on specific criteria. In software like Adobe Lightroom, we can leverage features like auto tone and auto white balance to quickly adjust the overall exposure and color balance of our images. This saves us time and ensures that our photos start off on the right foot.
By utilizing presets and automation, we can make quick adjustments to our street photos without compromising on quality. Whether we want to enhance the vibrancy of colors, bring out the details in shadows, or fine-tune the overall tonality, these tools provide us with a shortcut to achieving our desired results.
Furthermore, using presets and automation allows us to maintain consistency in our editing workflow. By applying the same set of adjustments to a series of images, we can ensure that they all have a similar look and feel, which can strengthen the visual cohesion of our street photography projects.
Now, let’s take a closer look at how we can use presets and automation in software like Adobe Lightroom to make quick adjustments and achieve professional results.

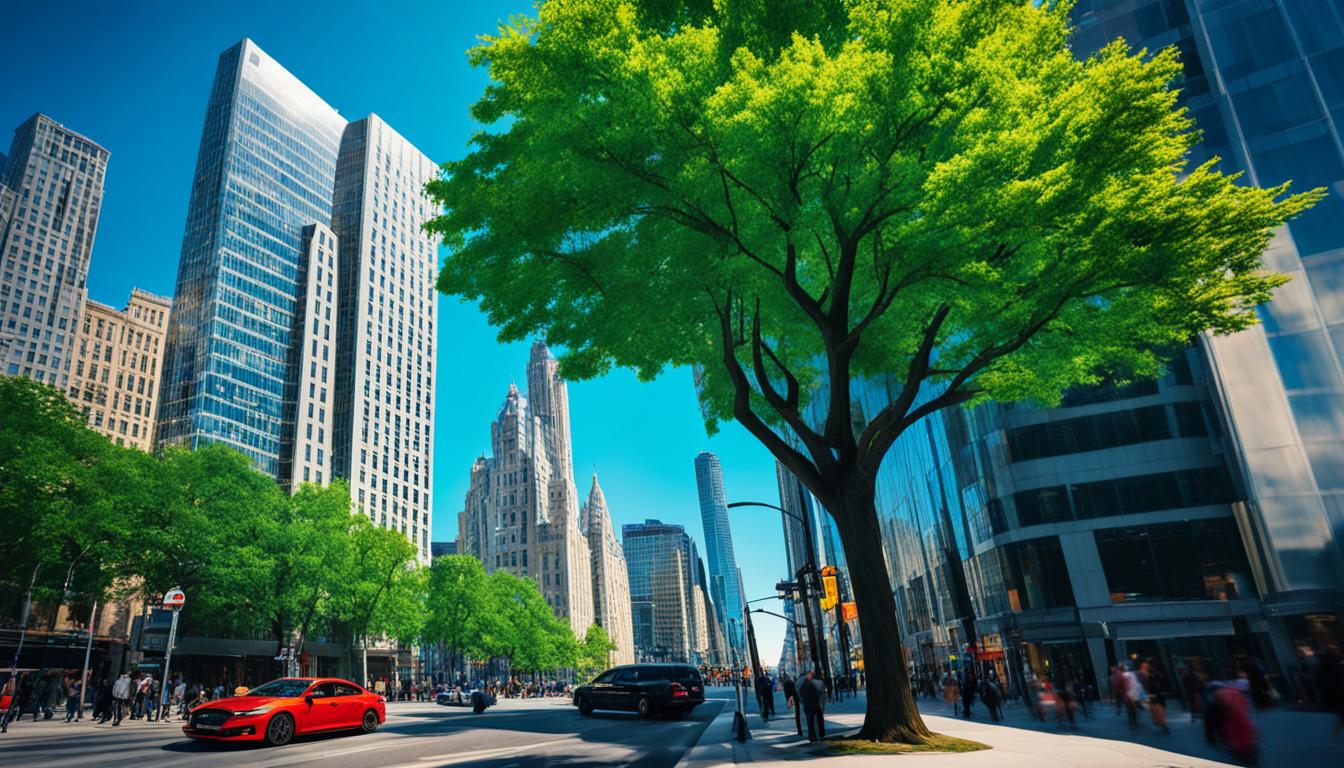
Enhancing Composition and Colors with Editing Techniques
When it comes to street photography, the right composition and vibrant colors can make all the difference in creating captivating images. In this section, we will explore various editing techniques that can help you enhance the composition and colors of your street photos, bringing them to life and making them visually engaging.
Painting Colors into Sunsets
One editing technique that can add drama and beauty to your street photos is painting colors into sunsets. By adjusting the hues and tones of the sky, you can create stunning backdrops that elevate your composition and evoke a sense of wonder. With a few simple adjustments, you can transform an ordinary sunset into a breathtaking masterpiece.
Adding Sky Replacements
Another way to enhance the composition of your street photos is by adding sky replacements. Sometimes, the sky in your original photo may not be as dynamic or captivating as you envisioned. By replacing the sky with one that has more interesting colors or textures, you can create a more visually striking image that draws viewers in and compliments the subject matter.
Creating a Magical Feel with the Orton Effect
The Orton Effect is a popular editing technique that can lend a dreamy and magical feel to your street photos. By combining a sharp image with a slightly blurred and softer version of the same image, you can achieve a unique ethereal effect that enhances the overall mood and composition. This technique works particularly well for capturing the enchantment of nighttime street scenes or whimsical landscapes.
Cutting Through Haze
In certain situations, haze or fog may obscure the colors and details in your street photos. However, with the right editing techniques, you can cut through the haze and bring clarity back to your images. By adjusting contrast, saturation, and employing targeted editing tools, you can enhance the composition by unveiling hidden details and restoring the vibrancy of the colors.
Using Detail Enhancers
Detail enhancers are powerful editing tools that can bring out the intricacies and textures in your street photos. By selectively sharpening specific areas or using noise reduction techniques, you can emphasize the finer details and create a visually compelling composition. This technique can be particularly effective for street portraits or images with intricate architectural elements.
By utilizing these editing techniques, you can take your street photography to the next level, enhancing the composition and colors of your images to create visually stunning and captivating photos that truly stand out.
| Editing Technique | Description |
|---|---|
| Painting Colors into Sunsets | Adjusting and enhancing the hues and tones of the sky to create dramatic and captivating sunsets in street photos. |
| Adding Sky Replacements | Replacing the original sky with a more visually striking one to elevate the composition and add interest to the image. |
| Creating a Magical Feel with the Orton Effect | Combining a sharp image with a slightly blurred version to achieve a dreamy and enchanting effect that enhances the overall mood. |
| Cutting Through Haze | Using editing techniques to remove haze or fog and restore the vibrancy and clarity of colors in street photos. |
| Using Detail Enhancers | Sharpening specific areas and applying noise reduction techniques to bring out intricate details and textures in street photos. |
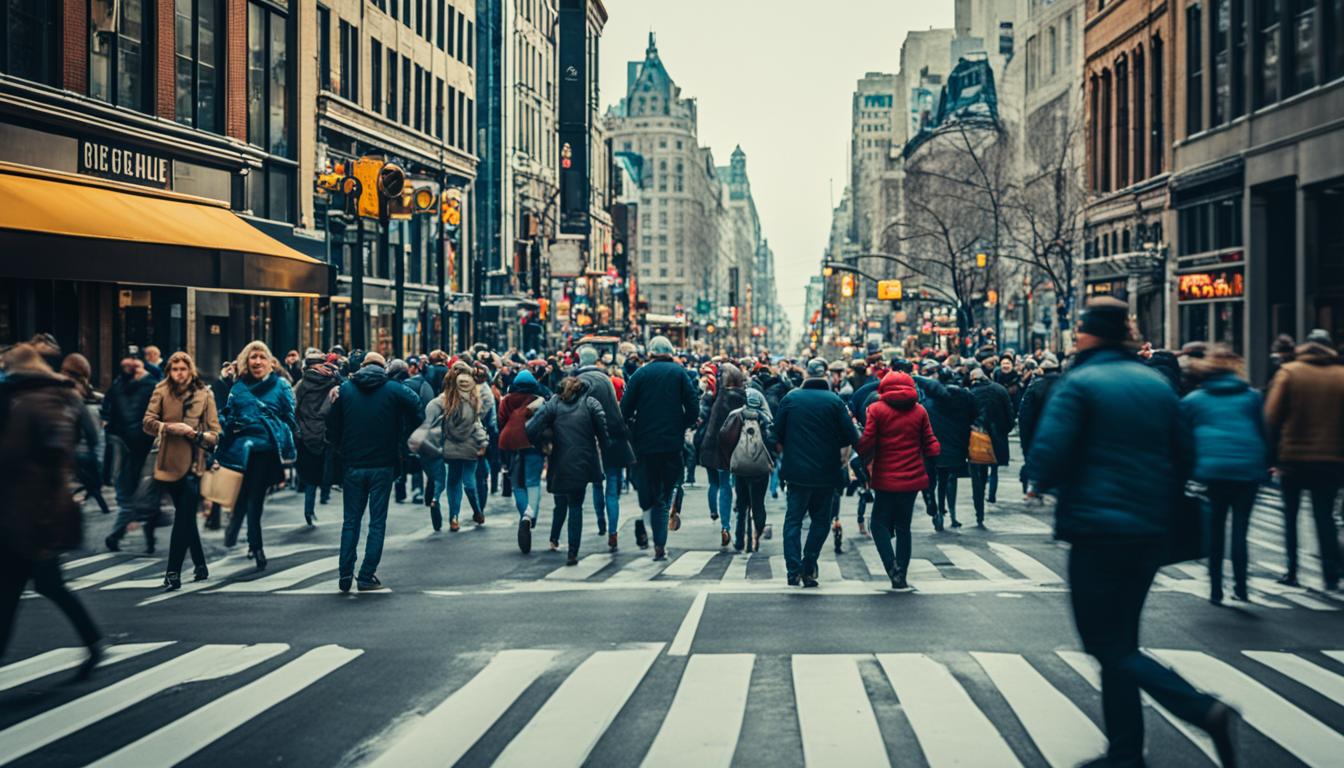
Removing Distractions and Correcting Imperfections
Even in street photography, distractions and imperfections can be present. These elements can detract from the overall impact and aesthetics of your street photos. In this section, we will discuss effective techniques to remove distractions and correct imperfections, allowing you to create cleaner and more visually appealing compositions that truly stand out.
Removing Distractions
When capturing street scenes, it’s common to encounter distractions that disrupt the focus of your image. Fortunately, there are several methods you can employ to remove or minimize these distractions.
- Cropping: carefully crop your photo to eliminate any distracting elements along the edges or in the background. This technique enables you to maintain the main subject while getting rid of unwanted elements.
- Content-Aware Fill: in image editing software like Adobe Photoshop, utilize the content-aware fill feature to intelligently remove distracting objects from your street photos. The software analyzes the surrounding pixels and blends them seamlessly to fill in the removed area.
- Clone Stamp: use the clone stamp tool to manually remove distractions by cloning nearby areas and covering up the unwanted elements. This technique requires precision and attention to detail to ensure a seamless result.

Correcting Imperfections
Imperfections such as sensor dust spots, noise, and uneven horizon lines can diminish the quality of your street photos. By employing the following techniques, you can effectively correct these imperfections and enhance the overall visual appeal of your images.
- Sharpening: apply selective sharpening techniques to bring out the finer details of your street photos. This helps to counteract any softness introduced during the editing process or caused by lens limitations.
- Noise Reduction: use noise reduction tools to reduce or eliminate digital noise, especially in low-light situations. Strike a balance between noise reduction and preserving the fine details to ensure a natural-looking result.
- Horizon Line Correction: use image editing software to straighten and level the horizon line in your street photos. This ensures a balanced composition and prevents distractions caused by a tilted or skewed horizon.
Distractions and Imperfections Correction Techniques
| Technique | Description |
|---|---|
| Cropping | Removes distracting elements along the edges or in the background of the photo. |
| Content-Aware Fill | Intelligently removes distracting objects by analyzing and blending surrounding pixels. |
| Clone Stamp | Manually removes distractions by cloning nearby areas and covering up the unwanted elements. |
| Sharpening | Enhances the fine details of the photo to counteract softness caused by editing or lens limitations. |
| Noise Reduction | Reduces or eliminates digital noise in low-light situations while preserving the image details. |
| Horizon Line Correction | Straightens and levels the horizon line for a balanced composition and a distraction-free result. |
By utilizing these distraction removal and imperfection correction techniques, you can transform your street photos into visually captivating and polished compositions. Experiment with these methods, and find the approach that best suits your style and desired outcome.
Creating a Mood with Light and Color Adjustments
Light and color adjustments are key elements in transforming the mood of your street photography. By utilizing effective editing techniques, you can enhance the lighting and colors in your street photos to evoke specific emotions and amplify the storytelling aspect of your images.
Removing Color Casts
One common challenge in street photography is dealing with unwanted color casts due to different lighting conditions. To ensure accurate color representation, start by adjusting the white balance in your editing software. This will eliminate any dominating color casts and restore natural tones to your photos.
“By adjusting the white balance, we can neutralize the color casts and bring out the true essence of the scene.”
Changing Light Balance
Manipulating the light balance in your street photos can significantly impact the mood and atmosphere portrayed. Experiment with adjusting the exposure, highlights, shadows, and midtones to create the desired effect. By accentuating certain areas of illumination or intentionally darkening others, you can highlight specific elements and guide the viewer’s attention.
“Altering the light balance allows us to emphasize the subject and create a more captivating visual experience.”
Adding Vignettes
Vignetting is a classic technique that adds a subtle darkening or lightening effect around the edges of an image, drawing focus towards the center. In street photography, it can enhance the overall mood and provide a sense of depth. Experiment with different vignette styles and intensities to find the perfect balance that complements your subject and composition.
“Vignettes add a touch of drama and guide the viewer’s gaze towards the main focal point of the photo.”
| Editing Technique | Description |
|---|---|
| White Balance Adjustment | Eliminates color casts and restores natural tones |
| Light Balance Manipulation | Adjusts exposure, highlights, shadows, and midtones to control the overall lighting |
| Vignetting | Adds a subtle darkening or lightening effect around the edges to focus attention on the center |
By adopting these light and color adjustment techniques, you can create impactful street photography that evokes the desired mood and effectively tells a visual story. Experiment with different editing settings and embrace your artistic vision to produce stunning and emotionally captivating images.
Editing Street Photos on the Go
In today’s fast-paced world, editing on the go has become essential for photographers. Whether you’re capturing spontaneous moments or want to make quick adjustments to your street photos, having a mobile editing workflow is a game-changer.
When it comes to mobile editing apps, Snapseed is a popular choice among photographers. With its user-friendly interface and powerful features, Snapseed allows you to edit your street photos with ease. From basic adjustments like exposure and contrast to advanced tools like selective editing and healing brush, Snapseed offers a wide range of editing options.
Here are some tips to help you make the most of your mobile editing experience:
- Shoot in RAW: If your smartphone supports RAW capture, shoot in this format to retain more image information and have greater flexibility during the editing process.
- Use Presets: Save time by creating and using presets in your mobile editing app. Use presets to apply a specific style or effect to multiple street photos with just a few taps.
- Experiment with Tools: Explore different editing tools, such as cropping, straightening, and perspective correction, to enhance the composition and overall look of your street photos.
- Utilize Filters: Apply filters or adjust the intensity of existing filters to add mood and atmosphere to your street photos. Experiment with black and white, vintage, or film-inspired filters to create a unique aesthetic.
Remember, mobile editing apps are powerful tools, but they should complement your creative vision rather than overshadow it. Use them to enhance your street photos, not to completely transform them.
With mobile editing apps like Snapseed, you can edit your street photos anytime, anywhere. Whether you’re waiting for a bus or sitting in a café, take advantage of those idle moments and bring your street photography to life.
So, next time you find yourself with a bit of free time, grab your smartphone or tablet, open your favorite editing app, and let your creativity flow.
| Pros of Editing on the Go | Cons of Editing on the Go |
|---|---|
| 1. Flexibility and convenience | 1. Limited screen size |
| 2. Utilize idle time effectively | 2. Limited processing power |
| 3. Quick edits and adjustments | 3. Potential distractions |
| 4. Immediate sharing of edited photos | 4. Dependence on stable internet connection |
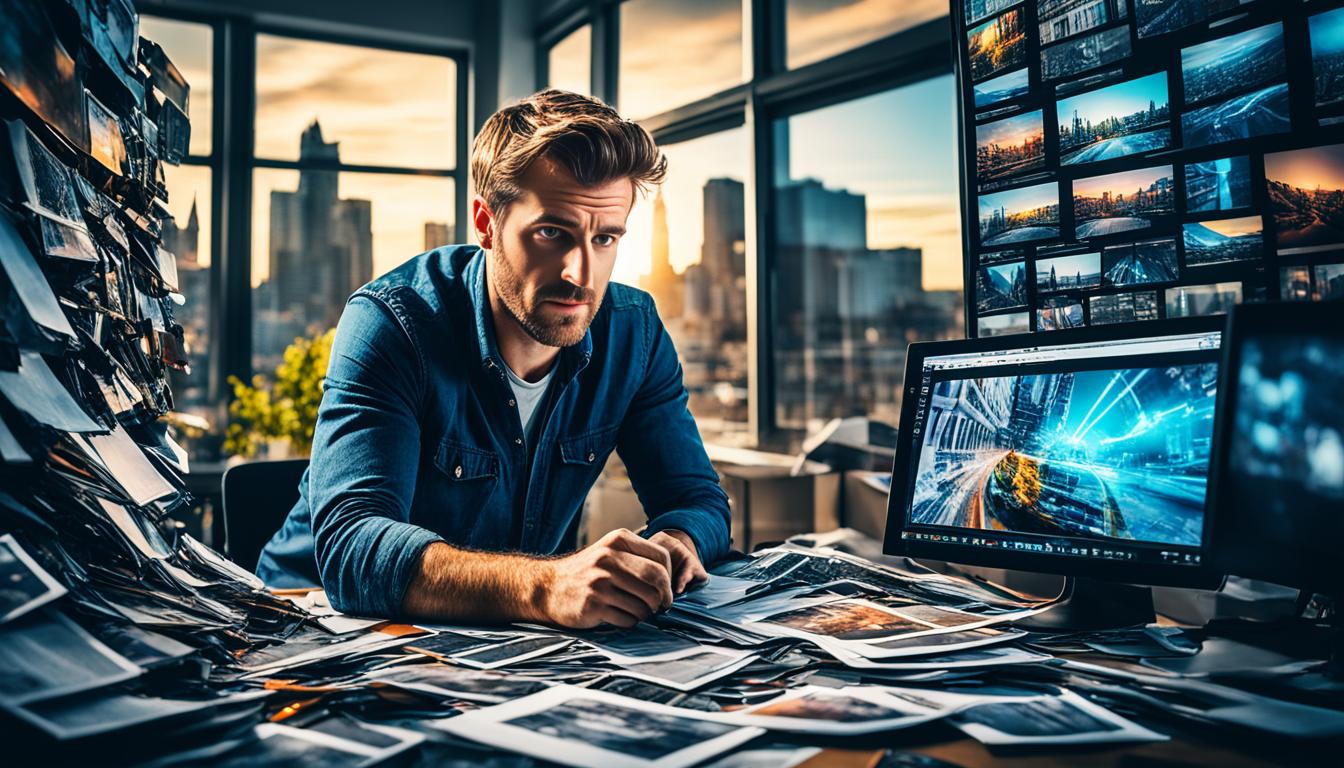
Selective Editing and Batch Processing
When it comes to efficient editing and post-processing of street photography, selective editing and batch processing are invaluable techniques. In this section, we will explore how these techniques can streamline your workflow and save you time.
Selective Editing with Layer Masking
Selective editing allows you to make targeted adjustments to specific areas of your images, without affecting the entire photo. One powerful tool for selective editing is layer masking. With layer masking, you can create precise selections and apply adjustments only to the desired areas, while preserving the rest of the image.
For example, let’s say you have a street photo with a stunning subject, but the background is distracting. By using layer masking, you can focus on the subject and enhance its details or colors, while leaving the background untouched.
“Selective editing with layer masking enables us to create impactful images by directing the viewer’s attention to the most important elements of a scene.”
Batch Processing for Consistency
Batch processing is a time-saving technique that allows you to apply the same adjustments to multiple photos simultaneously. This is particularly useful when you have a series of street photos taken under similar lighting conditions or settings.
For example, if you have a collection of street photos taken during a rainy day, you can quickly apply the same exposure and color adjustments to all the images in one go. This ensures consistency in the overall look and feel of your photos, maintaining a cohesive visual style.
Combining Selective Editing and Batch Processing
The beauty of selective editing and batch processing lies in their synergy. You can selectively edit specific areas of multiple images and then batch process them as a group, applying the same adjustments across the entire selection.
For instance, you can use layer masking to enhance the lighting and colors in individual subjects within a series of street photos. Once you’re satisfied with the adjustments, you can batch process these images to ensure a consistent look and feel throughout the series.
The Power of Efficiency and Consistency
By utilizing selective editing and batch processing techniques, you can streamline your editing workflow and maintain consistency in your street photography. These techniques not only save you time but also ensure that your images have a professional and cohesive look.
Now, let’s explore the next section and learn more about choosing the right editing software for your street photography needs.
Choosing the Right Editing Software
Choosing the right editing software for your street photography is crucial. With the plethora of options available, it can be overwhelming to determine which software will best suit your editing style and needs. In this section, we will discuss three popular editing software options that are widely used in the photography community: Adobe Lightroom, Photoshop, and the Nik Collection. Let’s explore their strengths and features to help you make an informed decision.
Adobe Lightroom
Adobe Lightroom is renowned for its user-friendly interface and powerful editing capabilities. It offers a range of tools and features specifically designed for photographers, making it an excellent choice for street photography. Lightroom allows you to organize, edit, and enhance your images seamlessly, providing a comprehensive solution for your editing workflow. Its robust cataloging system and non-destructive editing capabilities make it easy to organize and preserve the original quality of your street photos.
Photoshop
Photoshop is a versatile editing software that provides advanced editing tools and limitless creative possibilities. While it may have a steeper learning curve compared to Lightroom, Photoshop offers unparalleled control and precision when it comes to retouching, compositing, and fine-tuning your street photography. Its sophisticated features, such as layers, masks, and blending modes, allow for intricate editing work, making Photoshop a preferred choice for photographers seeking extensive editing capabilities.
The Nik Collection
The Nik Collection is a set of powerful plugins for both Lightroom and Photoshop, offering a range of creative effects and advanced editing tools. Developed by DxO, the Nik Collection includes popular plugins like Analog Efex Pro, Color Efex Pro, Silver Efex Pro, and more. These plugins provide unique creative possibilities, including film simulations, black and white conversions, and HDR effects. By incorporating the Nik Collection into your editing software, you can elevate the artistic quality of your street photos with ease.
A Comparison of Editing Software
| Editing Software | Strengths | Features |
|---|---|---|
| Adobe Lightroom | User-friendly interface, non-destructive editing, comprehensive cataloging system | Tone and color adjustments, lens corrections, batch editing, presets |
| Photoshop | Extensive editing capabilities, precise retouching, advanced compositing | Layers, masks, blending modes, content-aware tools, advanced retouching |
| The Nik Collection | Wide range of creative effects, advanced editing tools | Film simulations, black and white conversions, HDR effects, selective adjustments |
When choosing your editing software, consider your editing goals, level of expertise, and desired creative possibilities. While Lightroom provides an efficient workflow and essential editing tools, Photoshop offers unparalleled versatility and control. The Nik Collection, on the other hand, brings unique creative effects and advanced editing capabilities to enhance your street photography. Evaluate your needs and preferences to select the software that aligns best with your editing style and aspirations. Remember, the right editing software will empower you to unleash the full potential of your street photos and bring your artistic vision to life.
Conclusion
Editing and post-processing are essential elements in the world of street photography. Throughout this article, we have delved into various tips, techniques, and software options that can significantly enhance your street photos. By incorporating these strategies into your workflow, you can elevate your street photography to new heights and create captivating images that truly make a statement.
Remember, successful editing and post-processing are not fixed formulas but rather a creative journey. It’s important to experiment, practice, and develop your unique style. Use the tips and techniques discussed in this guide as a foundation, but don’t be afraid to push boundaries and explore new possibilities.
Whether you are a beginner exploring the world of street photography or an experienced photographer seeking to refine your skills, the art of editing and post-processing is a continuous learning process. Take your time, be patient, and enjoy the transformative power of editing as you bring your street scenes to life. Capture the essence of the streets and allow your creativity to shine through.
FAQ
What is the purpose of this expert guide?
The purpose of this expert guide is to provide tips and techniques to enhance street photography through editing and post-processing.
What are some photo editing tips for a faster workflow?
Some photo editing tips for a faster workflow include fixing images in-camera, using import and export tools, having an organized system to find images faster, and editing only your best images.
How can presets and automation improve my editing process?
Presets and automation can improve your editing process by saving time through applying pre-determined settings and making quick adjustments to your street photos.
What are some editing techniques to enhance composition and colors in street photography?
Some editing techniques to enhance composition and colors in street photography include painting colors into sunsets, adding sky replacements, using the Orton Effect for a magical feel, cutting through haze, and using detail enhancers.
How can I remove distractions and correct imperfections in my street photos?
You can remove distractions and correct imperfections in your street photos through techniques such as cropping, sharpening, noise reduction, and horizon line correction.
How can I use editing techniques to enhance the lighting and colors in my street photos?
You can use editing techniques to enhance the lighting and colors in your street photos by removing color casts, changing light balance, and adding vignettes.
What are some tips for editing street photos on my smartphone or tablet?
Some tips for editing street photos on your smartphone or tablet include having a mobile editing workflow and utilizing popular editing apps like Snapseed.
What are selective editing and batch processing in street photography?
Selective editing involves editing specific areas of your images using tools like layer masking, while batch processing allows you to apply the same adjustments to multiple photos simultaneously.
How do I choose the right editing software for street photography?
You can choose the right editing software for street photography by considering options like Adobe Lightroom, Photoshop, and the Nik Collection, and exploring their strengths and features.
How can I take my street photography to the next level with editing and post-processing?
By incorporating the tips, techniques, and software options discussed in this guide into your editing workflow, you can enhance your street photos and create impactful images.
– How Can I Use the Best Cameras and Lenses for Street Photography to Improve my Editing and Post-Processing Techniques?
When it comes to improving your editing and post-processing techniques for street photography, choosing the best cameras lenses street photography is essential. Investing in high-quality equipment can result in sharper, more detailed images, providing you with better raw material to work with during the editing process.