Effective lighting techniques are essential for capturing visually captivating product photographs that grab the attention of potential customers. Whether you’re a professional photographer or a small business owner looking to improve your product images, understanding the art of lighting can take your photography to the next level.
In this article, we will explore various lighting techniques for product photography, discuss the importance of lighting positions, guide you in choosing the right lighting equipment, and introduce you to different light modifiers that can enhance the quality of your product shots.
Key Takeaways:
- Mastering lighting techniques can significantly enhance the appeal of your product shots.
- Positioning lights correctly is crucial in reducing shadows and defining product edges.
- Choosing the right lighting equipment depends on your skill level and shooting preferences.
- Light modifiers like diffusers and reflectors can shape and control the quality of light in your images.
- Investing time and effort into mastering lighting techniques can make your product photography stand out.
Importance of Lighting Positions in Product Photography
Proper positioning of lights is essential to achieve the desired results in product photography. The key light, fill light, and backlight each serve a specific purpose in setting the tone, reducing shadows, and defining the edges of the product. Understanding where to place these lights and how to adjust their intensity can greatly enhance the overall appearance of the product in the photograph. Additionally, selecting the appropriate background and color scheme can further enhance the emphasis and attractiveness of the product.
In product photography, the key light is the primary light source that illuminates the subject. It is typically positioned to the side of the product, slightly above it, and at a specific angle to create depth and dimension. This light helps to highlight the main features of the product and adds a three-dimensional effect.
The fill light is used to reduce the contrast between the shadows and highlights created by the key light. It is typically placed on the opposite side of the key light and at a lower intensity. The fill light helps to soften the shadows and provide a more balanced lighting distribution across the product.
The backlight, also known as the rim light or hair light, is positioned behind the product and slightly to the side. It is aimed towards the back of the subject to create separation between the product and the background. The backlight helps to define the edges of the product, add depth, and create a sense of separation from the background.
By strategically positioning these lights and adjusting their intensity, product photographers can achieve different effects and create a specific mood or atmosphere for their images. For example, placing the key light higher and angling it downwards can create dramatic shadows, while positioning it lower and angling it upwards can produce a softer, more diffused lighting effect.
Furthermore, selecting the appropriate background and color scheme can greatly enhance the emphasis and attractiveness of the product. The background should complement the product and not distract attention from it. Additionally, using contrasting colors can help to make the product stand out and create visual interest.
Mastering the art of lighting positions is crucial for capturing the true essence of a product and creating visually appealing images that engage customers. Through a combination of proper positioning, adjusting light intensity, and selecting suitable backgrounds, photographers can highlight the unique features and qualities of their products, making them more appealing to potential buyers.
Comparison of Lighting Positions
| Lighting Position | Effect |
|---|---|
| Key Light | Highlights main features, adds depth and dimension |
| Fill Light | Reduces contrast, softens shadows |
| Backlight | Defines edges, adds separation from the background |
Choosing the Right Lighting Equipment for Product Photography
When it comes to product photography, selecting the right lighting equipment is crucial to achieving professional-looking results. The right lighting can enhance the details, textures, and colors of your products, making them more appealing to potential customers.
There are various options available for product photography lighting equipment, each offering its own unique features and advantages. Two popular choices among photographers are continuous lighting and strobe lighting.
Continuous Lighting
Continuous lighting provides a constant light source that remains turned on throughout the entire photoshoot. This type of lighting is commonly used in video production but is also suitable for product photography. LED video lights, fluorescent mercury vapor tubes, and tungsten bulbs are some examples of continuous lighting options.
| Pros | Cons |
|---|---|
|
|
Strobe Lighting
Strobe lighting involves using flashes that produce a brief burst of intense light. These flashes are triggered either manually or by a camera sync. Strobe lighting is widely used in professional photography studios and is favored for its ability to freeze motion and produce sharp, high-quality images of products.
Here are some key points to consider when using strobe lighting:
- Invest in a reliable strobe light with adjustable power settings to achieve the right exposure for your products.
- Ensure proper sync between the strobe lights and your camera to avoid any timing issues or misfires.
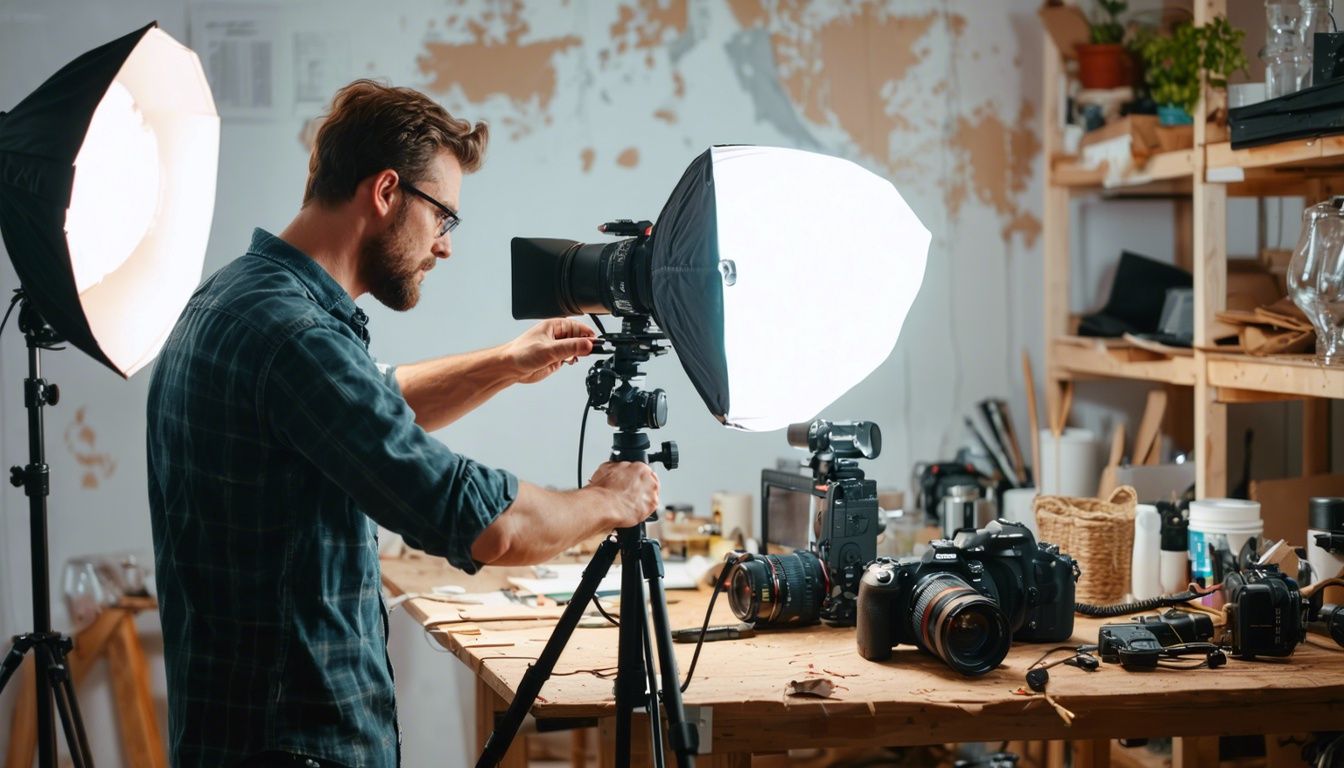
- Experiment with different light modifiers, such as softboxes, reflectors, or umbrellas, to shape and control the quality of light.
Choosing the Right Lighting Equipment
When deciding between continuous lighting and strobe lighting, consider factors such as your skill level, budget, and shooting preferences. Continuous lighting is more beginner-friendly and offers greater control, while strobe lighting provides sharper focus and is ideal for high-quality product images.
Investing in quality lighting equipment that suits your needs is essential for achieving professional results in product photography. Consider starting with a basic lighting setup and gradually expand your equipment as you gain experience and explore different lighting techniques.
Remember, the right lighting equipment is just one aspect of capturing stunning product images. Pair it with proper lighting techniques and creative lighting modifiers to unlock the full potential of your product photography.

In the next section, we will explore the different light modifiers that you can use to further enhance your product photography.
Exploring Different Light Modifiers for Product Photography
Light modifiers are essential tools in product photography as they allow photographers to shape and control the quality of light. By utilizing various light modifiers, you can enhance the overall quality and aesthetic appeal of your product photographs to create stunning visuals that captivate your audience.
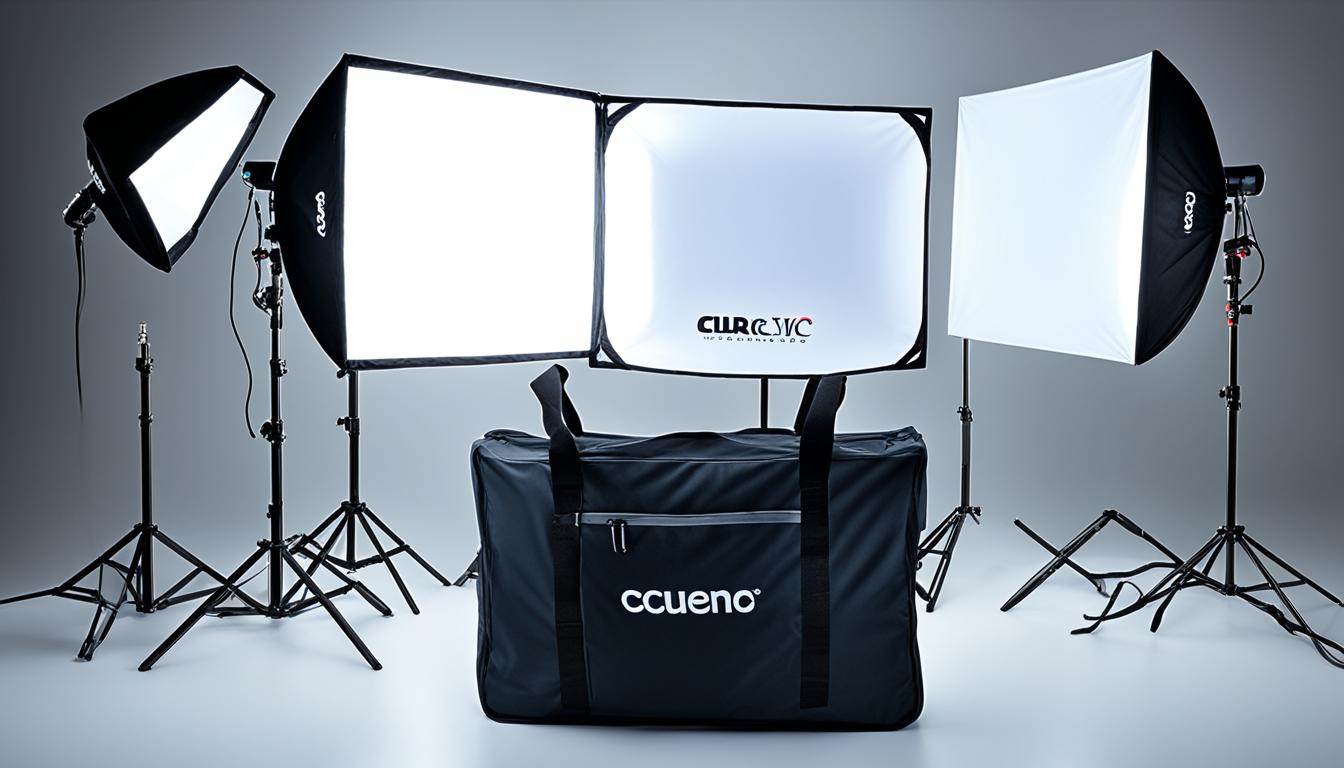
One popular type of light modifier is the diffuser. Diffusers, such as softboxes and scrims, are designed to soften and diffuse the light, resulting in a more pleasing and even lighting effect. They help minimize harsh shadows and create a gentle, diffused light that beautifully illuminates your products. This soft and diffused light is particularly effective in highlighting textures and details, making the products look more appealing and enticing.
Another essential light modifier in product photography is the reflector. Reflectors bounce light onto specific areas of the product, helping to reduce shadows and create a more balanced lighting setup. They are especially useful when you want to fill in shadows or emphasize specific aspects of the product. Reflectors come in various shapes and sizes and can be easily positioned to redirect and control the light as desired.
“Light modifiers play a crucial role in product photography, allowing photographers to shape and control the lighting to create stunning visuals that captivate the audience.”
While diffusers and reflectors are commonly used light modifiers in product photography, there are other options available. Umbrellas, for example, can be utilized for larger products or when you want to create a natural lighting look. They provide a wide spread of soft light and can add a touch of elegance to your product shots. However, they may not be the best choice for small or medium-sized products as the light spread can be too broad.
Different Light Modifiers:
| Light Modifier | Description |
|---|---|
| Diffuser | A tool that softens and diffuses light, creating an even and gentle illumination on the product |
| Reflector | Bounces light onto specific areas to reduce shadows and enhance the overall lighting setup |
| Umbrella | Offers a wide spread of soft light, suitable for larger products or creating a natural lighting look |
Understanding the different types of light modifiers and how to use them effectively is essential for achieving professional-level product photographs. Experimenting with different light modifiers will help you develop your own unique style and improve the overall quality of your images.
Stay tuned for the next section, where we will discuss the various factors to consider when choosing the right lighting equipment for product photography.
Conclusion
Mastering essential lighting techniques is crucial in creating stunning product shots that effectively showcase your items. Understanding the role of different lights, their positioning, and the use of light modifiers allows you to enhance the appeal of your products and make them stand out in a crowded marketplace.
Investing in quality lighting equipment is essential for achieving professional-looking product photography. Continuously experimenting with different lighting techniques and setups will enable you to grow as a product photographer and elevate the visual impact of your images.
Remember, lighting is a powerful tool that can significantly impact the success of your product photography. With a strong foundation in lighting techniques and the right equipment, you can capture the true essence of your products and captivate your target audience.
FAQ
What are the essential lighting techniques for product shots?
The essential lighting techniques for product shots include using key lights, fill lights, and backlights to set the tone, reduce shadows, and define the edges of the product. Additionally, selecting the right background and color scheme can enhance the appeal of the product.
Why is the positioning of lights important in product photography?
Proper positioning of lights is crucial in product photography to achieve the desired results. The key light, fill light, and backlight each serve a specific purpose in capturing the product’s appearance. Understanding where to place these lights and how to adjust their intensity can greatly enhance the overall appearance of the product.
How do I choose the right lighting equipment for product photography?
When choosing lighting equipment for product photography, consider factors such as your skill level, budget, and shooting preferences. Options include continuous lighting, such as LED video lights and tungsten bulbs, or strobe lighting for high-quality images. Investing in quality lighting equipment that suits your needs and allows for flexibility is important as you advance in product photography.
What are light modifiers and how do they impact product photography?
Light modifiers, such as diffusers and reflectors, play a crucial role in shaping and controlling the quality of light in product photography. Diffusers help soften and diffuse the light, while reflectors bounce light onto specific areas and reduce shadows. Understanding the different types of light modifiers and how to use them effectively can greatly enhance the overall quality of your product photographs.
How can mastering lighting techniques improve my product photography?
Mastering essential lighting techniques allows you to create stunning product shots that effectively showcase your items. Understanding the role of different lights, their positioning, and the use of light modifiers can enhance the appeal of your products and make them stand out in a crowded marketplace. Continuously experimenting with different lighting techniques and investing in quality lighting equipment will help you grow as a product photographer and achieve professional-looking images.
Can Macro Photography Techniques Enhance Product Lighting?
When capturing small product shots, using macro photography tips for small product shots can greatly enhance the lighting. By utilizing techniques such as focus stacking and diffused lighting, you can highlight the intricate details of the product and create visually appealing images that showcase the quality and craftsmanship.


