In the world of fashion photography, lighting is a powerful tool that can make or break a shot. It sets the mood, highlights the subject’s features, and adds depth and drama to the images. To create stunning and captivating visuals, it’s essential to understand and master the art of lighting techniques in fashion photography.
Renowned fashion photographer Ian Hippolyte has made a name for himself with his expressive and moody style. His work showcases the transformative power of light and its ability to produce extraordinary results. By incorporating expert lighting techniques, you too can elevate your fashion photography to new heights.
Key Takeaways:
- Lighting plays a crucial role in fashion photography, enhancing the overall mood and visual impact of the images.
- Using hard, more specular light positioned above and in front of the subject’s face can accentuate facial features and create a cinematic quality.
- Experimenting with different lighting setups and modifiers allows for creative effects and adds variety to your fashion photography.
- Understanding the settings of your lighting equipment and adjusting them accordingly is essential for achieving optimal results.
- Capturing movement and genuine emotions requires using lighting setups that allow for fast shutter speeds and the ability to track the subject’s motion.
The Art of Accentuating Facial Features with Lighting
One of the key aspects of fashion photography is accentuating the facial features of the models. At Ian Hippolyte Photography, we understand the importance of professional lighting for fashion shoots and the role it plays in bringing out the beauty and character of our subjects. With our creative lighting setups for fashion photography, we strive to create stunning visuals that highlight the unique features of each model.
When it comes to accentuating facial features, our lead photographer Ian Hippolyte suggests using a hard, more specular light positioned above and in front of the subject’s face. This placement creates a cinematic quality and effectively highlights the bone structure. By experimenting with different lighting setups, we can achieve the desired effects and enhance the model’s features, making them stand out in the photographs.
To add depth and dimension to our images, we also incorporate fill lights into our lighting setups. These fill lights help eliminate unwanted shadows and create catch lights in the eyes, which bring the photographs to life. These subtle touches enhance the model’s facial features and add a captivating sparkle to their eyes.
“Lighting creates mood, depth, and focus in fashion photography. By strategically positioning lights and using the right modifiers, we can transform a simple portrait into a work of art.” – Ian Hippolyte
Our attention to detail extends beyond positioning lights. We carefully select and use modifiers to sculpt and shape the light to achieve the desired effects. Whether it’s using softboxes, beauty dishes, or reflectors, we experiment with different modifiers to create unique and striking lighting setups that enhance the model’s facial features.
To bring these concepts to life, let’s take a look at an example lighting setup:
| Lighting Setup | Description |
|---|---|
| Main Light | A hard, specular light positioned above and in front of the subject’s face, emphasizing the bone structure. |
| Fill Lights | Additional lights placed strategically to eliminate shadows and create catch lights in the eyes. |
| Modifiers | Softboxes and reflectors used to shape and control the light, enhancing the model’s facial features. |
With our expertise in professional lighting for fashion shoots and our commitment to creativity, we strive to accentuate the facial features of our models and create visually stunning fashion photographs. Stay tuned for the next section, where we delve into mastering settings for optimal results in fashion photography.
Mastering Settings for Optimal Results
Understanding how to adjust the settings of your lighting equipment is essential for achieving optimal results in fashion photography. In the studio, we typically start shooting with flash and strobes, using a shutter speed of 1/200 sec to synchronize with the flash. This ensures that the lighting is properly captured and freezes the motion of the subject.
One of the key settings to consider is the aperture or f-stop value. Starting at f/8 is a good rule of thumb for sharpness, as it provides a balance between depth of field and image clarity. However, depending on the desired effect and the available light, adjusting the aperture can add creativity to the photographs.
Another important setting to consider is the ISO. It is recommended to keep it as low as possible to minimize noise and maintain image quality. However, in low-light situations or when intentionally trying to create a grainy effect, increasing the ISO can be beneficial. Experimenting with different ISO values during the shoot can lead to unique and artistic results.
Expert Tip: White Balance and Color Temperature
To achieve accurate color reproduction, pay attention to the white balance and color temperature settings. These settings determine the overall hue and warmth of the image. In fashion photography, it is crucial to have consistent and true-to-life colors. You can adjust the white balance manually or use custom presets depending on the lighting conditions, whether it’s natural or artificial light. Always aim for a neutral and balanced white, especially when showcasing clothing or accessories with specific colors.
“The settings you choose for your lighting equipment can drastically impact the final outcome of your fashion photographs. Don’t be afraid to experiment and try different combinations to achieve the desired look and feel.” – Ian Hippolyte
| Setting | Recommendation | Effect |
|---|---|---|
| Shutter Speed | 1/200 sec | Synchronizes with flash and freezes motion |
| Aperture | f/8 | Creates a balance between depth of field and sharpness |
| ISO | Low as possible | Minimizes noise and maintains image quality |
| White Balance | Customized or adjusted manually | Ensures accurate color reproduction |
These recommended settings serve as a starting point, but feel free to experiment and adjust them according to your desired creative vision. The beauty of fashion photography lies in the ability to push boundaries and create captivating visuals that capture the essence of style and elegance.

Utilizing Props and Modifiers for Creative Effects
To create unique and visually appealing fashion photographs, we encourage the use of props and modifiers to modify the look of the light. These elements can add an extra layer of creativity and enhance the overall aesthetic of your images. When it comes to fashion photography lighting, experimenting with different props and modifiers can help you achieve your desired effects.
Professional fashion photographer Ian Hippolyte often opts for low-key lighting setups to create moody and dramatic effects in his fashion shoots. By using carefully selected props, he adds depth and interest to his images. These props can range from simple items like plastic sheets sprayed with water to larger objects like cardboard pieces strategically positioned to manipulate the light.
For example, placing a plastic sheet sprayed with water in front of your artificial lighting can create a beautiful rainy effect, adding a touch of intrigue and atmosphere to your fashion photographs. Alternatively, positioning a large piece of cardboard between the light source and your subject can create interesting shadows and textures, giving your images a unique and dramatic look.
While props and modifiers can be incredibly effective, it’s important to find a balance between dramatic lighting setups and more minimalist approaches. Sometimes, a simple setup with a single prop or modifier can have a powerful impact on your images. It’s all about experimenting and finding what works best for your creative vision.
Remember, whether you’re using artificial lighting in fashion photography or natural light, props and modifiers can be the key to unlocking your creativity and adding that extra wow factor to your images. Don’t be afraid to think outside the box and try new things. The possibilities are endless!
| Pros of Using Props and Modifiers | Cons of Using Props and Modifiers |
|---|---|
| Allows for creative experimentation | Requires additional planning and setup |
| Adds depth and interest to images | Can be distracting if not used tastefully |
| Enhances overall aesthetic | May require additional time and resources |
| Can create unique and visually appealing effects | Requires careful coordination with the subject |
Experimentation Tips:
- Start with simple props and modifiers and gradually explore more complex setups.
- Consider the theme and concept of your fashion shoot when selecting props.
- Pay attention to the positioning and angle of the props to achieve desired effects.
- Experiment with different materials, textures, and colors to add variety to your images.
- Collaborate with stylists, makeup artists, and models to ensure cohesive visual storytelling.
Capturing Movement and Emotions with Lighting
In fashion photography, capturing movement and emotions is essential to creating impactful and compelling images. At our studio, we believe that lighting plays a crucial role in bringing these elements to life.
Renowned fashion photographer Ian Hippolyte demonstrates how lighting setups can be used to capture dynamic and spontaneous moments. By employing fast shutter speeds and utilizing flash, he ensures that no moment goes unnoticed. The autofocus feature of the camera helps in tracking the subject’s movement, resulting in sharp and focused images.
But it’s not just about technical aspects. Ian emphasizes the importance of building a strong connection with the model to capture genuine emotions and expressions. When the model feels comfortable and connected, their true personality shines through, leading to authentic and evocative photographs.
“Lighting is not just about illuminating the subject; it’s about bringing out their inner essence. By creating an environment where the model feels relaxed and confident, we can capture their true emotions, creating truly captivating images.” – Ian Hippolyte
Through effective lighting techniques, we can freeze moments of movement and evoke a range of emotions in our fashion photography. Whether it’s the graceful sway of a flowing dress or the intense gaze of a model, the right lighting can enhance these elements, allowing them to take center stage.
Capturing Movement
When it comes to freezing movement, a combination of fast shutter speeds and well-placed flash can work wonders. We recommend using a shutter speed of at least 1/1000 sec to ensure sharpness and freeze fast-paced actions. By synchronizing the flash with the camera’s shutter speed, you can capture every intricate detail, even in low-light situations.
Emphasizing Emotions
To emphasize emotions, we suggest using lighting setups that enhance expression. Experimenting with different angles and lighting ratios can add depth and drama to the images. For example, using a side lighting setup can create strong contrasts that highlight facial expressions and evoke a sense of intensity or vulnerability.
By embracing creative lighting setups, we can elevate our fashion photography by infusing it with movement and emotions. When capturing the vibrancy and spontaneity of a fashion shoot, the right lighting can make all the difference.
Achieving Authenticity
Authenticity is the key to capturing genuine emotions in fashion photography. Building a rapport and establishing trust with the model creates an environment where they can comfortably express themselves. A relaxed and confident model will exude natural emotions that are truly captivating in the final images.
“Connecting with the model and establishing trust is a vital part of my creative process. This connection allows me to capture their authenticity, portraying their emotions in a way that resonates with viewers.” – Ian Hippolyte
Remember, as photographers, our aim is to create images that evoke emotions and tell a story. With the right lighting techniques and a genuine connection with the model, we can capture movement and emotions that will captivate viewers and leave a lasting impression.
The Power of Editing in Fashion Photography
Post-production plays a vital role in fashion photography. It is during the editing process that the images truly come together, transforming raw captures into stunning visuals. This stage allows photographers to enhance the images, adjust lighting, and bring out the desired colors and tones to create a cohesive and impactful final result. For professional lighting and creative lighting setups in fashion photography, the editing stage is where you can truly elevate your images and make them stand out.
One of the essential steps in post-processing is shooting in RAW format. This format provides photographers with greater flexibility and control over key elements such as white balance and skin tones. Shooting in RAW allows for adjustments without sacrificing image quality, enabling you to bring out the full potential of your lighting setups in fashion photography.
“Editing is where the magic happens. It’s the stage where you can take your lighting setups and really make them shine. With the right adjustments, you can enhance the impact of your lighting, draw attention to the desired areas, and create a visually captivating final image.” – Ian Hippolyte
During the editing process, there are various techniques and tools that can be utilized to optimize the lighting in fashion photographs. These include adjusting exposure, contrast, and highlights to bring out the finer details and emphasize the desired lighting effects. Additionally, selective editing can be used to enhance specific areas, such as accentuating highlights on a model’s face or bringing out the texture and shine of fabrics.
Color grading is another powerful tool that can be employed in the editing stage to create a desired mood and aesthetic. By adjusting the color balance and tones, photographers can further enhance the impact of their lighting setups, creating a cohesive and visually stunning result that complements the overall concept and theme of the fashion shoot.

Example: Before and After
Let’s take a closer look at an example to see the power of editing in fashion photography. In the image below, you can see the original photo before any editing was applied:
And now, with some expert editing techniques, the same image is transformed into a visually striking final result:
Lighting Setups for Fashion Photography – Examples and Tips
To provide practical examples and inspiration, we have compiled a list of ten lighting setups used in fashion photography. These setups utilize different lighting equipment, including octaboxes, stripboxes, silver umbrellas, and beauty dishes, to achieve various effects such as accentuating features, creating even illumination, and adding drama to the images.
Experimenting with lighting techniques is key to expanding your creativity and developing your signature style in fashion photography. By studying these setups and understanding how different lighting equipment can be used, you’ll be able to create incredible visuals that stand out from the crowd.
Bold and Beautiful: High-Key Lighting
High-key lighting is perfect for creating bright and vibrant fashion images. This setup involves using softboxes or large diffusers to evenly illuminate the subject, eliminating harsh shadows and emphasizing details. The result is a clean and polished look that showcases the fashion garments in a flattering light.
Dramatic Shadows: Low-Key Lighting
If you’re aiming for a more dramatic and moody atmosphere in your fashion photography, low-key lighting is the way to go. This setup involves using a single light source to create strong shadows and contrast. Combining this with carefully placed reflectors or fill lights can help soften the shadows and highlight specific areas of the subject, adding depth and intensity to the image.
Shaping the Face: Butterfly Lighting
Butterfly lighting, also known as paramount lighting, is commonly used to accentuate the facial features of the model. It involves placing the main light source directly in front and above the subject’s face, creating a symmetrical shadow that resembles a butterfly’s wings under the nose. This setup is particularly flattering for highlighting cheekbones and creating a glamorous look.
The Mysterious Shadows: Rembrandt Lighting
Rembrandt lighting is named after the famous painter’s use of light and shadow in his portraits. This lighting setup involves positioning the main light source at a 45-degree angle to the subject, slightly above eye level. The result is a triangle-shaped highlight on the cheek opposite the light source, with the rest of the face in shadow. This technique adds depth, drama, and a sense of mystery to your fashion photographs.
Adding Depth: Side Lighting
Side lighting is a versatile technique that can be used to create depth and texture in your fashion images. By positioning the light source to the side of the subject, you can highlight the contours and textures of the garments, as well as create captivating shadows that add dimension and interest to the photograph.
Glamorous Reflections: Clamshell Lighting
Clamshell lighting involves using two lights to create a soft, diffused light that illuminates the subject from both above and below. This setup is ideal for fashion shoots where you want to achieve a glamorous and flattering look. The upper light serves as the key light, while the lower light acts as a fill light to eliminate shadows and create beautiful catchlights in the subject’s eyes.
The Art of Silhouettes: Backlighting
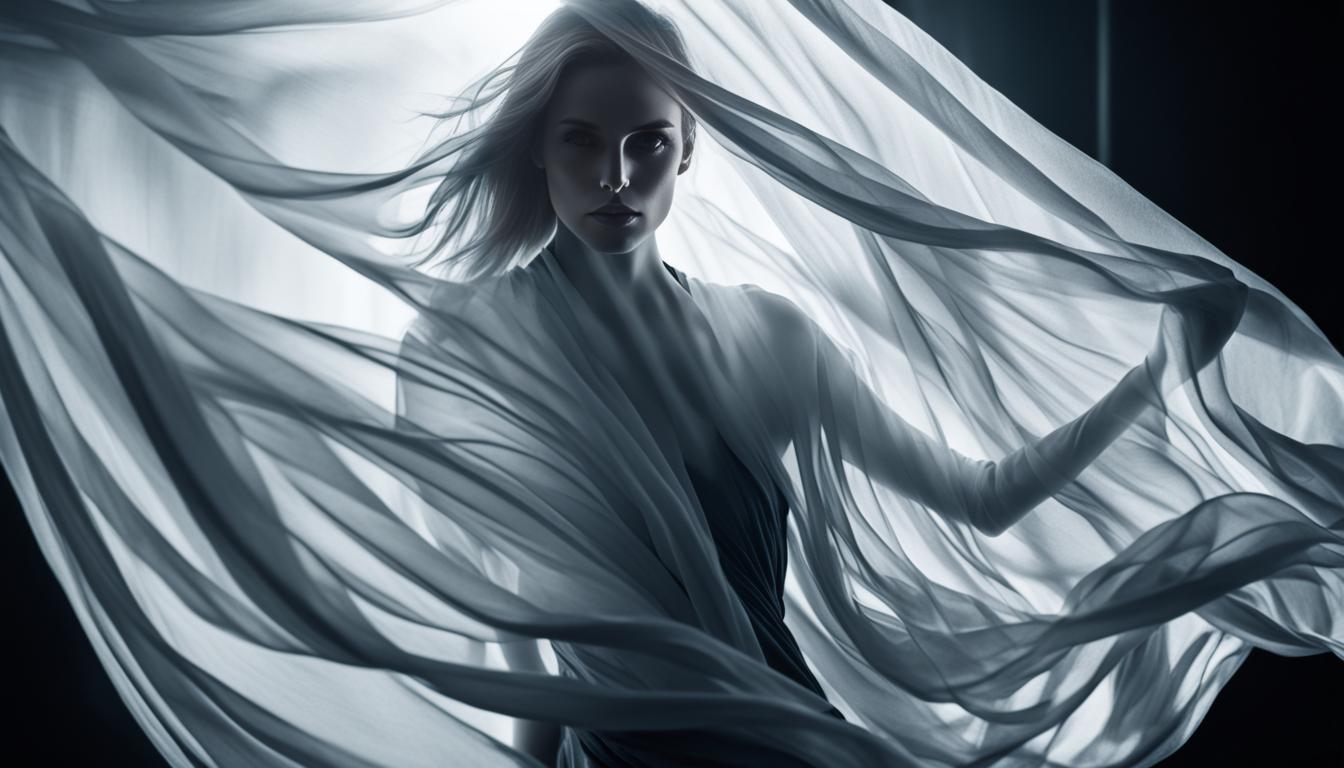
Backlighting is a striking technique that involves placing the main light source behind the subject, creating a silhouette effect. This setup adds a sense of drama and mystery to your fashion photographs, while also allowing you to capture the contours and outlines of the garments in a visually captivating way.
Glistening Beauty: Rim Lighting
Rim lighting, also known as edge lighting, is used to create a glowing outline around the subject, highlighting its shape and adding a touch of sparkle. This setup involves placing the light source behind the subject and slightly to the side, aiming it towards the camera. The result is a beautiful and ethereal effect that enhances the elegance and allure of the fashion garments.
Natural and Ethereal: Window Lighting
Window lighting is a simple yet effective setup that utilizes natural light to create soft and ethereal fashion images. By positioning the model near a window, you can take advantage of the diffused light streaming in, resulting in a natural and flattering illumination that adds a delicate beauty to your photographs.
Play of Shadows: Creative Gobo Lighting
Gobo lighting involves using a stencil or patterned object between the light source and the subject to create interesting shadow patterns on the background or the subject itself. This setup allows you to experiment and unleash your creativity, adding unique visual elements and textures to your fashion images.
Conclusion
Mastering the art of lighting in fashion photography is a continuous learning process. By understanding the different fashion photography lighting techniques and experimenting with advanced lighting setups, photographers can elevate their work and create visually stunning images that captivate viewers. Whether using natural light or artificial lighting, the principles of lighting remain the same – it’s all about understanding how light interacts with the subject and using it to enhance the overall aesthetic.
Throughout this article, we have explored various techniques for fashion photography lighting, including using props and modifiers to create creative effects, capturing movement and emotions with the right lighting setup, and understanding the importance of post-production editing in bringing out the best in the images.
Remember, continuous practice and experimentation are key to mastering advanced lighting techniques for fashion shoots. Every shoot provides an opportunity to refine your skills and develop your own unique style. So, keep pushing the boundaries, have fun with different lighting setups, and let your creativity shine through!
FAQ
What role does lighting play in fashion photography?
Lighting plays a crucial role in creating stunning and captivating images in fashion photography. It helps bring drama, depth, and emphasis to the subject and sets the overall mood and atmosphere of the photograph.
How can lighting techniques accentuate facial features in fashion photography?
By using hard, specular lights positioned above and in front of the subject’s face, fashion photographers can create a cinematic quality and highlight the model’s bone structure. Fill lights can be added to eliminate unwanted shadows and catch lights in the eyes, bringing the images to life.
What settings should be adjusted for optimal results in fashion photography?
In a studio setting, starting with a flash and strobe setup, a shutter speed of 1/200 sec is often used to synchronize with the flash. A starting aperture of f/8 is recommended for sharpness, and keeping the ISO low helps maintain image quality. However, photographers are encouraged to experiment with different settings to add variety and creativity to their images.
How can props and modifiers be used to enhance the look of light in fashion photography?
Props and modifiers play a key role in modifying the look of light and creating unique and visually appealing fashion photographs. They can be used to add drama, create different effects, and achieve a desired aesthetic. For example, plastic sheets sprayed with water or large pieces of cardboard can be utilized to create moody and dramatic effects.
How can lighting setups capture movement and emotions in fashion photography?
By shooting with fast shutter speeds and using flash, photographers can freeze moments and capture the dynamic and spontaneous nature of fashion shoots. Autofocus and building a strong connection with the model also help in tracking movement and maintaining sharp focus, while capturing genuine emotions and expressions.
What role does editing play in fashion photography?
Post-production editing is where fashion images truly come together. It allows photographers to enhance the images, adjust the lighting, and bring out desired colors and tones. It is essential to shoot in RAW format to have more control over white balance and skin tones during post-processing.
Can you provide examples of lighting setups used in fashion photography?
Yes, we have compiled a list of ten lighting setups used in fashion photography. These setups utilize different lighting equipment and modifiers to achieve various effects such as accentuating features, creating even illumination, and adding drama to the images.
What are some key takeaways for mastering lighting techniques in fashion photography?
To master lighting in fashion photography, it is important to continuously learn and experiment with different techniques, setups, and equipment. Understanding the principles of lighting, using props and modifiers, and building a connection with the model are all crucial elements in creating captivating fashion photographs.
How Does Lighting Technique Differ Between Studio and Outdoor Fashion Shoots?
In studio fashion shoots, photographers have complete control over the lighting, using softboxes and reflectors to create even, flattering light. On the other hand, outdoor fashion shoots rely on natural light, which can create dynamic and unique looks, but require flexibility and adaptability from the photographer.


