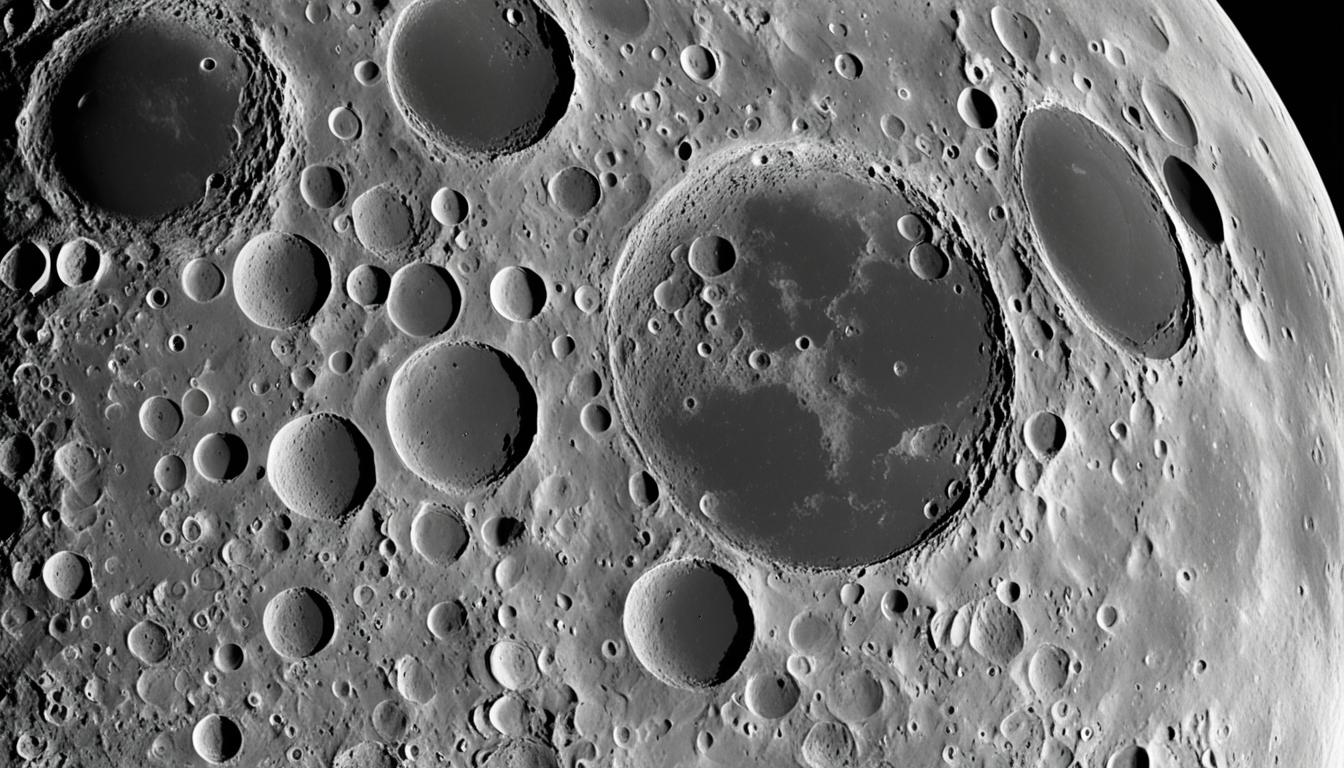
Learning how to capture the beauty of the moon through photography is a rewarding journey for photographers of all levels. The moon, with its mesmerizing presence in the night sky, offers a unique and captivating subject for exploration. In this article, we will guide you through various techniques and tips to help you master the art of lunar photography. From understanding the lunar phases to selecting the right gear and camera settings, we will equip you with the knowledge and skills to capture stunning images of the moon.
Key Takeaways:
- Lunar photography is a challenging yet rewarding genre that offers unique opportunities for creativity.
- Understanding the lunar phases and planning your shoot accordingly can greatly enhance your moon photography.
- Investing in the right gear, such as tripods and telephoto lenses, is crucial for capturing detailed and sharp images of the moon.
- Mastering the camera settings, including manual mode and appropriate ISO, aperture, and shutter speed, is essential for optimal results.
- Post-processing your moon images can further enhance their quality, allowing you to bring out the moon’s texture and contrast.
Quick Start Moon Photography Settings
When diving into the captivating world of moon photography, it helps to have some quick settings as a starting point. These settings will give you a solid foundation for capturing stunning lunar images right from the get-go.
In moon photography, accuracy is key. By using manual mode, you have full control over your camera settings, allowing you to fine-tune each shot to perfection.
Here are the essential quick start settings to kick off your moon photography journey:
| Setting | Value |
|---|---|
| Mode | Manual |
| ISO | 100 |
| Aperture | f/11 |
| Shutter Speed | 1/100 |
Additionally, it’s crucial to focus manually using Live View to ensure the moon appears sharp and detailed in your images.
Keep in mind that these quick start settings serve as a baseline and may require adjustments depending on your specific shooting conditions and gear. The brightness of the moon varies throughout the month due to its different phases, so exposure times may need to be modified accordingly.
By starting with these settings, you’ll be well-equipped to capture the mesmerizing beauty of the moon in your photographs.
Moon Photography Gear
To capture beautiful images of the moon, certain gear is essential. Here are the key pieces of equipment you’ll need:
- Tripod: A sturdy tripod is necessary to stabilize your camera and prevent blur caused by hand shake. Look for a tripod with adjustable height and a secure mounting plate.
- Telephoto Lens: A telephoto lens or a long zoom lens is crucial for filling the frame with the moon and capturing its intricate details. Choose a lens with a focal length of at least 200mm for optimal results.
- Shutter Release Cable: A shutter release cable or a remote shutter release helps minimize camera shake when capturing long-exposure shots of the moon. It allows you to trigger the shutter without physically touching the camera.
- Camera: Use a camera that allows manual mode or aperture priority mode for precise control over exposure settings. Ensure that your camera has good low-light performance and the ability to shoot in RAW format for enhanced post-processing flexibility.
When selecting gear, consider your specific needs, budget, and the type of moon photography you plan to pursue. Investing in quality equipment will greatly improve your chances of capturing stunning moon images.
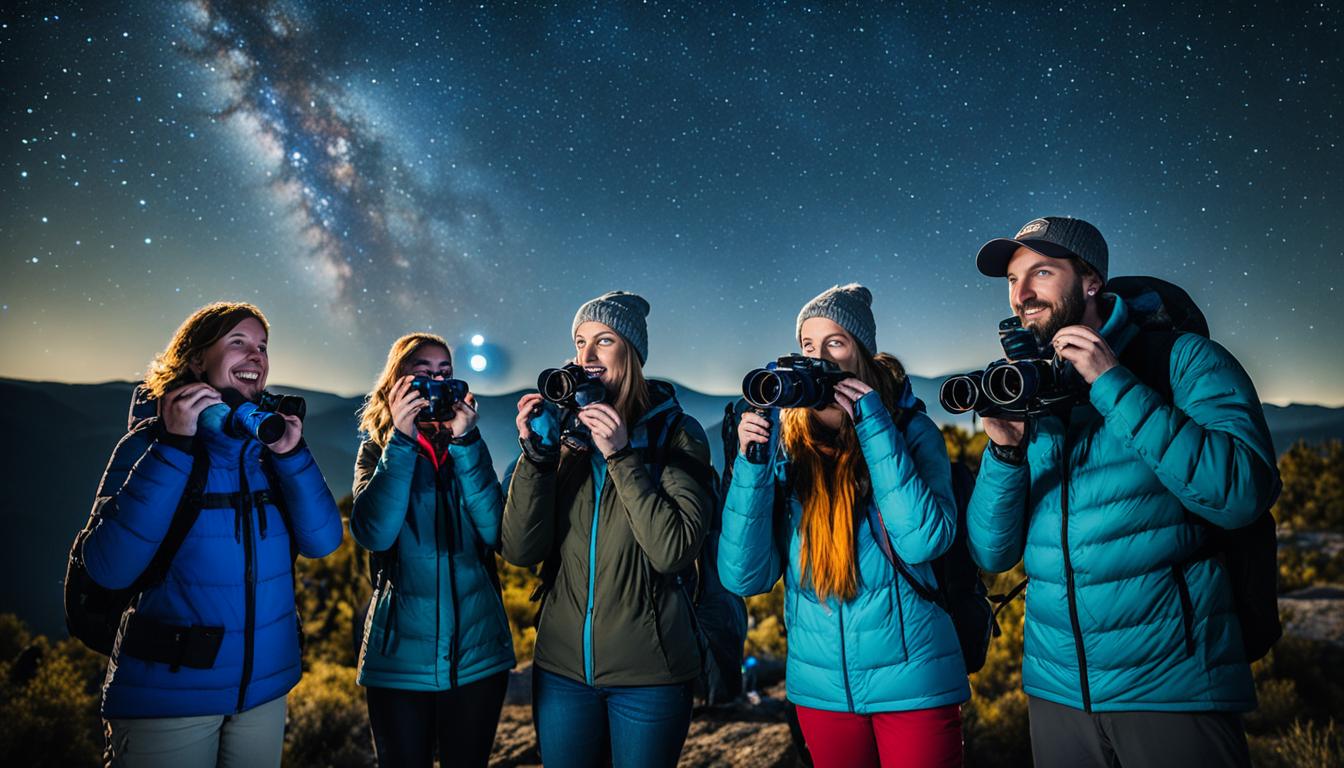
Take a look at this image showcasing the essential moon photography gear:
Planning Your Moon Photography Shoot
Before diving into moon photography, it’s crucial to plan your shoot properly. Where and when you choose to capture the moon can significantly impact the quality and composition of your photos. Here are some important factors to consider:
Moon Photography Location: Selecting the perfect location for your moon photography shoot is essential. Determine if you want to focus on close-up shots of the moon or incorporate it into a captivating landscape. This decision will guide your choice of shooting location.
Quote: “The moon has a way of adding a touch of magic to any landscape. Choose a location that complements its beauty and creates a captivating visual story.” – [Photographer Name]
Moon Phase: Understanding the various moon phases and how they affect the moon’s appearance is crucial for planning your shoot. Different phases result in varying levels of illumination and details on the lunar surface. Consider the phase that will best showcase the desired features in your moon photography.
Moonrise and Moonset: Moonrise and moonset times are ideal for capturing the moon alongside breathtaking landscapes. Research the exact times of moonrise and moonset at your chosen location to plan your shoot accordingly.
Weather: Keep a close eye on the weather forecast before heading out to photograph the moon. Clear skies are essential for capturing crisp and detailed images. Avoid shooting on hazy or cloudy nights, as they can diminish the overall quality of your photographs.
Example Moon Photography Planning:
| Date | Moon Phase | Moonrise Time | Moonset Time | Weather |
|---|---|---|---|---|
| October 5, 2022 | First Quarter | 6:45 PM | 4:30 AM | Clear skies |
| October 20, 2022 | Full Moon | 8:30 PM | 6:15 AM | Partly cloudy |
| November 10, 2022 | Last Quarter | 5:15 PM | 3:00 AM | Clear skies |
Based on the example above, you can plan to capture the first quarter moon on October 5th, as it will be visible during evening hours. However, it is advisable to select a night with clear skies to ensure optimal image quality.

By carefully planning your moon photography shoot considering the moon’s phase, location, moonrise, moonset timings, and weather conditions, you can increase your chances of capturing breathtaking images of the moon.
Camera Settings for Lunar Photography
When photographing the moon, selecting the right camera settings is crucial to ensure optimal results. By understanding how each setting contributes to the final image, you can capture sharp and well-exposed moon photos. Here are the key camera settings to consider for lunar photography:
Manual Mode or Aperture Priority Mode
For greater control over exposure, it’s recommended to shoot in manual mode or aperture priority mode. These modes allow you to adjust the aperture, ISO, and shutter speed individually, ensuring precise adjustments for capturing the moon’s details.
ISO
Setting the ISO to 100 or lower helps minimize noise and grain in your moon images. By keeping the ISO low, you can achieve cleaner and more detailed shots of the moon.
Aperture
For sharp and detailed moon photos, set the aperture to a range of f/11 to f/16. This aperture range provides a good balance between depth of field and image sharpness, allowing you to capture the intricate details on the moon’s surface.
Shutter Speed
The ideal shutter speed for lunar photography depends on the moon’s phase, shooting conditions, and your focal length. As a general starting point, set the shutter speed to 1/100 or adjust it accordingly to achieve the desired exposure. Experimenting with different shutter speeds can help you capture the moon’s motion or freeze it in place.
Shooting in RAW Format
To maximize post-processing flexibility and retain the highest level of image quality, shoot in RAW format. RAW files contain more data than JPEG files, allowing for greater adjustments to exposure, white balance, and other settings during editing.
Manual Focusing
When photographing the moon, manual focusing is often more reliable than autofocus. Use Live View mode to zoom in on the moon’s surface and adjust the focus manually, ensuring crisp and well-focused images.
By using these camera settings, you can capture stunning and detailed images of the moon that showcase its beauty and mesmerizing features.
Remember, photography is an art, and experimenting with different settings and techniques can lead to truly unique and awe-inspiring results.
Summary of Camera Settings for Lunar Photography
| Camera Setting | Recommended Values |
|---|---|
| Mode | Manual or Aperture Priority |
| ISO | 100 or lower |
| Aperture | f/11 to f/16 |
| Shutter Speed | Adjusted based on conditions |
| File Format | RAW |
| Focusing | Manual |
Techniques for Capturing the Moon
Capturing stunning images of the moon requires mastering various techniques. By exploring different approaches to composition, utilizing specialized equipment, and experimenting with creative effects, you can elevate your moon photography to new heights.
1. Composition: Incorporating Foreground Elements
When capturing the moon, don’t forget about the importance of composition. One technique to enhance your moon photography is to incorporate foreground elements into your frame. By including interesting objects such as trees, buildings, or landmarks, you can add depth and context to your moon shots, creating visually captivating images.
For example, try positioning the moon near the top of your frame and allowing trees or other objects to frame it, creating a sense of scale and interest. Experiment with different angles, perspectives, and compositions to find the most compelling arrangement.
2. Super Telephoto Lens: Capturing Surface Details
For capturing close-up shots of the moon’s surface details, a super telephoto lens is a valuable tool. With its long focal length, a super telephoto lens allows you to zoom in and reveal intricate features like craters and mountains on the moon.
When using a super telephoto lens, consider using a tripod to stabilize your camera and minimize vibrations. This will help you achieve clear and sharp images, even when shooting with a long focal length.
3. HDR and Double Exposure: Overcoming Dynamic Range Challenges
The moon and its surroundings often present challenges with dynamic range, as the bright moon and dark sky can result in loss of details. To overcome this, consider using HDR (High Dynamic Range) or double exposure techniques.
With HDR photography, you can capture multiple exposures of the moon and combine them using dedicated software. This process allows you to retain details in both the bright moon and the darker areas of the image.
Alternatively, experiment with double exposure techniques by blending multiple exposures of the moon onto a single frame. This can result in unique and artistic images that showcase both the moon’s details and the surrounding environment.
4. Creative Effects: Black and White, Time-lapse, and Zoom
Don’t be afraid to explore creative effects to add a unique touch to your moon photography. Consider experimenting with black and white photography to evoke a sense of mystery and enhance the contrast between light and shadow.
Another technique to try is time-lapse photography, which involves capturing a sequence of images of the moon over time. This can create mesmerizing videos that showcase the moon’s movement and changing illumination throughout the night.
Additionally, experimenting with zoom can lead to interesting and dynamic moon shots. Try adjusting your focal length during a long exposure to create a zoom effect, resulting in a visually striking image.
Remember, the most captivating moon photos often result from a combination of technical expertise, creative vision, and a willingness to try new techniques. Don’t be afraid to push the boundaries of your moon photography and let your creativity shine.

| Technique | Description |
|---|---|
| Composition | Incorporate foreground elements to add depth and interest to your moon shots. |
| Super Telephoto Lens | Use a super telephoto lens to capture detailed shots of the moon’s surface. |
| HDR and Double Exposure | Employ techniques like HDR and double exposure to overcome dynamic range challenges. |
| Creative Effects | Experiment with black and white photography, time-lapse, and zoom for unique and artistic moon images. |
Enhancing Moon Photography with Post-Processing
Post-processing is an essential step in taking your moon photography to the next level. By fine-tuning your images through editing, you can enhance the details, colors, and overall impact of your moon photos. In this section, we’ll explore the post-processing techniques and tools that can help you achieve stunning results.
Shooting in RAW Format
When photographing the moon, shooting in RAW format is highly recommended. RAW files contain a wealth of data, allowing for more flexibility in adjusting various aspects of the image during post-processing. Compared to JPEG files, RAW files preserve more details, provide better control over exposure, and allow for non-destructive editing.
Adjusting White Balance
One common challenge in moon photography is achieving accurate white balance. The moon’s appearance can vary depending on the atmospheric conditions and your camera settings. During post-processing, you can fine-tune the white balance to match the scene’s natural colors. Experimenting with different settings can help you achieve a more realistic and visually pleasing representation of the moon.
Sharpening Details
To bring out the intricate details of the moon’s surface, sharpening is a crucial step in post-processing. However, it’s essential to apply sharpening selectively and avoid overdoing it, as it can introduce artifacts and unwanted noise. Using tools like the Unsharp Mask or High Pass filter in editing software allows you to enhance the details while maintaining a natural and realistic look.
Bringing Out Texture and Contrast
Another aspect of post-processing is enhancing the texture and contrast of the moon’s surface. By adjusting the levels, curves, or shadow/highlights, you can emphasize the craters, ridges, and other fascinating features of the moon. This helps create a more dynamic and captivating image that draws the viewer’s attention.
Choosing the Right Editing Software
When it comes to post-processing moon photos, choosing the right editing software is crucial. Popular options include Adobe Photoshop and Lightroom, both offering a wide range of tools and features for enhancing your images. These programs allow for precise adjustments in exposure, color, sharpness, and other aspects to achieve your desired results.
Experimentation is key when it comes to post-processing moon photography. Don’t be afraid to try different techniques and push your creative boundaries. By learning and refining your post-processing skills, you can unlock the true potential of your moon photos and create breathtaking images that truly capture the beauty of the celestial world.
Conclusion
After exploring various techniques, gear, and settings for moon photography, we have reached the conclusion that capturing stunning images of the moon is indeed a challenging yet highly rewarding endeavor. By utilizing the tips and tricks shared in this article, we can confidently embark on our lunar photography journey.
Remember, moon photography requires a deep understanding of the techniques involved, such as composition, the use of telephoto lenses, and the application of post-processing techniques. Additionally, planning your shoots according to moon phases, weather conditions, and desired locations plays a crucial role in achieving outstanding results.
Although it may take multiple attempts, do not get discouraged. Patience, perseverance, and a willingness to experiment are key to capturing the perfect moon shot. By applying what we have learned and exploring our own creative style, we can elevate our night sky photography and capture the astounding beauty and awe-inspiring presence of the moon.
FAQ
What are some quick settings to start with for moon photography?
When starting out, it can be helpful to use manual mode, set the ISO to 100, use an aperture of f/11, set the shutter speed to 1/100, and focus manually using Live View. These settings may need to be adjusted based on specific shooting conditions and gear.
What gear do I need for lunar photography?
Essential gear for moon photography includes a tripod to stabilize the camera, a telephoto lens or a long zoom lens to fill the frame with the moon, a shutter release cable or remote shutter release for minimizing camera shake, and a camera capable of shooting in manual mode or aperture priority mode.
How should I plan my moon photography shoot?
When planning your shoot, consider when and where you want to shoot the moon. Moonrise and moonset times are ideal for capturing the moon with landscapes. Understanding the moon’s phases and how they affect its appearance can help you choose the best time and date for your shoot. Keep an eye on the weather to ensure clear skies for optimal results.
What camera settings should I use for lunar photography?
It is recommended to shoot in manual mode or aperture priority mode for more control over exposure. Setting the ISO to 100 or lower helps minimize noise. Aperture settings of f/11 to f/16 are recommended for sharp and detailed shots. Adjust the shutter speed based on the moon’s phase, shooting conditions, and focal length.
What techniques can I use to capture stunning moon images?
Experiment with composition by incorporating foreground elements. Use a super telephoto lens for capturing close-up shots of the moon’s surface details. Consider using HDR or double exposure techniques to overcome challenges with dynamic range. Get creative with effects like shooting in black and white or experimenting with time-lapse and zoom.
How can I enhance my moon photography through post-processing?
Shooting in RAW format allows for greater flexibility in adjusting various aspects of the image during post-processing. Use editing software like Adobe Photoshop or Lightroom to adjust white balance, sharpen details, and bring out the texture and contrast of the moon’s surface. Experiment with different editing techniques to refine your moon photos.
Is moon photography challenging?
Moon photography can be a challenging yet rewarding genre of photography. With practice, patience, and persistence, you can capture stunning images of the moon and elevate your night sky photography.
How Can I Use Camera Settings to Capture the Moon in Lunar Photography?
When capturing the moon in lunar photography, mastering the camera settings for astrophotography is crucial. Adjusting the ISO, aperture, and shutter speed can enhance the clarity and details of the moon. Using a tripod and remote shutter release can also help minimize camera shake for sharper images.


