Struggling to make your online store products stand out? High-quality product photography can boost conversions. This article will teach you essential techniques and tips, from setting up the right equipment like cameras and lighting to mastering photo editing with Adobe Photoshop and Lightroom.
Discover the path to success!
Key Takeaways
- High-quality product photos need the right gear like a good camera, tripod, lighting, and a white background.
- Use manual settings on your camera for better control over pictures. Play with angles and lighting to highlight your product’s features.
- Editing is important to make colors true to life and details stand out. Tools like Adobe Lightroom can help you adjust images after shooting.
- Taking shots from multiple angles lets customers see all sides of a product. Adding lifestyle shots can show how the product fits into daily life.
- Mastering both natural and artificial lighting adds clarity and appeal to your photos. Use softboxes for even light indoors.
Essential Equipment for Product Photography

To snap top-notch product photos, you need the right gear. A good capturing device, steady stand, proper lighting setup, and simple backdrop make a big difference.
Camera
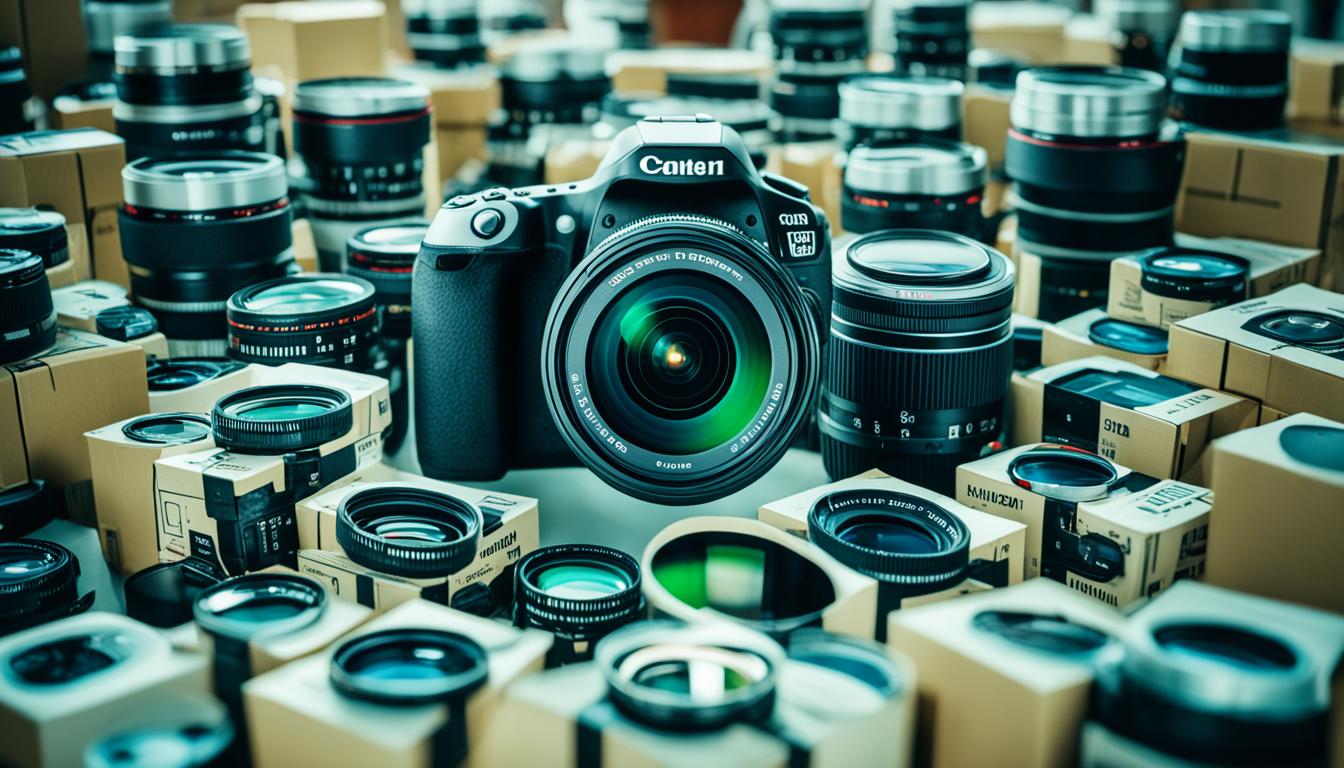
Choosing the right camera makes all the difference in product photography. Canon DSLRs are top picks for their image quality and flexibility. They work well in different lighting conditions, a must for capturing every detail of your products.
Smartphones, with advanced cameras now, offer a good backup option or starting point. With either choice, mastering settings like shutter speed and ISO sensitivity helps you get sharp images.
Using manual mode on your DSLR allows control over depth of field and exposure—key for making your products stand out against clean white backgrounds or when adjusting to natural light changes throughout the day.
Each photograph you take adds to your experience, showing how tweaks in angle or lighting transform shots from good to great.
Tripod
Moving from the camera, a tripod is next. It’s crucial for sharp photos. A good tripod keeps your camera steady. This means no blur in pictures, even in low light. Professionals use it to keep their shots consistent, especially when taking many photos from the same angle.
Tripods come in different types. Some are tall and sturdy for studio work. Others are small and flexible, great for outdoor shoots. Always choose one that suits your need. With a tripod, you can easily adjust angles and heights to get the perfect shot.
Lighting equipment
Good lighting makes your product photos shine. You need natural and artificial light for this. A room with a window brings in sunlight, adding warmth to your shots. On cloudy days, though, use artificial lights like LED panels or flash units.
They brighten up the space evenly.
Reflectors are another key tool—they bounce light back onto the product, reducing shadows. This trick fills in dark areas without extra lamps or flashes. For best results, place reflectors opposite your main light source.
By mixing these tools right, you get clear and lively pictures every time.
White background and bounce cards
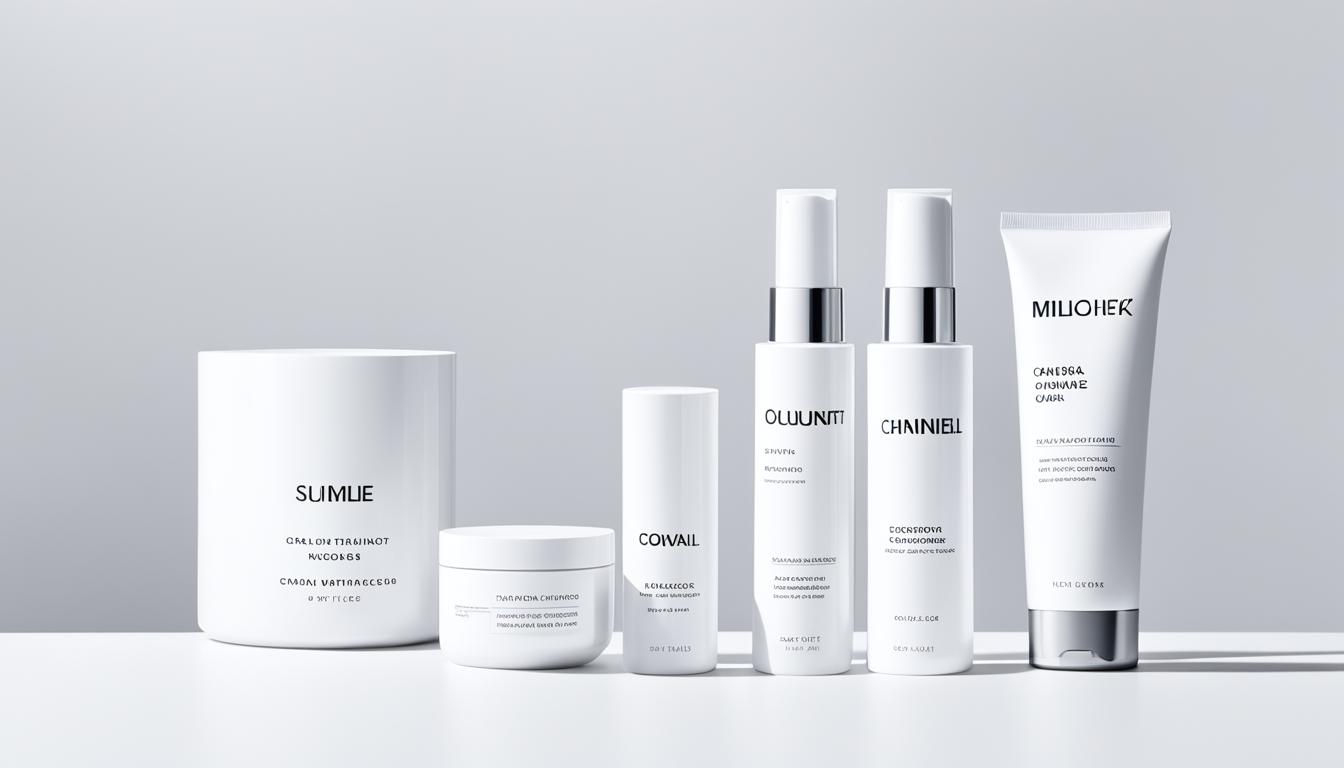
A white background makes your product stand out. It also helps in easy editing. You can use a simple white poster board for this purpose. Bounce cards, made of foam board, push light towards your product.
This reduces shadows and brightens the picture. Adding these to your photography setup will make photos look professional.
For best results, place bounce cards on sides opposite to the light source. This balances the light on your product. Using both a white backdrop and bounce cards together improves photo quality greatly.
Your products will shine with a clean look on any ecommerce website or social media platform. These are crucial tools for capturing great shots every time without fail.
Setting Up Your Product Photography Studio
Pick a good spot, hang your white sheet as a backdrop, and place lights right to get your products looking their best. Ready to learn more? Keep reading.
Choosing the right space
Find a room with enough space for a standard folding table. This allows you to set up near a window, using natural light. The area should let in plenty of daylight but not directly face the sun—indirect sunlight works best.
Make sure there’s room around the table for moving and adjusting your tripod and lights. This setup helps create clear, lively photos without harsh shadows.
Secure your backdrop to the wall behind the table using tape or clamps. A white background makes your product stand out and bounce cards reflect light, reducing shadows further. They’re crucial for even lighting in photography, especially eCommerce images that appear on Shopify or Etsy platforms.
Keep these tools close by your shooting area to easily adjust them as needed throughout the day based on how natural light changes.
Setting up the backdrop
To set up the backdrop, use white poster board. This creates a clean and seamless background for your product photos. It’s simple yet highly effective for highlighting your products without any distractions.
Making a sweep is key to avoid harsh lines behind the item you’re photographing. A sweep is just a curved piece of the poster board that rises from the flat surface where your product sits to the wall behind it.
This curve eliminates shadows and lines, giving you that sought-after professional look in every shot.
Next, we will arrange lighting for optimal exposure…
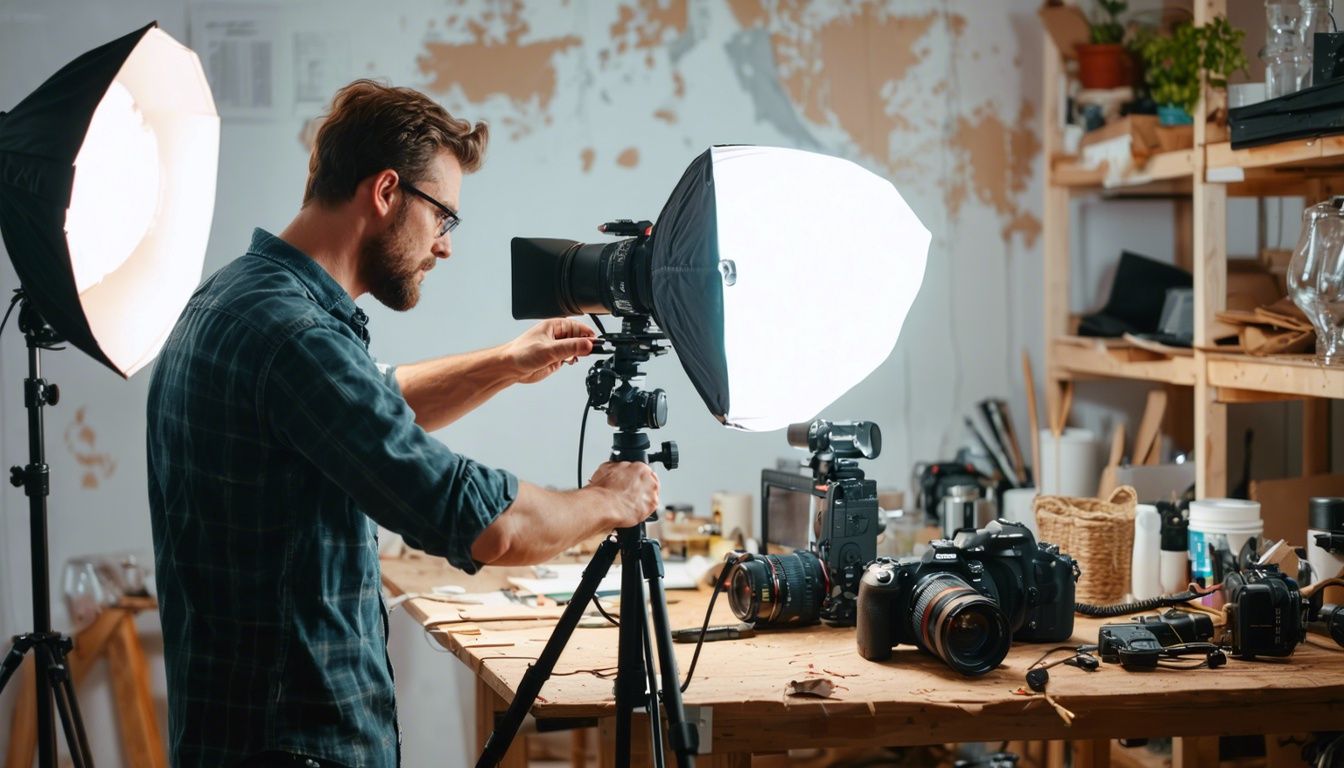
Arranging lighting for optimal exposure
Once your backdrop is ready, the next step focuses on arranging lighting. This setup ensures your product looks its best.
- Place three lights around your subject. One main light, often called a key light, illuminates the product directly. Fill lights or reflectors minimize shadows on the opposite side. A backlight separates the product from the background.
- Use white bounce cards to reflect light back onto the product. This trick helps in reducing shadows and evens out the lighting.
- Adjust the angle of each light until you find the perfect balance that highlights your product’s features without creating harsh shadows.
- Consider using a softbox with your lights. Softboxes diffuser over a light source produce softer, more even lighting.
5 Exploit natural daylight whenever possible. Windows can provide an excellent source of natural lighting, but avoid direct sunlight as it can cause harsh shadows and overexposure.6 Experiment with different times of day to see how natural light affects your shots, especially if you’re using it as a primary light source.
7 Set white balance on your camera to match the type of light you’re using—be it natural or artificial—to ensure colors in your photos appear as they do in real life.
8 Use ISO settings wisely to manage the sensitivity of your camera’s sensor to light without introducing noise into your images.
9 Monitor exposure levels closely using your camera’s live view setting or histogram function to prevent areas from being overexposed or underexposed.
10 Incorporate fill lights sparingly to tackle unwanted shadows without flattening out the product’s texture and detail.
By carefully adjusting these elements, photographers create well-lit images that showcase products attractively, crucial for e-commerce success.
Mastering the Fundamentals of Product Photography
To master product photography, start with understanding camera settings. Use a small aperture, like f/8 or higher. This makes the whole product sharp in photos. Lightroom helps you organize and edit these shots after.
Good lighting is key. Mix natural light with artificial sources for clear images. Play around with angles to show every part of your product. Edit photos to make colors true to life and details pop out.
Key Techniques for Effective Product Photography
To take great product photos, you need to master a few key tricks. Learn how lighting and angles can change everything, plus some basic editing to make your pictures pop.
Using natural vs. artificial lighting
Natural light is simple and recommended for product photography, especially when using a window. This type of lighting can make your products look more appealing with softer shadows.
But, it has limits with shiny items because they might reflect too much light.
Artificial lights, like softboxes, help control the scene better. You can adjust brightness and direction to get the look you want any time of day. For clear pictures indoors without sunlight, using these lights will bring out details in your products that natural light may not show.
Importance of multiple angles
Shooting your products from multiple angles is a must. This method lets customers see all sides, just like in a store. Eye level, high angle, low angle, and bird’s eye are key views to include.
They give a complete picture of what you’re selling. For example, lifestyle shots show how products fit into everyday life.
Seeing is believing; multiple angles make it real.
Next up – basic photo editing techniques help make those images shine even more.
Basic photo editing techniques
After capturing your product from various angles, the next step is editing those shots for a polished look. Start by selecting the best photos. Use software like Adobe Lightroom for adjustments.
Here’s how: adjust brightness and contrast to make your images pop. Next, crop to focus on the product and remove distractions.
Correct colors so they look natural. This makes your products appear true-to-life online. If there are any blemishes or dust spots, retouch them out. Costs for professional retouching can range around $3 to $5 per image, but doing it yourself saves money.
Sharpen details slightly for crispness without making it grainy.
For e-commerce, resizing images is crucial for fast loading times. Keep pixel dimensions in mind; large enough for clarity but optimized for web speed.
These tools and techniques improve photo quality and also help your product stand out in competitive markets like online shopping platforms where first impressions count a lot.
Advanced Product Photography Tips
For amazing shots, try using lifestyle setups and close-ups to show your product’s size. Softboxes can change your light game. Ready for more tips? Keep reading and step up your photo skills!
Creating lifestyle shots
Lifestyle shots place products in real-world scenes. They show how people use your product daily. This technique helps customers see the product’s value in their lives. Use natural settings that match where the product belongs, like a coffee cup on a kitchen table or running shoes on a trail.
Choose models who reflect your target audience for more authenticity.
Capture these moments during different times of the day to get varied lighting and moods. Soft morning light creates gentle images, while afternoon sun brings out bold shadows and highlights; both can tell a powerful story about your products.
Always focus on clarity and detail to highlight features such as zippers and handles, proving quality through visuals.
Moving forward, consider developing detailed and scale shots next.
Developing detailed and scale shots
Creating detailed and scale shots requires close attention to small features, like zippers on a bag or handles on mugs. Use a macro lens to capture these tiny details sharply. This technique shows customers exactly what they are buying.
For scale shots, place items next to common objects. This helps buyers understand the product’s size easily.
Group shots play a big role too. They let you show off multiple products together, like in kits or sets. Using light tents ensures each item is evenly lit and stands out against the background.
These strategies make your photos more useful for making purchasing decisions.
Next, explore how softboxes can change your lighting setup…
Utilizing softboxes and artificial light
Softboxes and artificial light play key roles in product photography. They ensure even lighting across products, keeping shadows at bay while highlighting features. Softboxes spread light over a wide area, making them ideal for showcasing details without harshness.
This method guarantees your product shots look both professional and inviting.
In my experience, softboxes have transformed the way I shoot products. They provide a softer light that wraps around objects beautifully, eliminating dark spots and emphasizing texture.
Moving from natural to artificial lighting requires some adjustments but offers control regardless of weather or time of day. It’s all about finding the right balance to make your products stand out.
Next up, we’ll explore elevating your skills with expert tips on composition and background choices.
Elevating Your Product Photography Skills
Getting better at taking pictures of products takes work and smart tips. Try new framing tricks and learn about close-up photo taking for small items to make your shots stand out.
Expert tips and techniques for photographing products
Product photography shapes how customers see your items online. Great photos can boost sales and build your brand. Here are expert tips to master the craft:
- Use a DSLR or mirrorless camera for high-quality images; these capture more detail than phone cameras.
- Set your camera to shoot in RAW file format; this gives you more control during photo editing.
- Mount your camera on a tripod to keep shots steady and consistent, especially important for focusing and exposure.
- Adopt natural lighting when possible; it makes products look more genuine. Yet, softboxes can help mimic this effect indoors.
- Create a clean, white background to highlight your product without distractions, promoting SEO by making the images web-friendly.
- Apply bounce cards or reflectors to fill in shadows and even out the light on your product, ensuring all details are visible.
- Capture your product from multiple angles to show off every feature and increase buyer confidence.
- Employ basic photo editing software to adjust exposure compensation, brightness, contrast, and saturation for better image quality.
- Learn about f-stops and shutter speeds to control how much light hits the camera sensor; this affects the sharpness of products.
- Adjust the aperture priority setting for varying depths of field; use a wider aperture (low f/stop number) for blurry backgrounds.
- Utilize macro photography for detailed close-ups of small products, showcasing textures and quality.
- Optimize images for e-commerce by resizing them for fast loading times on websites without losing quality on retina screens.
Following these steps ensures that each product photograph showcases the item’s best features while fitting seamlessly into an ecommerce platform’s visual requirements.
Composition and background tips
To make your product photos stand out, focus on composition and background. A white poster board helps create a seamless backdrop that makes editing easier. This simple setup enhances the photo’s appeal by keeping distractions away from your product.
Use different angles to showcase the item’s best features, bringing attention to details buyers care about.
For a professional look, arrange your products with space around them. This technique, called building sweep, gives depth and dimension to images. It works wonders for both web browsers and social platforms where visuals drive engagement.
By applying these tips, you’ll craft images that catch the eye and tell a story about what you’re selling.
Macro photography tips for small product shots
After mastering composition and background, focus on macro photography for small products. Use a DSLR camera with a macro lens to capture tiny details clearly. Set your aperture around f/8 to keep the product sharp while softly blurring the background.
This technique highlights intricate designs or textures.
Stable shots are crucial, so mount your camera on a tripod. A steady setup eliminates blur, ensuring each pixel is crisp. Light your product evenly with softboxes to avoid harsh shadows; this creates a natural look in photos.
For editing, rely on software like Lightroom to adjust exposure and clarity effectively.
In my own work, capturing jewelry often involves these steps: arranging several lighting sources for even shine and using a remote shutter release to minimize movement during capture.
The result? Images that showcase every sparkle and detail without losing focus.
Optimizing Product Images for E-commerce
For e-commerce, good images sell. Learn to tweak and resize your photos for faster webpage loading and better search results.
Retouching techniques
Retouching transforms good photos into great ones. Costs range from $3 to $5 per image, making it a valuable step for e-commerce success. Tools like Pixelz and Path help by tweaking colors, adjusting exposure, and smoothing out imperfections.
This ensures products look their best online.
Professionals often use retouching to correct lights and shadows or delete unwanted objects in the background. For example, they might brighten white backgrounds or make colors pop more for web display.
Simple edits include cropping for the right composition or resizing images to fit website specifications without losing quality.
Image optimization for websites
Optimizing product images for websites is key. You need to resize and compress them first. JPEGmini software does this well, making sure pictures load fast without losing quality. Always match the image size to its HTML container space on your site.
To make web pages load quicker, use smart compression tools like JPEGmini. This step ensures your photos look sharp on all devices. It helps keep visitors on your website longer and improves search engine rankings, leading to more sales for ecommerce businesses.
Legal Considerations in Product Photography
In product photography, knowing the law matters. Copyrights and trademarks can affect your images.
Product photography law: copyrights and trademarks
Copyrights and trademarks matter a lot in product photography. You must get permission to use someone’s copyrighted materials. This includes photos of products that someone else made.
For trademarks, like logos or brand names, you need to be very careful too. Using these without permission can lead to big problems, such as legal fights and harm to your business reputation.
Adhering to photography laws helps maintain your professional integrity and keeps you out of legal trouble.
For example, if you’re shooting a photo of a sneaker with a well-known logo, make sure it’s okay with the company first. Your pictures should not mislead or confuse people about who owns the brand or product.
Always check copyright and trademark rules before sharing your photos online or in ads. This will save you from headaches and keep your work legal.
Growing Your Product Photography Business
Boosting your product photo business calls for smart moves. Think about setting the right prices and marketing well.
Product photography business pricing and marketing tips
Setting the right prices and marketing your product photography business effectively are keys to success. Here’s how you can do it, drawing on direct experience and industry standards.
- Start by researching local competition to set fair prices. Prices often range from $20 to $50 per photo, with flat rates for larger projects.
- Create a diverse portfolio with 20-25 images that show off different styles and skills, including lifestyle shots and white background images.
- Use social media platforms like Instagram to showcase your work. Regular posts can attract retailers looking for professional product photography.
- Offer package deals to encourage more bookings. Include options for different budgets.
- Collaborate with e-commerce sites and local businesses to get your name out there. Cross-promotion can work wonders.
- Teach workshops or create online content about photography tips and tricks as a way to establish authority in the field.
- Have clear contracts that outline what clients get for their payment, emphasizing the value of retouched images and quick turnarounds.
- Collect testimonials from satisfied customers to build trust with potential clients.
- Optimize your website’s search engine ranking by using keywords related to photography services, enhancing visibility on the web.
- Stay updated with trends in product photography, such as using natural light or creating detailed scale shots, so you can offer the latest techniques.
Each step is created to build a strong foundation for pricing strategies and marketing efforts that will help grow your product photography business efficiently and effectively.
Crafting your product photography portfolio
Creating your product photography portfolio requires careful selection. Limit your display to 20-25 images. This shows you know how to pick the best shots. Include a mix of angles, settings, and lighting conditions.
Show off different types of products too. This variety proves your skills across multiple challenges.
Make each image in your portfolio stand out by using lifestyle shots and detailed close-ups. For lifestyle photos, place products in real-world scenarios that appeal to viewers’ imaginations.
Close-up shots reveal the quality and texture of items, giving customers a sense of scale. Use bounce cards for softer shadows and highlight textures clearly in these pictures.
Use photo editing software to enhance colors and correct any flaws before adding images to your portfolio. Quality over quantity always wins; choose photos that speak volumes about your expertise in making products look their best.
When to Hire a Professional Product Photographer
Knowing when to call in a pro shooter for your product is key. If your DIY photos aren’t cutting it and sales need a boost, it’s time.
Assessing the need for professional quality
Deciding to hire a professional photographer can boost your product’s image. Professionals charge between $30 and $60 per photo, but they offer consistency and top-notch editing. This could mean the difference for your brand, especially in e-commerce.
High-quality photos catch customers’ eyes faster than regular ones.
If you notice sales aren’t as high as expected or feedback mentions poor photo quality, it might be time to invest in a pro. They use advanced techniques like softboxes and focus stacking to make products stand out.
Also, their expertise in retouching makes images flawless for websites, helping with search engine optimization. Using these services elevates your brand image significantly.
Benefits of consistent professional editing
Professional editing turns good photos into great ones. Each image gets the attention it needs, from color correction to removing unwanted elements. This process shows products in their best light, making them more appealing to customers.
Sites like Pixelz and Path offer these services for $3 to $5 per picture. They handle retouching and enhancing, ensuring each product looks flawless.
Using these services saves time and boosts quality. Photographers can focus on shooting more images instead of spending hours on post-processing. Consistent professional editing ensures all images meet high standards, which is crucial for brands aiming for a luxury feel or maintaining a consistent look across advertisements and e-commerce sites.
The Role of Product Photography in E-commerce Success
Good product photos increase sales for online shops. The right lighting and exposure are key. Cameras, tripods, and editing tools help get the perfect shot. Photos show products from multiple angles.
This lets customers see all details before buying.
Clear photos make people want to buy more. They use natural or artificial light to look their best. Editing fixes any small mistakes in the pictures. Good photos also build trust with customers by showing the true quality of products.
Conclusion
Mastering product photography boosts online store sales. You need a camera, lights, and a clean background to start. Learn how to set up your space and use light well. Practice shooting from different angles and editing photos to make products look their best.
Advanced tips like lifestyle shots improve skills further. Keep learning and testing new techniques for better results.
FAQs
1. What camera settings should I use for product photography?
Use a wider-angle lens for larger products and f/1.4 for shallow depth of field, enhancing focus on your item. Auto exposure might work, but manual settings give you control… Autofocus helps with sharp images.
2. How can lifestyle photography benefit my branding?
Lifestyle photography shows products in real-life scenarios, creating a touchpoint that connects customers to your brand emotionally… It tells a story, making your items relatable.
3. Why is image editing important in product photography?
Editing polishes photos… Use tools like unsharp mask to sharpen details subtly. Adjusting pixels and metadata can optimize images for web performance without losing quality—key for attracting more subscribers.
4. Can I achieve professional results with point-and-shoots like the Canon G10?
Yes! Cameras like the Canon G10 capture high-quality image files suitable for detailed product shots… With good lighting and proper technique, even point-and-shoots excel in product photography.
5. What are some essential techniques to master in product photography?
Focus on mastering a few: controlling camera flash to avoid harsh shadows; exploring different angles for unique perspectives; employing shallow depth of field to highlight the product against soft backgrounds; and practicing lifestyle shots that weave stories around your products—these techniques boost engagement and education about your offerings.