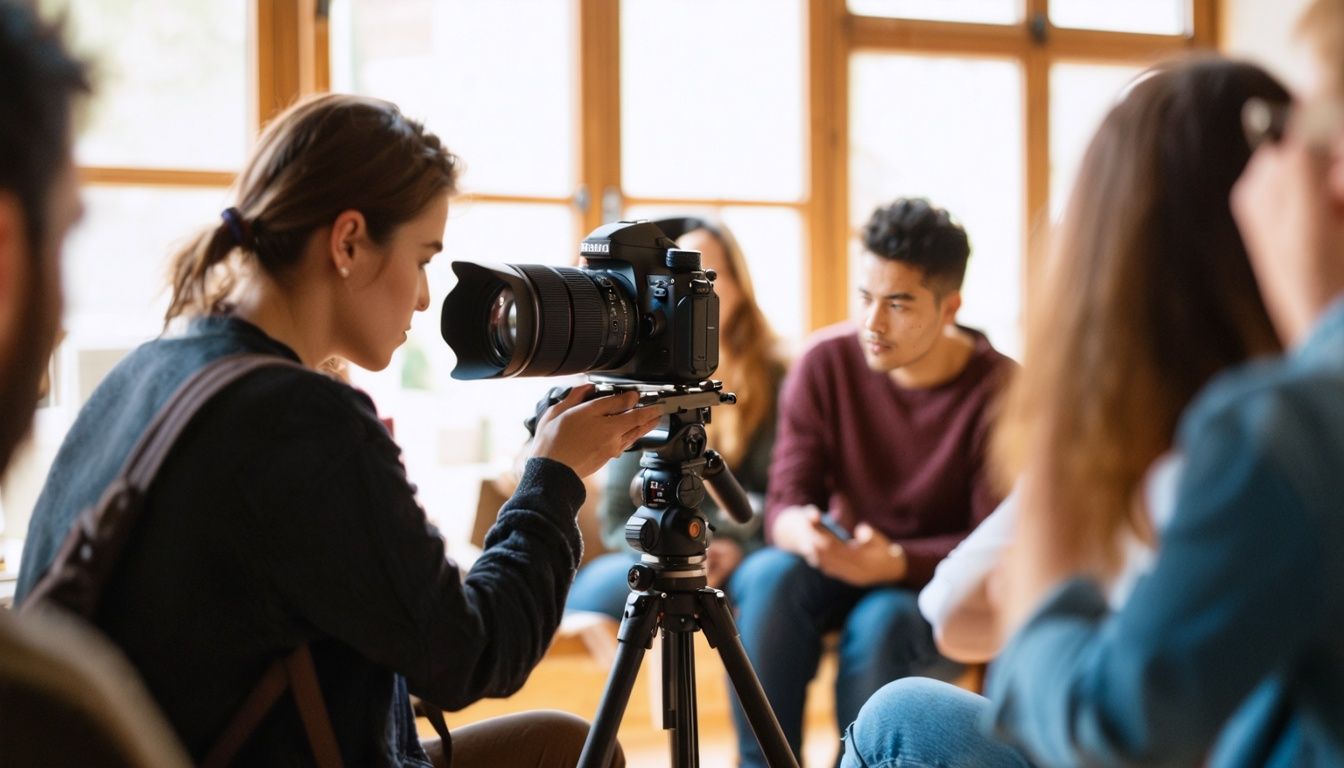
Welcome to our guide on shooting modes, where we will help you understand and master the different camera settings that play a crucial role in capturing stunning photographs. Whether you’re a beginner or an experienced photographer, knowing how to navigate through manual mode, aperture priority, and shutter priority will elevate your photography skills and unlock your creative potential.
Photography is all about capturing light and telling stories through images. The various shooting modes available on your camera allow you to control how much light enters the sensor, resulting in different exposure and creative effects. By understanding these modes, you’ll create images that truly reflect your vision.
Key Takeaways:
- Mastering shooting modes like manual mode, aperture priority, and shutter priority is essential for taking control of your camera.
- Each shooting mode has its advantages and is suitable for different photography scenarios.
- Understanding camera exposure modes helps you achieve proper exposure and desired creative effects.
- Photography settings play a crucial role in capturing professional-quality photos.
- Experiment with different shooting modes and techniques to develop your unique style and enhance your photography skills.
Why Icon Modes Fall Short
Many cameras offer built-in shooting modes with icons representing different photography scenarios such as sports, portraits, and landscapes. While these modes may seem convenient, they have limitations that prevent you from achieving professional-quality photos.
One of the major limitations of icon modes is their lack of customization. These modes have pre-determined settings that may not always suit the specific conditions or subject you are photographing. For example, the portrait mode may automatically set a low aperture that results in a shallow depth-of-field. While this may be desirable for individual portraits, it may not be suitable for capturing large group photos where you want everyone to be in focus.
By relying solely on icon modes, you are handing over control of your camera settings to an algorithm. This can result in missed opportunities and subpar images. To capture professional-quality photos, it is essential to learn and utilize manual and other creative shooting modes. These modes allow you to have full control over your camera settings, enabling you to adjust aperture, shutter speed, ISO, and other essential parameters according to the specific requirements of your subject and environment.
Mastering manual and other creative shooting modes not only provides you with more control but also opens up a world of creative possibilities. You can experiment with different settings to achieve unique effects, capture challenging lighting conditions, and achieve the desired look and feel in your photographs.
As renowned photographer Ansel Adams once said, “You don’t take a photograph, you make it.” By veering away from the limitations of icon modes and venturing into more advanced shooting modes, you gain the confidence and ability to create professional-quality photos that truly express your vision and artistic style.
Let’s take a closer look at the differences between icon modes and manual/creative shooting modes:
| Icon Modes | Manual/Creative Modes | |
|---|---|---|
| Level of Control | Limited control over camera settings | Full control over camera settings |
| Customization | Pre-determined settings based on scenarios | Settings tailored to specific subjects and environments |
| Flexibility | Less flexibility to adapt to changing conditions | Greater flexibility to adjust settings as needed |
| Creativity | Limited room for creative experimentation | Ability to explore various creative effects |
Icon Modes:
- Pre-determined settings based on scenarios
- Limited control over camera settings
- May not adapt well to specific subjects or environments
- Less flexibility and room for creative experimentation
Manual/Creative Modes:
- Full control over camera settings
- Settings tailored to specific subjects and environments
- Greater flexibility to adjust settings as needed
- Ability to explore various creative effects
As you can see, manual and creative shooting modes offer greater control, customization, flexibility, and opportunities for creative expression. By embracing these modes, you can overcome the limitations of icon modes and capture professional-quality photos that truly reflect your artistic vision.
Understanding Creative Modes
Creative Modes are the key to unlocking the full potential of your camera. With these modes, you can have complete control over your camera settings and unleash your creativity. Let’s explore the different creative modes and discover how they can elevate your photography skills.
Program Mode: Automatic Convenience
Program mode is a versatile shooting mode that automatically sets the aperture and shutter speed for you. This allows you to focus on other settings such as white balance and ISO. It’s a convenient option for both beginners and experienced photographers who want to quickly capture a scene without worrying about individual settings. Program mode offers a balance between ease of use and customization.
Aperture Priority Mode: Control Depth-of-Field
Aperture Priority mode gives you control over the aperture setting while the camera adjusts the shutter speed for proper exposure. By adjusting the aperture, you can control the depth-of-field in your photos, determining how much of the scene is in focus. This mode is particularly useful when you want to create a shallow depth-of-field with a blurred background or a deep depth-of-field where everything is sharp and in focus.
Shutter Priority Mode: Capture Motion
Shutter Priority mode allows you to set the desired shutter speed while the camera adjusts the aperture for proper exposure. This mode is ideal for capturing subjects in motion, such as sports or wildlife photography. By setting a fast shutter speed, you can freeze the action and capture crisp, sharp images. Conversely, a slow shutter speed can create motion blur, adding a sense of movement to your photos.
Manual Mode: Complete Creative Control
If you want maximum control over your camera settings, Manual mode is the way to go. In this mode, you have full control over the aperture, shutter speed, and ISO. Manual mode is perfect for challenging lighting conditions or when you want to achieve specific creative effects. It requires a good understanding of exposure and photography techniques, but it allows you to create unique and stunning images.

“Creative Modes give you the freedom to express your vision and capture the world in your own unique way. Whether you prefer the convenience of Program mode, the control of Aperture Priority mode, the ability to freeze or blur motion with Shutter Priority mode, or the complete customization of Manual mode, there is a shooting mode for every situation and creative vision.”
By understanding the different creative modes and when to use them, you can take your photography skills to new heights. Experiment with each mode, explore the possibilities, and discover your personal style. The more you practice and understand these modes, the more confident you’ll become in capturing amazing images.
Program Mode: The Automatic Option
In program mode, your camera takes care of setting the aperture and shutter speed for you, allowing you to focus on other important settings such as white balance, ISO, and flash. It’s an automatic shooting mode that offers convenience, especially for beginners who are still getting the hang of manual adjustments. With program mode, you can quickly capture shots without worrying about the technicalities of exposure.
However, it’s important to note that program mode does have its limitations. Unlike manual mode or aperture priority mode, program mode doesn’t allow you to control the shutter speed and aperture independently. This means that you may not have full control over the sharpness of your images or the depth-of-field effect. Program mode is more suited for situations where you need to capture a scene quickly and accurately, without much focus on creative control.
Adjusting White Balance and ISO
One of the advantages of program mode is that it still allows you to adjust important settings like white balance and ISO. White balance determines the color temperature of your photos, ensuring accurate colors in different lighting conditions. ISO, on the other hand, controls the sensitivity of your camera’s image sensor to light, allowing you to capture images in low-light situations without excessive noise.
With program mode, you can select the appropriate white balance setting based on the lighting conditions of your scene, whether it’s daylight, cloudy, or indoor lighting. You can also adjust the ISO setting to ensure proper exposure in different lighting scenarios. This flexibility allows you to adapt to various shooting conditions while still benefiting from the automatic camera settings of program mode.
Using Flash in Program Mode
Program mode also enables you to utilize the flash effectively. The camera’s built-in flash automatically pops up when the lighting conditions require additional light. This can be particularly useful in situations where you need to brighten up the subject or fill in shadows to achieve a balanced exposure. However, it’s essential to be aware that the camera’s automatic flash settings may not always suit your specific creative intentions.
For example, if you want to create a more dramatic effect or avoid harsh shadows, you may need to override the camera’s flash settings. In program mode, you can typically adjust the flash settings to control the intensity of the flash or even disable it altogether. This gives you some degree of control over the lighting of your images while still benefiting from the ease and convenience of program mode.
Pros and Cons of Program Mode
Program mode, with its automatic camera settings and flexible adjustment options, has its pros and cons.
| Pros | Cons |
|---|---|
| Convenient for quick shooting | Limited control over shutter speed and aperture |
| Ability to adjust white balance and ISO | Potential for less creative control |
| Flash automatically adjusts to lighting conditions | May not always produce desired lighting effects |
Ultimately, whether program mode is suitable for your photography needs depends on the specific situation and your desired level of control. For beginners or situations that require quick, accurate shots, program mode can be a valuable tool. However, if you are looking for maximum creative control or specific effects, it may be beneficial to explore other shooting modes such as manual mode or aperture priority mode.
Aperture Priority Mode: Control Depth-of-Field
Aperture Priority mode is a versatile shooting mode that gives photographers of all levels the ability to control the depth-of-field in their photos. With this mode, we have the power to adjust the aperture setting, which determines how much of the image is in focus. By making changes to the aperture value, we can achieve a wide range of creative effects.
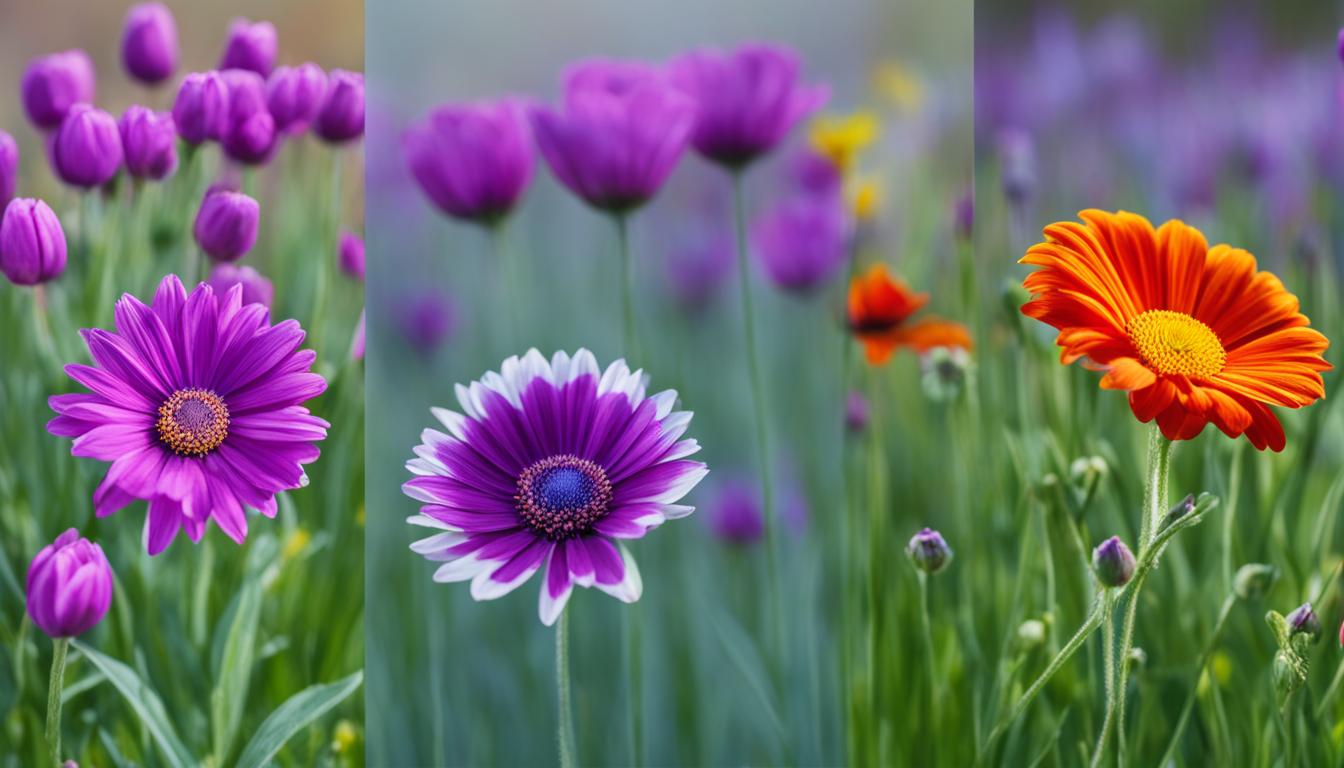
The aperture setting is measured in f-stops and ranges from wide open (low f-number) to closed down (high f-number). When we choose a low f-number, such as f/1.8, we create a narrow depth-of-field, which results in a sharp subject and a beautifully blurred background. This effect is often used in portrait photography to draw attention to the main subject.
On the other hand, when we select a high f-number, such as f/16, we create a deep depth-of-field where everything in the frame is in focus. This is useful for landscape photography or any scenario where we want to capture all the elements in sharp detail.
Aperture Priority mode is especially helpful in situations where we want to have more control over the depth-of-field but still rely on the camera to determine the appropriate shutter speed for proper exposure. The camera will automatically adjust the shutter speed based on the selected aperture, ensuring that our photos are properly exposed.
“Aperture Priority mode allows me to create stunning portraits with a dreamy background bokeh. It gives me the creative freedom to control the depth-of-field and achieve the exact look I want for my images.” – Sarah Thompson, Professional Photographer
Advantages of Aperture Priority Mode:
- Control over the depth-of-field for creative effects
- Automatic adjustment of shutter speed for proper exposure
- Allows for focusing on composition and subject rather than technical settings
With Aperture Priority mode, we can unleash our creativity and capture photos with stunning depth-of-field effects. By experimenting with different aperture settings, we can add visual interest and create unique photographs that stand out.
Shutter Priority Mode: Capturing Motion
In photography, capturing motion is an art in itself. It allows us to freeze a split-second moment or create a sense of urgency and energy. Shutter Priority Mode is a powerful tool that puts you in control of capturing motion exactly how you envision it. By setting the desired shutter speed, you determine how fast or slow the camera’s shutter opens and closes, influencing the amount of time the image sensor is exposed to light.
“Photography is the power of observation, not the application of technology.”
– Ken Rockwell
Setting a fast shutter speed, like 1/1000th of a second, freezes action, perfect for capturing a soaring bird in flight, a race car speeding by, or a ballet dancer mid-leap. On the other hand, a slow shutter speed, such as 1/30th of a second, introduces motion blur, allowing you to convey the sensation of movement, whether it’s a flowing river or a spinning ferris wheel at night. Shutter Priority Mode empowers you to create dynamic images that tell a story through motion.

But capturing motion isn’t just about choosing the right shutter speed. It’s also about finding the perfect balance with other essential settings like ISO and aperture. The ISO determines the camera’s sensitivity to light, while the aperture controls the amount of light entering the lens. Adjusting these settings in conjunction with the shutter speed is crucial for achieving the desired exposure and overall image quality.
With Shutter Priority Mode, you control the shutter speed, and the camera automatically adjusts the aperture to maintain proper exposure. This saves you time and allows you to focus on capturing the moment without worrying about other settings. However, it’s important to note that the camera’s choice of aperture may impact the depth-of-field, so it’s always a good idea to be mindful of this when shooting.
Shutter Priority Mode is particularly useful in various photography genres. Sports photographers rely on it to freeze the action on the field, ensuring every detail is sharp and clear. Wildlife photographers employ it to capture animals in motion, helping convey their grace and power. And even in everyday photography, Shutter Priority Mode can help you seize spontaneous moments, freeze the spray of ocean waves, or emphasize the speed of a passing train.
Recommended Shutter Speeds for Different Subjects:
| Subject | Recommended Shutter Speed Range |
|---|---|
| Sports | 1/500 – 1/2000 |
| Wildlife | 1/250 – 1/1000 |
| Waterfalls | 1/4 – 1/15 |
| Street Photography | 1/125 – 1/500 |
Remember, these ranges are starting points, and you may need to make adjustments based on the specific conditions and desired results of your shot. Experimentation is key to finding what works best for you and your creative vision.
So the next time you want to freeze the wings of a hummingbird or capture the motion of a flowing river, don’t forget to explore Shutter Priority Mode and embrace the incredible world of capturing motion with your camera.
Manual Mode: Taking Full Control
In manual mode, you have the power to unlock the true potential of your camera. With complete control over the aperture, shutter speed, and ISO, you can fine-tune your settings to achieve the desired exposure and creative effects. This mode is a favorite among experienced photographers who want full control over their images, enabling them to capture stunning shots with precision and customization.
When shooting in manual mode, you become the master of your camera, deciding how much light enters through the aperture, how long the shutter stays open, and the sensitivity of the image sensor with the ISO setting. This level of control allows for endless creative possibilities and ensures that your photographs are a true reflection of your artistic vision.
By adjusting the aperture, you can control the depth-of-field, determining how much of your image is in sharp focus and how much is softly blurred. This is especially useful in portrait photography where you can create a beautiful bokeh effect by setting a wide aperture, such as f/1.8. On the other hand, if you want to capture landscapes with maximum sharpness from the foreground to the background, you can select a smaller aperture, like f/16 or f/22.
The shutter speed setting in manual mode allows you to freeze fast-moving subjects or create motion blur for artistic effect. When photographing sports events, you can set a high shutter speed to capture crisp action shots. Conversely, when photographing flowing water or night scenes, you can experiment with slow shutter speeds to create smooth and dreamy long exposures.
ISO, the sensitivity of the image sensor, can be adjusted in manual mode to compensate for changes in lighting conditions. By increasing the ISO in low light situations, you can capture well-exposed images without relying on longer shutter speeds or wider apertures. However, keep in mind that higher ISO settings can introduce digital noise into your photos, so it’s important to find the right balance between sensitivity and image quality.
While manual mode may seem intimidating at first, it offers full control over your camera settings and allows you to achieve the exact results you envision. With practice and a good understanding of exposure and photography techniques, you can confidently explore manual mode and elevate your photography to new heights.
Mastering Manual Mode
Mastering manual mode requires a good understanding of exposure and photography techniques. Here are a few tips to help you get started:
- Use a tripod to keep your camera steady, especially when using slower shutter speeds.
- Experiment with different aperture and shutter speed combinations to achieve your desired effect.
- Pay attention to the exposure meter in your camera’s viewfinder or LCD display to ensure proper exposure.
- Take test shots and review the histogram to check for overexposed or underexposed areas.
- Practice adjusting your camera settings quickly and confidently to capture spontaneous moments.
Remember, manual mode gives you complete control and the freedom to express your creativity. Embrace the challenge and enjoy the process of mastering this powerful shooting mode.
Other Camera Modes
While the main creative modes offer a range of shooting options, many cameras also come equipped with additional camera modes that can enhance your photography experience. These other camera modes include Scene modes and Creative Filters.
Scene modes are pre-set shooting modes designed to optimize your camera settings for specific scenarios. Whether you’re shooting at night, capturing a stunning landscape, or photographing a beautiful sunset, scene modes can help you achieve the best results by automatically adjusting settings such as exposure, white balance, and focusing. These pre-programmed modes take the guesswork out of capturing perfect shots in different situations. However, relying solely on scene modes can limit your creative freedom, as they are designed for specific scenarios and might not always produce the desired results in unique or challenging lighting conditions.
Creative Filters, on the other hand, allow you to add artistic effects to your photos right in-camera. They offer a quick and convenient way to transform your images and add a touch of creativity. With options like black and white, sepia, or miniature effect, creative filters can offer a new perspective and style to your photographs. Keep in mind that while creative filters can be fun to experiment with, they may not always produce the same level of quality as applying post-processing effects using dedicated photo editing software.
Here’s a table summarizing the features and benefits of these other camera modes:
| Camera Modes | Description | Advantages | Limitations |
|---|---|---|---|
| Scene Modes | Pre-set shooting modes optimized for specific scenarios |
|
|
| Creative Filters | Artistic effects pre-applied to images |
|
|
While other camera modes like scene modes and creative filters can be beneficial in certain situations, it’s important to remember that they might not always provide the same level of control and quality as the main creative modes. As you gain more experience and confidence in your photography skills, exploring and experimenting with different shooting modes will allow you to further develop your unique style and capture stunning images.
Conclusion
Understanding and mastering the different shooting modes of your camera is essential to becoming a skilled photographer. With the ability to use Manual mode, Aperture Priority, and Shutter Priority, you can take full control of your camera and unleash your creativity. Each shooting mode has its own advantages, making them suitable for different photography scenarios.
Experimenting with different shooting modes and techniques enables you to discover your own unique style and capture stunning images. By practicing regularly, you will gain confidence in using the various shooting modes to master your camera and elevate your photography skills.
Whether you’re aiming to capture breathtaking landscape shots, freeze fast-moving action, or create artistic portraits, the ability to select the right shooting mode empowers you to achieve the desired results. And remember, there’s no one-size-fits-all approach – your creativity and personal preferences play a crucial role in defining your photographic style.
FAQ
What are the different shooting modes that my camera offers?
Your camera may offer shooting modes such as Manual mode, Aperture Priority, Shutter Priority, and Program mode. These modes allow you to have control over various settings to capture different types of photos.
Why are the built-in shooting modes with icons not recommended for professional-quality photos?
While the built-in shooting modes with icons may seem convenient, they have limitations that prevent you from achieving professional-quality photos. These modes may not allow you to control settings such as aperture and shutter speed independently, which can impact the sharpness and depth-of-field in your photos.
How does Program mode work?
Program mode is an automatic shooting mode that sets the aperture and shutter speed for you. It allows you to adjust other settings such as white balance, ISO, and flash.
What is Aperture Priority mode and when should I use it?
Aperture Priority mode allows you to control the aperture setting, which determines the depth-of-field in your photos. It is suitable for various photography scenarios, such as portraits, where you want to control the background blur.
How does Shutter Priority mode help in capturing motion?
Shutter Priority mode allows you to set the desired shutter speed, while the camera adjusts the aperture for proper exposure. This mode is useful when capturing fast-moving subjects or when you want to freeze the motion in your photos.
What is Manual mode and when should I use it?
Manual mode gives you complete control over all the camera settings, including aperture, shutter speed, and ISO. It is suitable for experienced photographers who want precise control over their images and are comfortable making manual adjustments. It allows for maximum creativity and customization.
What are the other camera modes besides the main creative modes?
Besides the main creative modes, cameras may offer other shooting modes such as Scene modes and Creative Filters. Scene modes optimize settings for specific photography scenarios, while Creative Filters allow you to add artistic effects to your photos.
Why is understanding and mastering the different shooting modes important?
Understanding and mastering the different shooting modes of your camera is essential to becoming a skilled photographer. By learning to use these modes, you can take full control of your camera and unleash your creativity to capture stunning images in various photography scenarios.
What Shooting Mode Is Best to Use with Different Lens Focal Lengths?
When it comes to understanding lens focal length, it’s important to choose the right shooting mode for different scenarios. For wide-angle lenses, using the aperture priority mode can help capture more of the scene. With telephoto lenses, the shutter priority mode can help prevent camera shake. Understanding lens focal length is key to getting the best results in photography.