Are you looking to add a dynamic touch to your photography? Panning is a creative technique that allows you to capture movement in a unique and compelling way. Whether you’re interested in motion blur photography or freezing action with panning, mastering the art of panning can create stunning images that convey a sense of motion.
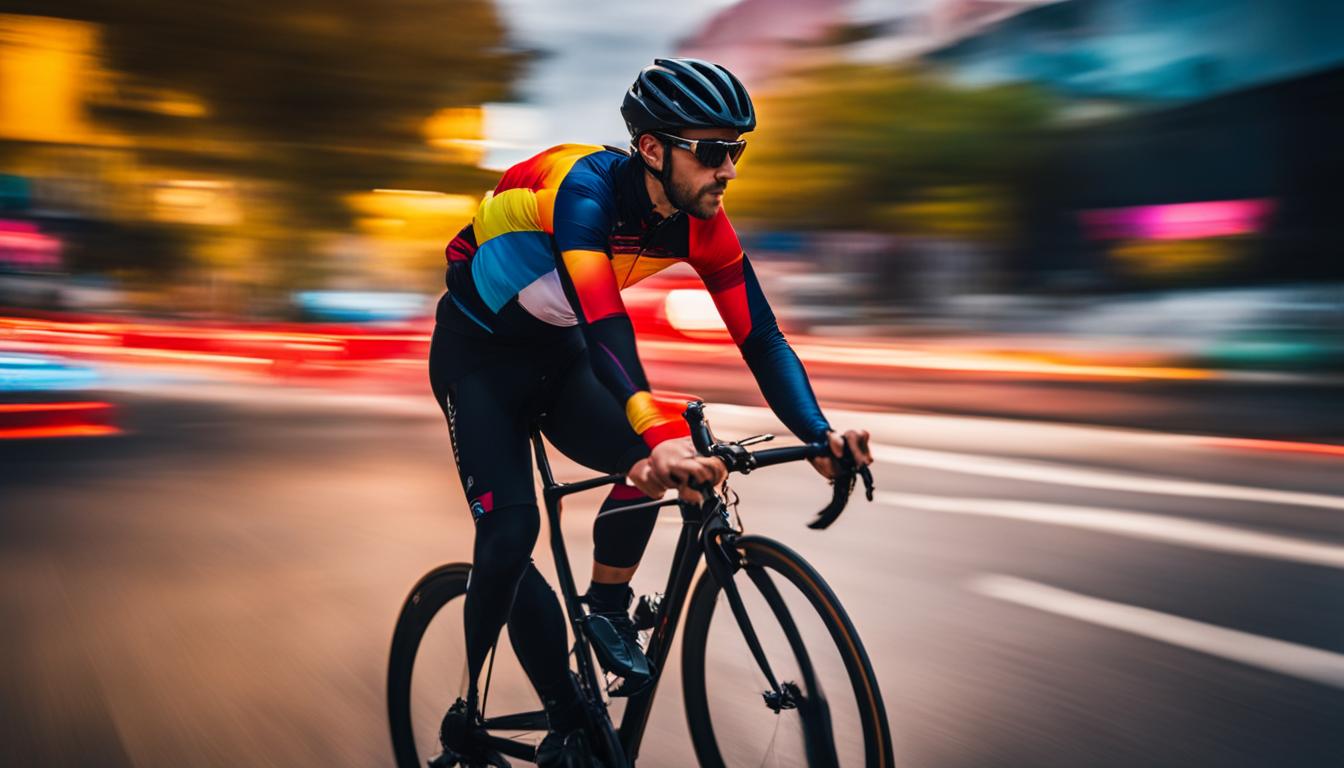
To capture movement in photos, panning involves using a slower shutter speed and following the motion of your subject. This technique allows you to keep the subject sharp while creating a streaked blur effect in the background. By panning, you can capture a variety of moving subjects, from cars and bikes to wildlife and sports players.
But how do you achieve the best panning settings for your specific scenario? Our experts are here to guide you through the process. In this article, we’ll cover everything you need to know about panning photography techniques, from understanding the concept of panning to choosing the right camera settings and improving your panning technique.
Key Takeaways:
- Learn how to capture movement in your photos with panning techniques.
- Master the art of freezing motion with panning and creating dynamic images.
- Discover the best camera settings for panning photography.
- Improve your panning technique by experimenting with different lenses and shutter speeds.
- Understand the importance of focusing and using a tripod for stability.
What is Panning in Photography?
Panning in photography is a creative technique that allows us to capture a real sense of movement in our photos. It involves using a slower shutter speed and moving (or panning) the camera at the same speed as our subject. By doing so, we can create a sharp image of the moving subject while blurring the background and any static objects. This technique adds a dynamic element to our photos, giving them a sense of speed and focusing the viewer’s attention on the subject.
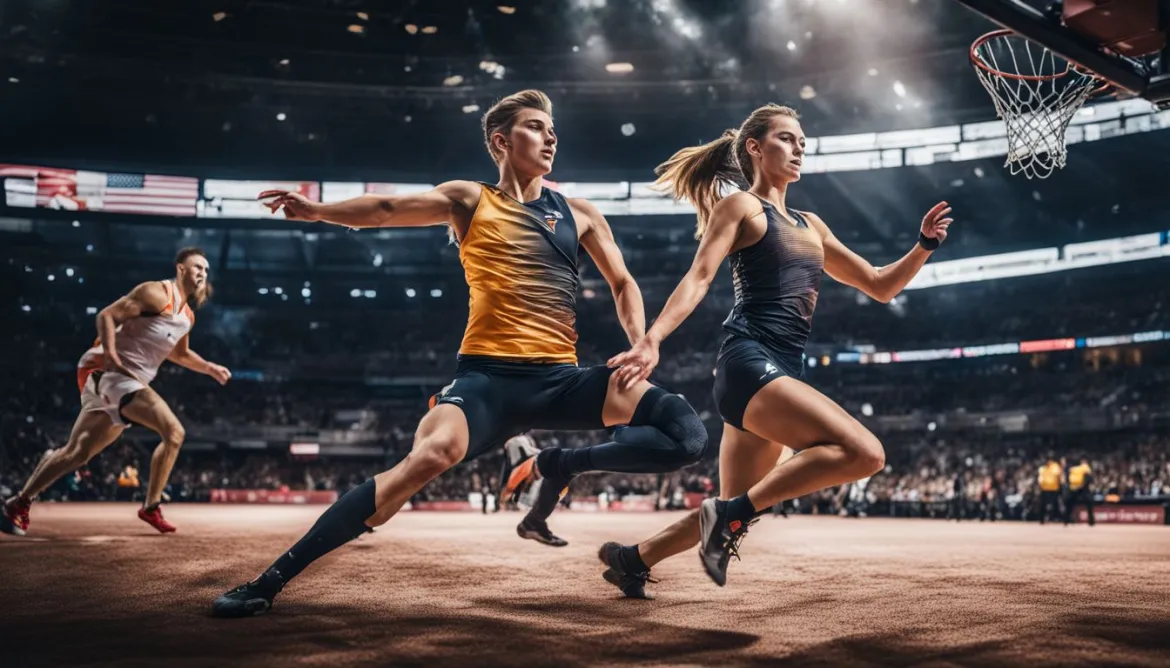
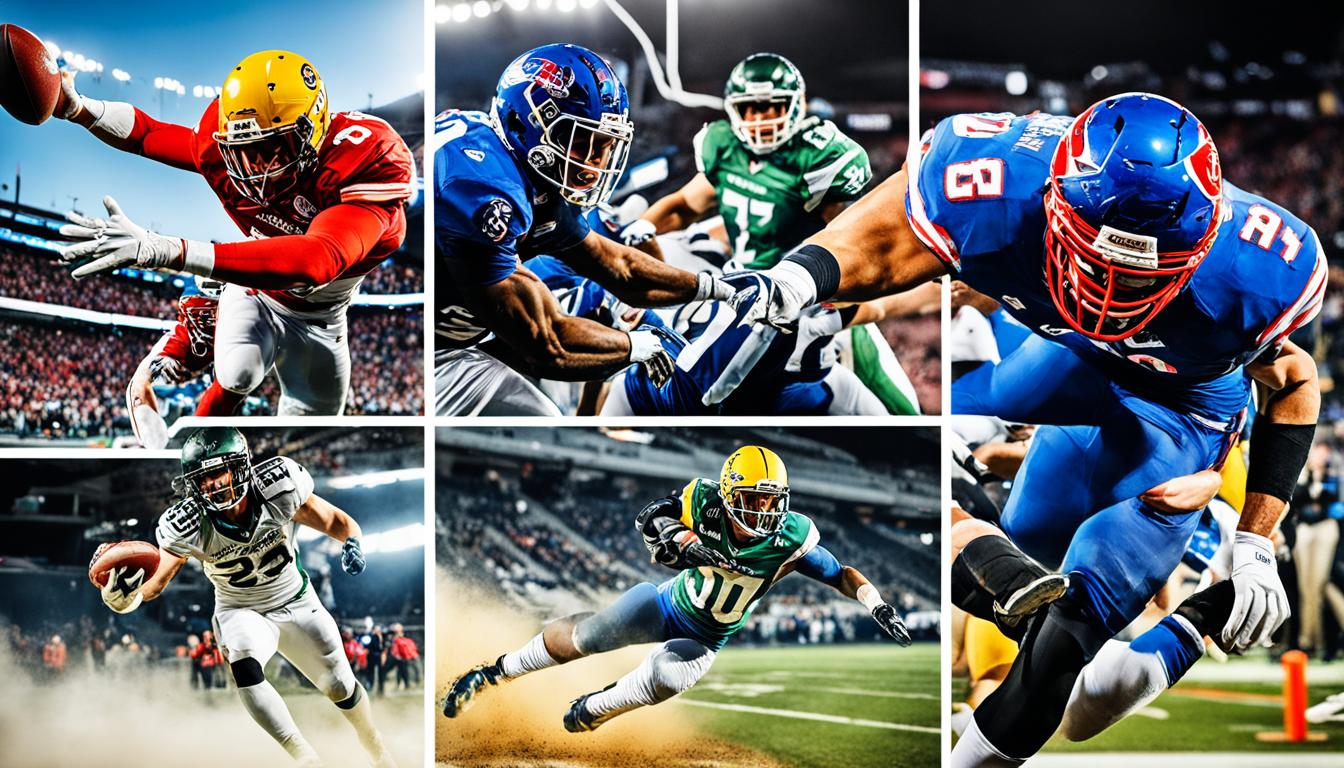
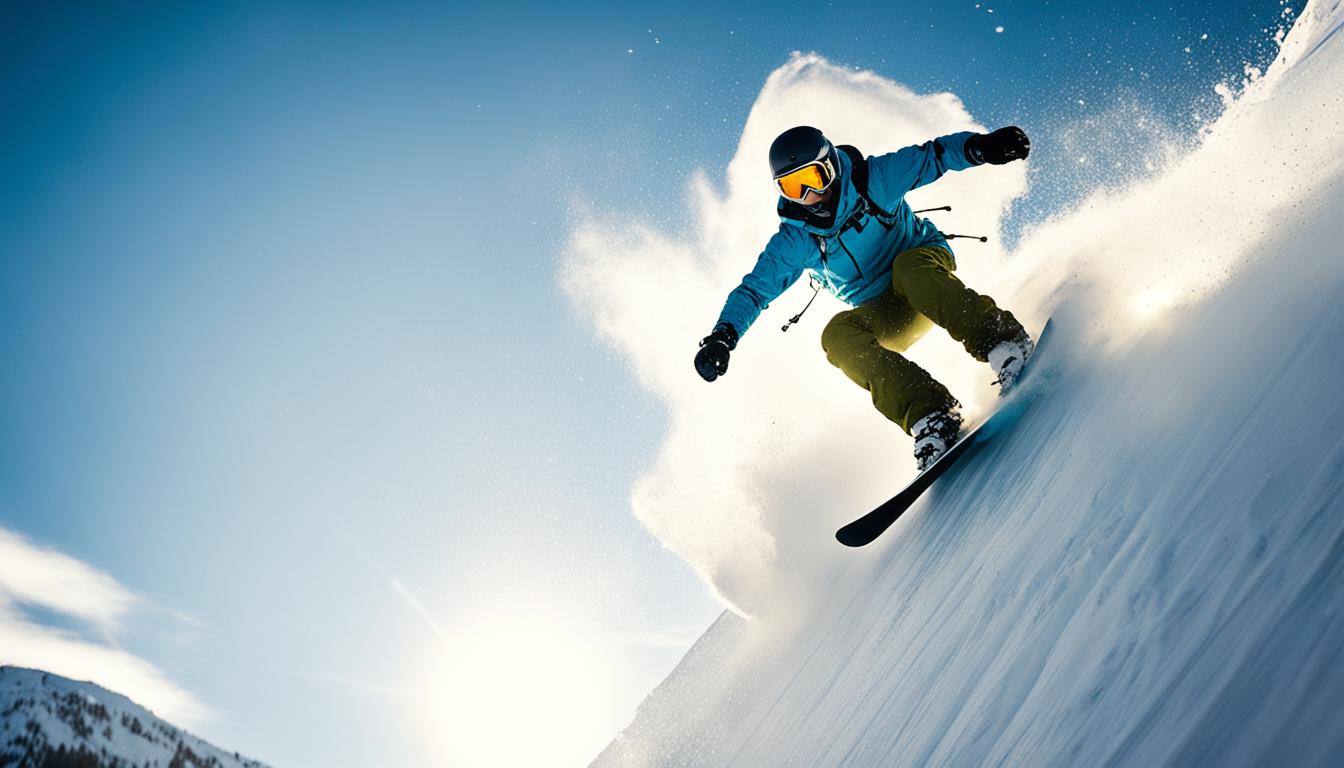
Whether we are capturing high-speed sports or slower-moving subjects like children or pets playing, panning can be applied to diverse scenarios. It offers a creative way to capture motion, ensuring that the subject remains sharp while the background becomes a smooth blur. By mastering the art of panning, we can elevate our photography to new heights and produce truly captivating and dynamic images.
Panning Photography Settings
When it comes to panning photography, the right camera settings are crucial. To capture sweeping motion and achieve sharp images that convey a sense of movement, it’s important to choose the appropriate shutter speed.
We recommend switching to Shutter Priority (Tv) or full Manual (M) mode to have full control over your settings. This allows you to select the ideal shutter speed based on various factors, such as the speed of the subject, the distance between you and the subject, the lens you’re using, and the desired blur effect.
A good starting point for shutter speed is around 1/60 sec. However, you may need to adjust it depending on the specific conditions and the effect you want to achieve. Experimentation is key to finding the perfect balance.
Additionally, setting your drive mode to Continuous increases the chances of capturing the perfect moment, as it allows for a rapid sequence of shots with minimal delay.
| Camera Settings for Panning Photography | Recommended Values |
|---|---|
| Mode | Shutter Priority (Tv) or full Manual (M) |
| Shutter Speed | Starting around 1/60 sec (adjust as needed) |
| Drive Mode | Continuous |
By using these panning photography settings, you’ll be able to capture stunning images with a sense of movement, ensuring sharp subjects against a beautifully blurred background.

Find the Perfect Shutter Speed
To find the perfect shutter speed for your panning shots, consider the speed of the subject and the desired blur effect. Start with a shutter speed of around 1/60 sec and adjust accordingly. Slower speeds will result in more pronounced motion blur, while faster speeds can freeze the subject too much, reducing the sense of movement.
Planning and Focusing Your Panning Photos
When it comes to capturing stunning panning photos, proper planning and focusing are essential. To achieve the desired effect, consider the background of your image, aiming for a pleasing blur that accentuates the subject. Look for a backdrop that offers contrasting colors, enabling the subject to stand out and create smooth streaks of motion. This contrast adds visual interest to your panning photos and enhances the overall composition.
To ensure sharp focus on the subject while panning, you have two options: autofocus (AI Servo AF mode) or manual focus. If you can anticipate the subject’s distance from the camera, manual focus allows you to pre-set the focus, ensuring consistent sharpness. On the other hand, autofocus in AI Servo AF mode continuously tracks the subject as it moves across the frame, providing flexibility and ease of use.
It’s important to practice and experiment with different focusing techniques to improve your panning skills. By refining your ability to plan the background and focusing your lens, you can capture stunning panning photos that convey a sense of motion and creativity.
“A well-planned background and precise focus are the key ingredients for captivating panning photos.” – Photography Expert
Focusing Techniques for Panning Photography
| Focusing Technique | Advantages |
|---|---|
| Autofocus in AI Servo AF mode | Continuously tracks the subject for consistent sharpness |
| Manual focus | Allows for pre-setting the focus for precise sharpness |
Experiment with both autofocus and manual focus techniques to find the one that works best for your panning photos. Practice is key to mastering the art of focusing during panning. With time and experience, you’ll develop a keen eye for composition while ensuring the subject remains sharp and the background beautifully blurred.
Improving Your Panning Technique
Panning is a skill that takes time and practice to perfect. It’s normal for your initial attempts to be less than perfect, but with dedication and focus, you can improve your panning technique and capture stunning photos that convey a sense of motion. Here are some tips to help you enhance your panning skills:
1. Focus on Camera Control and Stability
Camera control is crucial for successful panning. Keep your upper body stable while panning and follow the subject’s motion smoothly. Avoid jerky movements that can result in blurry images. By maintaining stable motion, you can capture a sharper subject while blurring the background, creating a sense of speed and motion.
2. Utilize Continuous Shooting Mode
Continuous shooting mode is a valuable feature that increases your chances of capturing the perfect moment. It allows you to take a series of shots rapidly, ensuring that you don’t miss the decisive moment. This is especially useful when photographing fast-moving subjects such as sports events or wildlife. Take advantage of continuous shooting mode to increase your chances of getting a tack-sharp image.
3. Practice and Analyze Your Results
The key to improving your panning technique is practice. Take your camera out regularly and experiment with different subjects and lighting conditions. Analyze your results to identify areas for improvement. Pay attention to the sharpness of your subjects, the smoothness of your motion, and the overall balance between subject and background. By analyzing your photos, you can learn from your mistakes and fine-tune your technique.
4. Experiment with Vertical and Tilt Motions
Panning doesn’t have to be limited to horizontal motion. Explore vertical and tilt motions to add variety and creativity to your images. Vertical panning can be particularly effective for capturing the height and scale of tall buildings or capturing the trajectory of a jumping athlete. Tilt panning can introduce dynamic angles and perspectives to your shots, creating a unique visual impact.
5. Learn from Others and Seek Inspiration
Don’t hesitate to observe the work of other photographers and seek inspiration from their panning shots. Study their techniques, compositions, and use of motion blur. Take note of their camera settings and the subjects they choose to photograph. By learning from others, you can expand your creative horizons and develop your own unique style.
Remember, improving your panning technique takes time and patience. Embrace the process and enjoy the journey of mastering this dynamic photography technique. With practice and perseverance, you’ll be able to capture breathtaking images that effectively convey the beauty of motion.

Using Different Lenses for Panning
In panning photography, the choice of lens can have a significant impact on the overall effect of your shots. Different lenses offer unique perspectives and creative options for capturing motion.
A telephoto lens is a popular choice for panning as it allows you to compress perspective, resulting in a dramatic and dynamic effect. With a telephoto lens, the subject appears closer to the background, creating a sense of intensity and emphasizing the speed of the moving object. This compression effect enhances the feeling of motion and adds visual interest to your panning shots.
On the other hand, a wide-angle lens provides a wider view and a different sense of motion in your photos. It captures a broader perspective, allowing you to include more of the environment and context in your panning shots. This can be particularly effective when shooting in crowded places or capturing the sweeping motion of a subject across a wide area.
Telephoto Lens vs. Wide-Angle Lens Comparison Table
| Telephoto Lens | Wide-Angle Lens |
|---|---|
| Compresses perspective for a dramatic effect | Provides a wider view and emphasizes the subject’s motion |
| Enhances the feeling of speed and intensity | Captures more of the environment and context |
| Ideal for isolating the subject from the background | Allows for capturing a broader scene with the subject |
Experiment with both telephoto and wide-angle lenses to discover the creative options they offer for panning photography. Try different focal lengths and see how they contribute to the overall effect of your images. Each lens type provides a different perspective and allows you to explore various visual interpretations of motion in your photographs.
Experimenting with Shutter Speeds
Shutter speed plays a crucial role in panning photography as it determines the amount of motion blur in your images. By experimenting with different shutter speeds, you can achieve the desired effect for your panning shots.
Start by using slower shutter speeds around 1/30 sec to create a more pronounced blur effect in the background. This will capture the sense of motion and add an artistic touch to your images. Observe how the slower shutter speed affects the overall look and feel of the photo.
However, it’s important to find a balance between capturing a sharp image of the subject and achieving the right amount of motion blur. The subject should be tack-sharp, standing out from the blurred background. Review your results and make adjustments to the shutter speed as needed to achieve the desired outcome.
“Experimenting with different shutter speeds can lead to fascinating results, allowing you to create unique and visually compelling images.”
Remember to review your images and assess how the chosen shutter speed affects the overall composition. Adjustments may be necessary depending on factors such as the speed of the subject, the distance between you and the subject, and the desired level of motion blur.
Tips for experimenting with shutter speeds:
- Start with slower shutter speeds around 1/30 sec for more pronounced motion blur.
- Review your images and adjust the shutter speed to find the right balance between sharpness and blur.
- Consider the speed of the subject, the distance between you and the subject, and the desired level of motion blur.
- Experiment with different shutter speeds to achieve unique and visually compelling results.
Using Shutter Priority Mode for Panning
When it comes to capturing panning photos, utilizing the Shutter Priority mode can make your shooting process easier and more efficient. This mode allows you to manually select the desired shutter speed while letting the camera automatically adjust the aperture for optimal exposure. By focusing on the shutter speed, which is crucial in panning photography, you can maintain control over the amount of motion blur you want to incorporate into your images.
One of the advantages of using Shutter Priority mode is its ability to handle automatic aperture adjustment. This feature proves especially useful when you are photographing subjects in variable lighting conditions, such as moving objects transitioning between light and shadows. The camera’s automatic aperture adjustment ensures consistent exposure control while freeing up your attention to concentrate on capturing the perfect panning shot.
Another significant advantage of Shutter Priority mode is its compatibility with manual mode, granting you more control over your camera settings. By selecting Shutter Priority mode, you have the flexibility to adjust your shutter speed according to the variable lighting conditions or the desired effect you want to achieve in your panning shots. This setting allows you to experiment and fine-tune your exposure settings, ultimately leading to more creative and impactful photos.
Exposure Control in Variable Lighting Conditions
Variable lighting conditions can pose a challenge when shooting panning photos. As your subject moves between areas of different exposure, it becomes essential to maintain consistent and accurate exposure throughout the entire shot. Shutter Priority mode enables you to focus on your desired shutter speed, ensuring that your subject remains sharp while the background exhibits the desired motion blur. The camera automatically adjusts the aperture to compensate for the changing light, providing you with reliable exposure control in varying environments.
Let’s take a look at a table that highlights the benefits of using Shutter Priority mode for panning photography:
| Advantages of Using Shutter Priority Mode: |
|---|
| Allows manual selection of shutter speed |
| Automatic aperture adjustment for consistent exposure |
| Compatible with manual mode for more control over settings |
| Enables exposure control in variable lighting conditions |
With Shutter Priority mode, you can concentrate on capturing the perfect panning shot without worrying about exposure fluctuations. This feature maximizes your creative potential by allowing you to focus on the essential elements of your photograph—capturing motion and creating stunning images.
Now that you understand the advantages of using Shutter Priority mode, you are ready to embark on your panning photography journey with confidence. Explore different lighting conditions, experiment with various shutter speeds, and let your creativity soar as you capture the beauty of motion in your panning shots.
Using a Tripod for Stability
While it’s possible to handhold the camera for panning shots, using a tripod can greatly improve stability and reduce camera shake. This is especially important when using slower shutter speeds. Mounting the camera on a tripod or monopod allows for smoother panning motion and increased accuracy. When panning, hold the camera correctly and secure it to the tripod or monopod to maintain stability throughout the motion. A stable camera setup ensures sharper and more consistent panning shots.
The Benefits of Using a Tripod
When it comes to panning photography, camera stability is key. Here’s why using a tripod can significantly enhance your panning technique:
- Reduced Camera Shake: By eliminating or minimizing hand-held movement, a tripod helps reduce camera shake, resulting in sharper images.
- Precision in Panning: A tripod provides a stable base for panning, allowing you to execute smoother, more controlled camera movements.
- Consistency in Composition: Using a tripod enables you to maintain a consistent composition throughout the panning motion, ensuring your subject remains in the desired position within the frame.
Furthermore, a tripod frees up your hands, allowing you to concentrate on other aspects of the panning process, such as tracking the subject and adjusting camera settings.
Choosing the Right Tripod
When selecting a tripod for panning photography, consider the following factors:
- Sturdiness: Look for a tripod that is sturdy enough to support the weight of your camera and lens setup. It should also be able to withstand any outdoor elements or environmental conditions you might encounter.
- Height and Size: Choose a tripod that is adjustable to your preferred working height and easy to transport. Consider its size and weight when collapsed for portability.
- Quick Release Plate: Opt for a tripod that includes a quick release plate system for faster and more convenient camera attachment and detachment.
Proper Tripod Setup for Panning
Follow these steps to ensure a proper tripod setup for panning:
- Extend the tripod legs and adjust them to a suitable height, ensuring the tripod is stable.
- Attach the camera to the tripod using the quick release plate or appropriate mounting mechanism.
- Tighten the tripod head to secure the camera, ensuring it remains stable during the panning motion.
- Use the tripod’s built-in level or a separate bubble level to ensure the camera is perfectly level for accurate panning.
By using a tripod for stability, you can reduce camera shake, improve panning accuracy, and ultimately capture stunning and sharp panning shots that effectively convey a sense of motion to your viewers.
Tips for Focusing in Panning Photography
Focusing is a crucial aspect of panning photography that ensures a sharp subject and a blurred background. To achieve the desired effect, there are two main focusing techniques to consider: autofocus in continuous focusing mode and manual focus.
Autofocus in continuous focusing mode is particularly useful when your subject is in constant motion. This setting allows your camera to track the subject as it moves across the frame, maintaining focus throughout the panning motion. Experiment with different autofocus modes to find the one that works best for your specific camera.
On the other hand, manual focus gives you full control over the focusing distance. By pre-setting the focus at a specific distance, you can ensure that your subject remains sharp as you pan. Manual focus is especially effective when you can anticipate the subject’s distance from the camera, such as in certain sports or wildlife photography situations.
To determine which focusing technique works best for your panning shots, it’s important to practice and experiment with both methods. Each technique has its advantages, and the choice ultimately depends on the specific circumstances and the effect you want to achieve.
Remember, the key to successful focusing in panning photography is to keep the subject sharp while blurring the background. Whether you rely on autofocus or manual focus, practice is key to mastering this technique and capturing stunning panning shots.
Continue to practice and refine your focusing skills to achieve sharp subjects and create captivating panning photos with a blurred background.
Want to learn more about panning photography? Check out our tips for improving your panning technique.
Conclusion
Panning is a versatile technique in photography that allows us to capture the beauty of motion and add a dynamic element to our images. By using the right camera settings, practicing proper technique, and experimenting with different subjects and lenses, we can achieve stunning panning shots that capture a sense of motion like no other.
It’s important to remember that panning takes practice and patience. Don’t be discouraged if your first attempts are not perfect. With time and experience, you will develop your own unique style and capture creative and impactful motion photographs that truly stand out.
So grab your camera, find some moving subjects, and start panning to unleash your creativity and capture the mesmerizing beauty of motion. Keep practicing, keep refining your technique, and you’ll be amazed by the incredible results you can achieve.
FAQ
What is panning in photography?
Panning in photography is a technique that allows you to capture a sense of motion in your photos. It involves using a slower shutter speed and moving the camera along with a moving subject to create a streaked blur effect in the background while keeping the subject sharp.
What are the best camera settings for panning photography?
To achieve the best results in panning photography, it is recommended to switch to Shutter Priority (Tv) or Manual (M) mode and select the appropriate shutter speed. The ideal speed depends on various factors such as the speed of the subject, the distance between you and the subject, the lens you’re using, and the desired blur effect. It’s important to also set the drive mode to Continuous to increase the chances of capturing the perfect moment.
How can I improve my panning technique?
Improving your panning technique requires practicing camera control and stability. Use continuous shooting mode to increase your chances of capturing the perfect moment. Keep your upper body stable while panning and follow the subject’s motion smoothly. It’s important to practice and analyze your results to identify areas for improvement. Don’t be afraid to experiment with different subjects and lighting conditions to enhance your panning skills.
What lenses should I use for panning photography?
The choice of lens can greatly impact the effect of your panning shots. A telephoto lens that compresses perspective can create a more dramatic effect, while a wide-angle lens can provide a wider view and a different sense of motion. Experiment with different lenses and focal lengths to see which one best suits your desired outcome.
What shutter speed should I use for panning?
Shutter speed is a critical element in panning photography as it determines the amount of motion blur in your images. Experiment with different shutter speeds, starting with slower speeds around 1/30 sec for a more pronounced blur effect and adjusting as needed. It’s important to find the right balance between capturing a sharp image of the subject and achieving the desired amount of motion blur in the background. Review your results and make adjustments to find the optimal shutter speed for your panning shots.
Should I use Shutter Priority mode for panning?
Using Shutter Priority mode can be helpful in panning photography. It allows you to select the desired shutter speed while letting the camera automatically adjust the aperture for proper exposure. This mode is especially useful in situations with variable lighting conditions, such as when photographing moving subjects in and out of shadows. By focusing on the shutter speed and letting the camera handle the aperture, you can achieve consistent exposure control while focusing on capturing the perfect panning shot.
Do I need to use a tripod for panning?
While it’s possible to handhold the camera for panning shots, using a tripod can greatly improve stability and reduce camera shake. This is especially important when using slower shutter speeds. Mounting the camera on a tripod or monopod allows for smoother panning motion and increased accuracy. When panning, hold the camera correctly and secure it to the tripod or monopod to maintain stability throughout the motion.
What are the focusing techniques for panning photography?
Focusing is crucial in panning photography to keep the moving subject sharp while achieving a blurred background. There are two main focusing techniques to consider: using autofocus in continuous focusing mode and manually pre-setting the focus. Autofocus in continuous focusing mode can help track the subject as it moves across the frame, while manual focus allows you to set the focus at a specific distance to ensure sharpness. Experiment with both techniques to find the one that works best for your panning shots.
Can you offer any final tips for panning photography?
Panning is a versatile technique that requires practice and patience. Focus on camera control and stability, experiment with different subjects and lighting conditions, and analyze your results to identify areas for improvement. With time and experience, you’ll develop your own unique style and capture creative and impactful motion photographs. So grab your camera, find some moving subjects, and start panning to capture the beauty of motion.
How Can Mastering Foreground in Landscape Composition Improve Panning to Capture Motion?
Mastering foreground landscape composition can greatly improve panning to capture motion in photography. By carefully choosing and positioning elements in the foreground, you can create a sense of depth and movement, adding interest and dynamism to your images. This technique can elevate the quality of your landscape photography.


