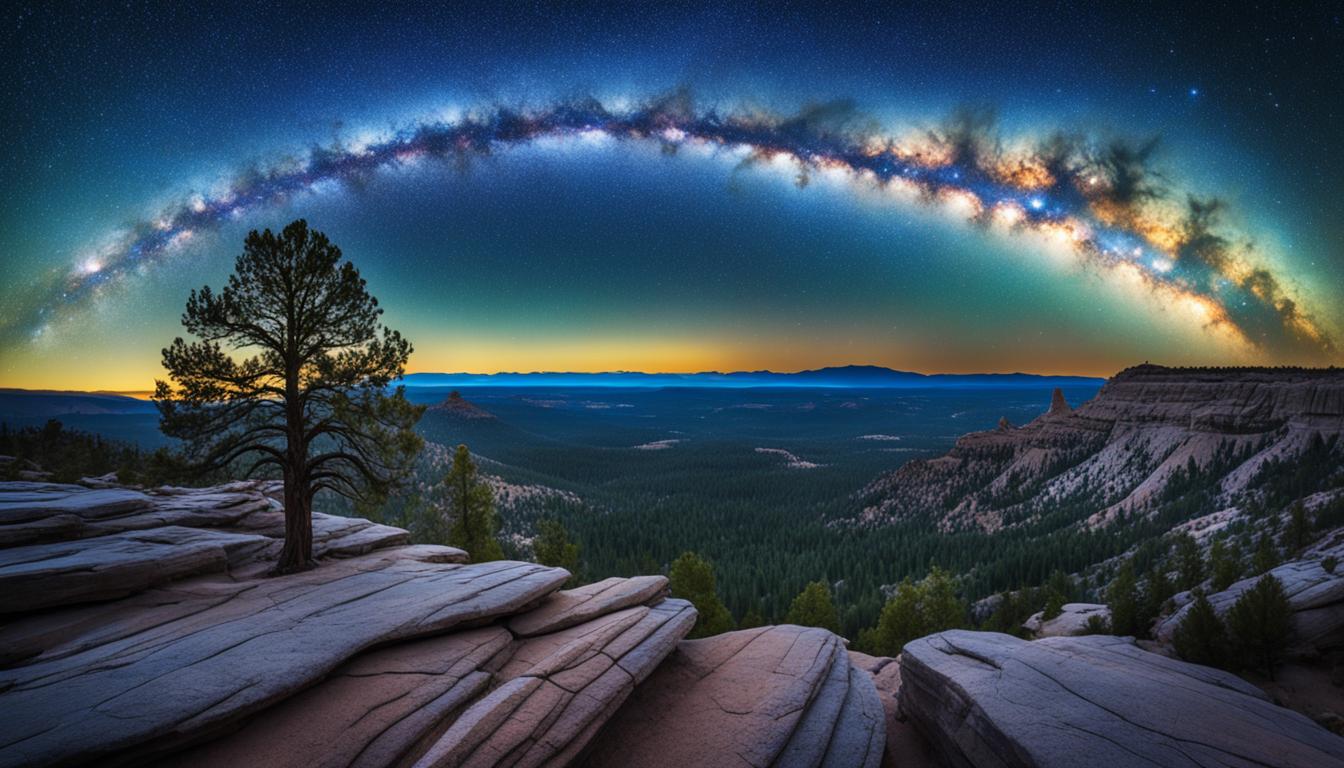
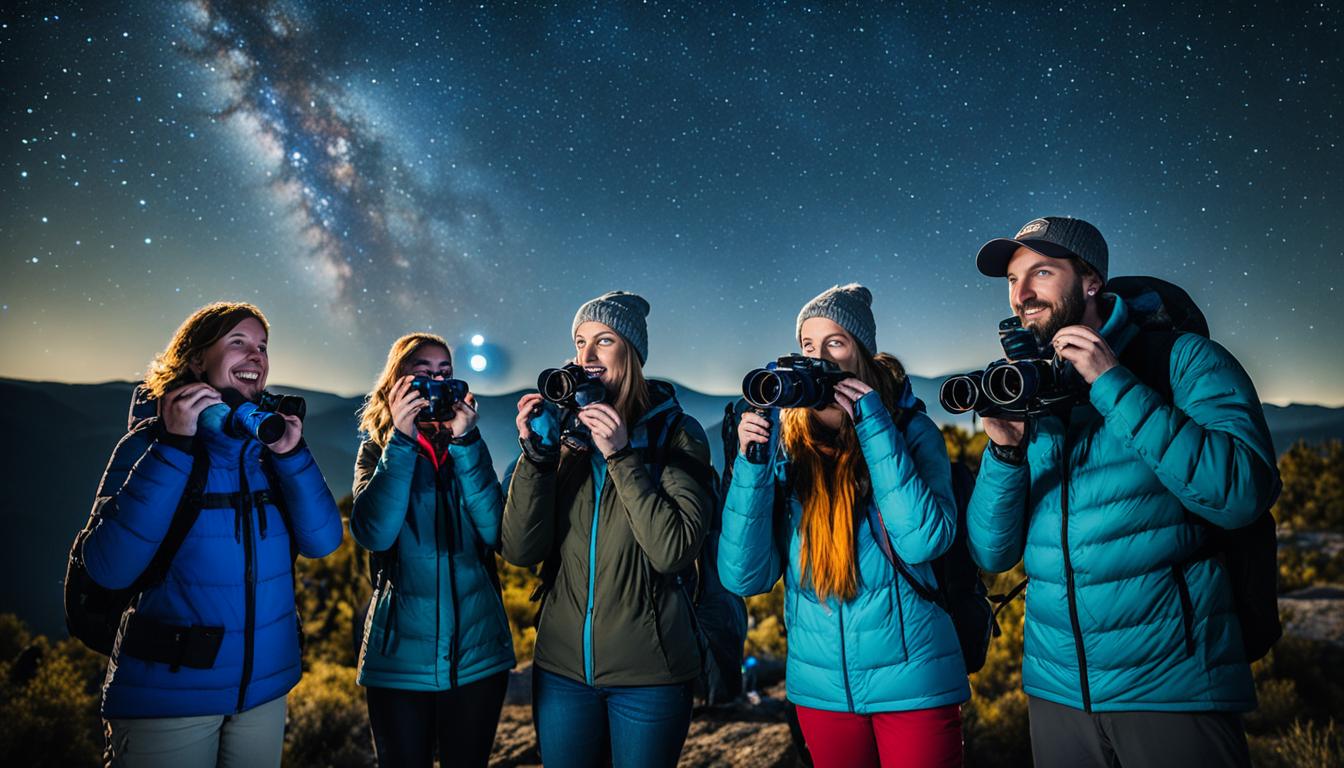
Welcome to our guide on wide field astrophotography! If you’ve ever gazed up at the night sky in awe, wondering how to capture the beauty of the Milky Way, this article is for you. Wide field astrophotography allows us to witness the breathtaking expanse of our galaxy and immortalize it in stunning photographs.
To successfully capture the Milky Way, you’ll need the right equipment and knowledge. A DSLR or Mirrorless camera along with a lens in the 15-24mm range will allow you to capture the vastness of the night sky. Set your camera to manual mode and adjust the exposure settings to a 30-second exposure with an ISO of 1600. Use the widest aperture of your lens (F/4 or lower) to let in as much starlight as possible and reveal the true beauty of the Milky Way.
Key Takeaways:
- Wide field astrophotography enables us to capture the mesmerizing beauty of the Milky Way.
- Use a DSLR or Mirrorless camera and a lens in the 15-24mm range for optimal results.
- Set your camera to manual mode and adjust the exposure settings for a 30-second exposure at ISO 1600.
- Use the widest aperture possible (F/4 or lower) to reveal the intricate details of the Milky Way.
- By following these tips, you’ll be well-prepared to capture stunning images of the night sky and the Milky Way.
Milky Way Photography Basics
Capturing the beauty of the Milky Way through astrophotography is an awe-inspiring experience. With just a DSLR camera and lens, you can create stunning images that showcase the magnificence of our galaxy. To help you get started, let’s explore the basics of Milky Way photography, including tips, techniques, and essential camera settings.
The Best Time to Photograph the Milky Way
Timing is crucial when photographing the Milky Way. The best time to capture its brilliance is during the spring and summer months when the galactic core is visible and rises above the horizon. In these seasons, the Milky Way becomes a prominent feature of the night sky, making it easier to compose captivating images.
Finding the Milky Way
Locating the Milky Way in the night sky can be a challenge, especially if you’re in an area with light pollution. However, with a bit of knowledge and the help of astronomy apps like Stellarium or PhotoPills, you can pinpoint its position with ease. These apps provide real-time information on the Milky Way’s location, allowing you to plan your shoot in advance and find the perfect spot to capture its beauty.
Essential Camera Settings
When photographing the Milky Way, using the right camera settings is essential for capturing clear and detailed images. Here are some recommended settings to get you started:
Aperture: Set your lens to its widest aperture (Low f-stop number) to allow as much light as possible to enter your camera and capture the celestial wonders.
ISO: Use a high ISO setting, typically around 3200-6400, to ensure enough sensitivity to capture the faint starlight in the night sky.
Shutter Speed: Experiment with long exposure times, typically ranging from 10 to 30 seconds. This extended exposure will capture the Milky Way’s intricate details.
Composition Tips
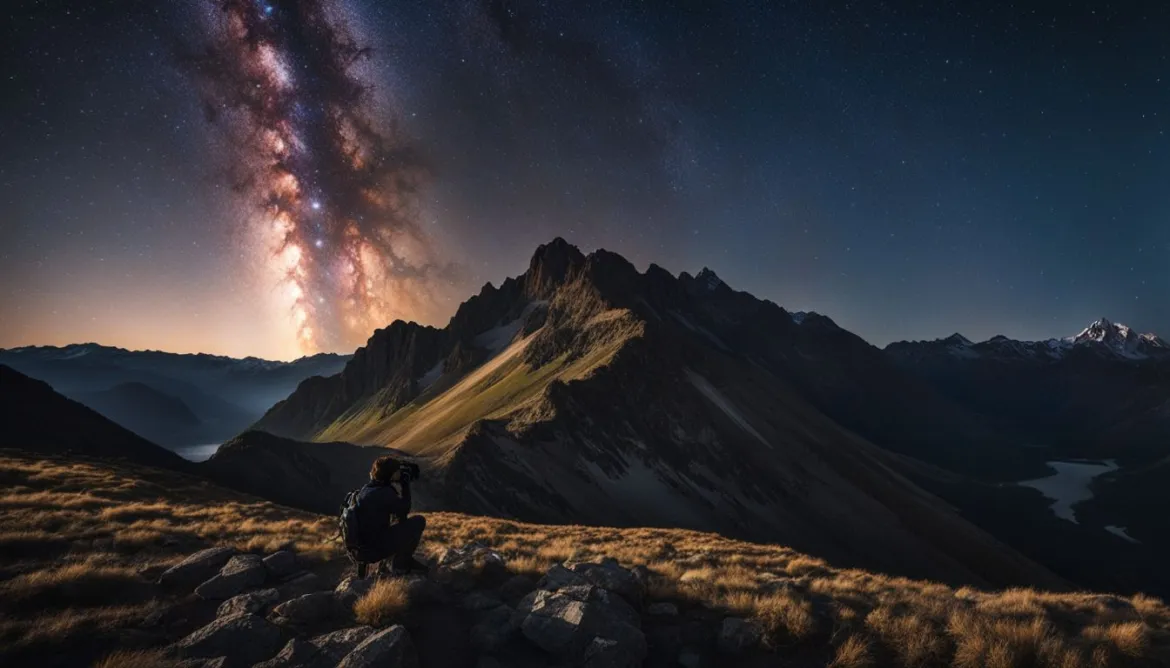
When composing your Milky Way photographs, consider adding interesting foreground elements to create a sense of depth and scale. This could be a landscape feature, such as a tree, mountain, or body of water. Including these elements will not only add visual interest but also provide a context for the breathtaking night sky above.
Remember, practice makes perfect when it comes to Milky Way photography. Experiment with different compositions, camera settings, and shooting locations to find your unique style and perspective. With time and patience, you’ll be capturing stunning images of the Milky Way that will leave viewers in awe of the beauty and vastness of our universe.
Best Camera Lenses for Milky Way Photography
When it comes to capturing stunning Milky Way photos, choosing the right camera lens is of utmost importance. To achieve the best results, we recommend using a lens with a wide aperture, such as F/2.8 or lower. This allows for maximum light intake, enabling you to capture the intricate details and brilliance of the Milky Way in your photographs.
Furthermore, lenses with a focal length in the range of 15-35mm are ideal for wide field astrophotography. These lenses provide a wide-angle perspective, allowing you to encompass a larger view of the night sky and the enchanting Milky Way.
However, it’s not just about the lens. To truly capture the Milky Way in all its glory, it’s crucial to shoot from dark sky locations, away from light pollution. These locations provide optimal visibility and ensure that the Milky Way stands out prominently in your images.
So remember, when venturing into Milky Way photography, equip yourself with a lens that has a wide aperture and a focal length in the 15-35mm range. Additionally, choose your shooting locations wisely, and seek out those dark sky spots for the ultimate Milky Way photography experience.

Comparison of Recommended Camera Lenses for Milky Way Photography
| Lens Model | Aperture | Focal Length |
|---|---|---|
| Nikon AF-S FX NIKKOR 14-24mm f/2.8G | F/2.8 | 14-24mm |
| Canon EF 16-35mm f/2.8L III USM | F/2.8 | 16-35mm |
| Sony FE 16-35mm f/2.8 GM | F/2.8 | 16-35mm |
How to Find the Milky Way
Finding the Milky Way in the night sky can be a challenge, but with the right tools and knowledge, it’s possible to locate and capture it. By understanding its position in the sky and planning your session accordingly, you’ll be able to capture stunning astrolandscape photos.
Using Astronomy Apps
One of the best ways to find the Milky Way is by using astronomy apps like Stellarium and PhotoPills. These apps provide detailed information about the position of celestial objects, including the Milky Way. They allow you to plan your photography session by showing you the best time and location to photograph the Milky Way. With their help, you’ll be able to maximize your chances of capturing stunning astrolandscape photos.
Choosing Dark Sky Locations
When photographing the Milky Way, it’s essential to choose dark sky locations away from light pollution. Light pollution can significantly diminish the visibility of the Milky Way in your photos. Research and find locations known for their dark skies, such as national parks, rural areas, or high elevation spots. These locations offer optimal conditions for capturing the beauty of the Milky Way in all its glory.
Understanding the Milky Way’s Position
Knowing the Milky Way’s position in the night sky is key to capturing it in your photos. The Milky Way is visible as a bright band of stars and dust that stretches across the sky. It is most prominent during specific times of the year and is best photographed in the early hours before dawn or after sunset. By familiarizing yourself with its seasonal visibility and studying star charts, you’ll be able to plan your photography sessions effectively.
| Tools | Benefits |
|---|---|
| Astronomy apps | – Accurate information on the position of the Milky Way – Helps plan photography sessions |
| Dark sky locations | – Reduced light pollution for better visibility – Captures the true beauty of the Milky Way |
| Star charts | – Understanding the seasonal visibility of the Milky Way – Allows for precise planning |
By utilizing astronomy apps, choosing dark sky locations, and understanding the Milky Way’s position, you’ll be well-prepared to find and capture the awe-inspiring beauty of the Milky Way in your astrolandscape photography.
Recommended Milky Way Photography Equipment
When it comes to capturing the Milky Way, having the right equipment is essential. In addition to a DSLR or Mirrorless camera and a wide-angle lens, there are a few other accessories that can enhance your Milky Way photography experience.
Tripod or Tracking Mount
Keep your camera steady during long exposures with a sturdy tripod or tracking mount. This will prevent any camera shake and ensure sharp images of the night sky.
Remote Shutter Release or Intervalometer
Gain precise control over your camera’s shutter with a remote shutter release or intervalometer. This handy tool allows you to capture long exposures without touching your camera, reducing the risk of introducing any vibrations.
Noise Reduction Software
Post-processing is a crucial step in Milky Way photography. Use noise reduction software to clean up any noise present in your images and enhance the overall quality. There are several software options available, such as Adobe Lightroom and DxO PhotoLab.
| Equipment | Description |
|---|---|
| Tripod or Tracking Mount | Provides stability during long exposures |
| Remote Shutter Release or Intervalometer | Allows for precise control and reduces camera shake |
| Noise Reduction Software | Cleans up noise in post-processing for better image quality |
Tips for Photographing the Milky Way
To capture the Milky Way in all its glory, we have a few additional tips and techniques to share with you. By experimenting with different camera settings, you can find the optimal exposure for your specific camera and lens. Start with a 30-second exposure at ISO 1600 and adjust accordingly to achieve the perfect balance of light and detail in your photos.
If you’re looking to create more detailed and noise-free images of the Milky Way, consider using image stacking techniques. By combining multiple exposures of the same scene, you can enhance the level of detail and reduce noise in your final image. This technique is particularly effective in low light conditions such as astrophotography.
Don’t forget the importance of manual focus when shooting the Milky Way. To ensure sharpness in your photos, focus manually on a bright star or a distant light source. This will help bring out the intricate details of the Milky Way and make your images truly stunning.
“Experiment with different camera settings, use image stacking, and focus manually on a bright star or light source to capture the awe-inspiring beauty of the Milky Way.”
To summarize, here are the key tips for photographing the Milky Way:
- Experiment with different camera settings to find the optimal exposure.
- Consider using image stacking techniques to create more detailed and noise-free images.
- Focus manually on a bright star or distant light source to ensure sharpness in your photos.
By following these tips, you’ll be well on your way to capturing stunning images of the Milky Way and mastering the art of astrophotography.
| Tips for Photographing the Milky Way |
|---|
| Experiment with different camera settings |
| Use image stacking techniques |
| Focus manually on a bright star or light source |

Conclusion
Wide Field Astrophotography offers a mesmerizing opportunity to capture the wonders of the Milky Way. By following the tips and techniques shared in this article, you’ll be equipped with the knowledge to capture stunning images of our galaxy. Remember to select the right camera and lens, seek out dark sky locations, and experiment with different camera settings.
With practice, dedication, and patience, you’ll be able to capture the grandeur of the Milky Way and create lasting memories of the night sky. Whether you’re an experienced astrophotographer or just starting out, wide field astrophotography allows you to immerse yourself in the beauty of the cosmos, unlocking a whole new perspective.
So, get out there and start capturing the Milky Way through your lens. Explore the depths of the night sky and witness the breathtaking scenes that await you. Happy photographing, and may your astrophotography journey be filled with awe-inspiring moments!
FAQ
What equipment do I need for wide field astrophotography and capturing the Milky Way?
To capture the Milky Way, you’ll need a DSLR or Mirrorless camera and a lens in the 15-24mm range. Use manual mode and set your camera to a 30-second exposure with the ISO set to 1600. Use the widest aperture of your lens (F/4 or lower) to let in as much starlight as possible.
What are the basics of Milky Way photography?
Familiarize yourself with the best time of year to photograph the Milky Way, how to find it in the night sky, and the essential camera settings to use.
What type of camera lens is recommended for capturing the Milky Way?
It’s recommended to use a lens with a wide aperture, such as F/2.8 or lower, and a focal length in the range of 15-35mm for wide field astrophotography.
How do I find the Milky Way in the night sky?
You can use astronomy apps like Stellarium and PhotoPills to plan your photography session and determine the best time and location to photograph the Milky Way. Choose a dark sky location, away from light pollution, for better visibility.
What equipment do I need for Milky Way photography?
In addition to a camera and lens, it’s recommended to use a sturdy tripod or tracking mount, a remote shutter release or intervalometer, and noise reduction software for post-processing.
What are some tips for photographing the Milky Way?
Experiment with different camera settings to find the optimal exposure, consider using image stacking techniques, and manually focus on a bright star or distant light source for sharpness.
Can the Tips and Tricks for Lunar Photography also be applied to Capturing the Milky Way in Astrophotography?
Yes, the same lunar photography tips & tricks can be applied to capturing the Milky Way in astrophotography. Both involve low light conditions, long exposures, and precise focusing. Using a tripod, remote shutter release, and high ISO settings can help capture stunning images of both the moon and the Milky Way.


