Struggling to take stunning photos? You’re not alone. This guide covers essential photography basics, from shutter speeds to composition techniques. Discover how to capture breathtaking images today.
Key Takeaways
- Learn how camera settings like aperture, shutter speed, and ISO work together to control light. These settings help make photos look brighter or darker and can change how blurry the background is.
- Composition techniques such as the Rule of Thirds and leading lines make photos more interesting. Placing key elements along grid lines or using natural paths in your scenes guides viewers’ eyes.
- Focusing right is key for sharp images. Use autofocus modes for moving subjects and manual focus for precise control. Different focus modes help you capture clear shots in various situations.
- Picking the right camera equipment matters. Think about what pictures you want to take when choosing a camera and lens. Both DSLR and mirrorless cameras have benefits depending on your needs.
- Understanding light is crucial in photography. Using metering modes helps measure light correctly, ensuring your photos are not too dark or too bright. Good lighting makes a big difference in how your pictures turn out.
Understanding Camera Settings

Camera settings are like secret codes. They control light, blur, and sharpness in your photos.
Aperture
Aperture acts like the eye of your camera lens, controlling how much light gets in. Think of it as a window that can open wide or close tight. Settings range from f/1.8 to f/5.6 for dim places and f/8 to f/16 when you need everything sharp from front to back.
Changing these settings will make your photo brighter or darker and affect how blurry the background looks.
This tool is key for getting the right look in portrait photography, making subjects stand out with a blurry backdrop, or capturing every detail in landscape shots with a wide depth of field.
Aperture also shapes the overall sharpness and quality of your image, making it an essential part of mastering digital photography basics alongside shutter speed and ISO in manual mode on DSLR cameras for perfect exposure control.
Shutter Speed
Shutter speed controls how long your camera’s shutter stays open. It ranges from very slow (30 seconds) to super fast (1/4000th of a second). With slower speeds, you might get a blurry picture if you move the camera.
So, using a tripod helps keep things steady. Faster speeds are great for freezing motion like capturing a bird in flight or stopping action in sports photography.
Different shutter speeds create different effects. Slow shutter speeds let more light into the camera and can make moving objects look blurry, showing their path of movement. This is perfect for making waterfalls look smooth or for capturing light trails at night.
Fast shutter speeds do the opposite; they let less light in but capture everything sharply and clearly without blur.
Moving on to ISO settings will help us understand another key part of getting our photos just right.
ISO
After mastering shutter speed, let’s look at ISO. This camera setting changes how sensitive your photos are to light. Entry-level cameras often range from 100 to 3200 ISO, while advanced ones go from 100 to 6400.
A higher ISO number makes your camera catch more light, which is great in darker places. But, be careful—raising the ISO too much can make your pictures grainy.
Controlling this setting is key for clear shots without a flash or extra lights. It works hand-in-hand with aperture and shutter speed to hit that perfect exposure balance. In dim settings, pushing up your ISO lets you keep fast shutter speeds and avoid blur without sacrificing quality too much.
So, use ISO wisely to keep your images sharp and bright, even when the lighting isn’t ideal.
Mastering the Exposure Triangle
Mastering the Exposure Triangle means understanding how aperture, shutter speed, and ISO work together. Get it right, and your photos will pop with just the perfect amount of light.
Relationship between Aperture, Shutter Speed, and ISO
Aperture, shutter speed, and ISO work together to control the camera’s exposure. Think of aperture as the size of the window that lets light into your camera; a larger opening (a low f-number like f/2.8) creates a shallow depth of field, making backgrounds blurry.
Shutter speed is how fast this “window” opens and closes. A faster speed can freeze motion, perfect for sports or action shots but requires more light. ISO measures the sensitivity of your camera’s sensor to light; increasing it allows you to shoot in darker conditions but can make photos noisier.
Balancing these three elements is key to getting properly exposed photographs—adjust one, and you’ll likely have to adjust another to compensate. For instance, if you widen your aperture for a portrait with a blurred background (shallow depth of field), you might need to shorten your shutter speed or decrease your ISO to avoid overexposure.
Every photo tells a story with its exposure triangle.
Achieving the right exposure means understanding how these settings influence not just brightness but also aspects like motion blur and image sharpness. Let’s explore how tweaking these settings helps capture stunning images in different lighting conditions.
Achieving the right exposure
Getting the right exposure is key in photography. It means your photos have just enough light. Not too bright, not too dark. Think of it as Goldilocks finding her perfect bowl of porridge.
You manage this balance by playing with three settings: aperture, shutter speed, and ISO.
Aperture controls how much light enters through the lens. Shutter speed decides how long your camera’s sensor sees that light. And ISO? It’s about your camera’s sensitivity to light—low numbers for sunny days, higher for dim settings.
Now, let’s fit these pieces together like a puzzle to nail our exposure every time. Say you’re photographing landscapes – you’d want everything sharp from front to back. You’d pick a small aperture (like f/11).
This lets in less light but makes more of your scene stay in focus.
But here comes a twist – using a small aperture can make photos underexposed unless we adjust other things too! So, we crank up the ISO or slow down the shutter speed letting more light hit our sensor without blurring our image.
To avoid guessing games with these settings, use histograms and metering modes on modern cameras—they’re powerful tools that guide us toward perfect exposure quickly and accurately.
Composition Techniques
Taking great photos isn’t all about the gear—it’s how you frame your shots that counts. Mastering composition rules like the Rule of Thirds, using lines to guide eyes, and playing with shapes can set your pictures apart.
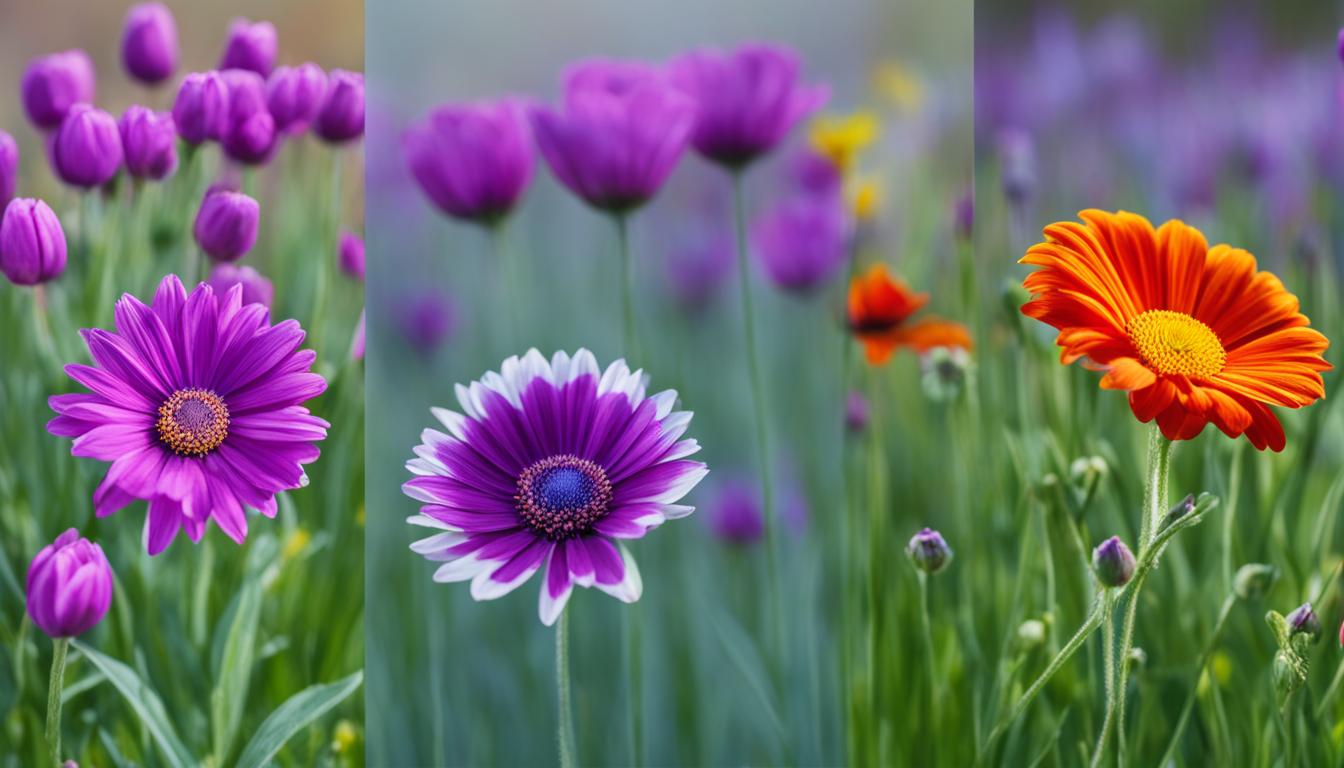
Rule of Thirds
The rule of thirds is a simple but powerful idea in photography. Imagine your image divided by two horizontal and two vertical lines, making nine equal squares. This grid guides where to place your subject for more engaging photos.
Key elements should sit along these lines or at their intersections. Doing this brings balance and interest to your shots.
For instance, when capturing landscapes, position the horizon on one of the horizontal lines instead of in the middle. Or if you’re taking a portrait, place the person’s eyes at one of the intersection points for a photo that really pops.
I’ve found using this technique makes my images stand out more and helps viewers connect with them better.
Placing key elements on these grid lines transforms good photos into great ones.
Leading Lines
Moving from the Rule of Thirds, leading lines take your photos to the next level. They draw viewers’ eyes through the scene. You can use roads, rivers, and buildings to do this. These elements create depth.
They focus attention on important parts of your picture.
For example, a winding river or a long road pulls eyes into the landscape. In cities, tall buildings and streets work well as leading lines. They guide viewers to look deeper into your photo.
This technique adds layers to your photography story.
Use of Geometry in Framing
In photography, framing with geometry uses shapes like triangles and circles to make pictures look better. These shapes help balance the photo and make it more interesting. For example, a photographer might arrange objects in a triangle shape within their landscape shot.
This method adds depth and focus points that draw the viewer’s eye.
Using lines is another way to improve your photos. Lines can lead the viewer’s gaze through the picture or towards the main subject. In cityscape shots, straight lines from buildings and roads can guide attention effectively.
Curved lines, like those in a winding river through nature landscapes, create a sense of movement and flow in your image. By practicing these geometric techniques, photographers sharpen their skills in composition, making their work stand out.
Advanced Composition Techniques beyond the Rule of Thirds
Exploring symmetry, patterns, and framing boosts your photos’ appeal. These elements draw viewers in. Use natural frames like windows and doorways to add depth and context. This technique guides the viewer’s eye to the main subject, making the photo more engaging.
Experiment with different perspectives and angles for a fresh look. Changing your viewpoint can turn an ordinary scene into a captivating image. For example, shooting from a low angle makes objects appear larger than life, adding drama to your photography.
The best images often harness the power of perspective to tell unique stories.
Focus Fundamentals
To get sharp photos, getting your focus right is key. Learn about autofocus modes and how to use them for crystal-clear images.
Importance of Sharp Focus
Sharp focus is key in photography. It brings out clarity and details in photos, making them look professional. For high-resolution images, one must master focus techniques and use quality lenses.
Every photographer aims for sharpness to capture life-like pictures.
Different cameras and lenses offer various features to help with focusing. Autofocus helps photographers quickly lock onto subjects, ensuring the photo is clear from center to edge.
Manual focus allows for precise control when autofocusing might struggle, like in low light or macro photography. Using these tools right ensures every shot counts, capturing moments exactly as intended.
Different Focus Modes
Focus modes help you capture sharp photos. They adjust how your camera lens focuses on subjects. Here’s a look at different focus modes:
- Single Autofocus (AF-S) locks focus on a still subject. Once you half-press the shutter button, the camera sets the focus and keeps it there. This mode works well for portraits or objects that don’t move.
- Continuous Autofocus (AF-C) keeps adjusting the focus as your subject moves. It’s ideal for sports, animals, or any fast-moving scenes. Your camera continuously refocuses to keep the action sharp.
- Manual Focus gives you full control over focusing. You turn the focus ring on your lens until your subject is clear. This mode is perfect for macro or landscape photography where precision is key.
- Auto area automatically chooses where to focus in the frame. The camera decides which part of your scene is most important and focuses there. It’s useful when you need quick shots without worrying about settings.
5 Redirecting viewfinders project critical shot information like focal points and exposure data directly into your field of vision, boosting AF-S and AF-C’s effectiveness by offering real-time feedback.
6 Spot Metering adjusts exposure based on a small area—often where your focal point is—ensuring that the main subject has the right light even in tricky lighting conditions, closely interacting with your chosen focus mode for optimal results.
7 Dynamic Area allows you to choose one primary focus point while also monitoring several surrounding points in case your main subject moves slightly, combining aspects of both AF-S and AF-C to offer flexibility with subjects that might move unpredictably but not rapidly.
8 AI Servo (for DSLRs) predicts where moving subjects will be, ensuring they stay in focus as they move across different points in the frame—akin to an advanced form of AF-C designed for predicting movement patterns.
By choosing the right autofocus setting or manual focusing technique based on what you’re shooting, you can ensure sharp photos every time—even in challenging conditions.
Focusing Techniques for Sharp Images
Moving from understanding different focus modes, we now delve into how you can achieve sharp images with these techniques. Each method ensures your photos come out clear and crisp.
- Use autofocus (AF) for fast-moving subjects. Cameras and lenses often have multiple AF modes like single-shot AF for still subjects and continuous AF for moving ones. This helps the camera keep the subject in clear focus even as it moves.
- Manual focus is key for total control over your photo’s sharpness. Especially in low light or when aiming for a specific part of your image to stand out, adjusting the focus ring on your lens manually will get you the desired effect.
- Employ focus stacking for scenes requiring front-to-back sharpness. Take several photos at different focus points and blend them together using photo editing software. This technique is perfect for nature photography where you want both the foreground and background in sharp detail.
- Ensure your lens is calibrated properly to avoid back or front focusing issues that can blur your image unintentionally. Tools like a focusing chart help check if the camera and lens are working together correctly.
- Choose the right aperture setting based on your subject and background. Wider apertures (lower f-stop numbers) give a shallow field of view, making your subject stand out against a blurred background. Smaller apertures (higher f-stop numbers) increase depth of field, keeping more of the scene in focus.
- Selecting an appropriate shutter speed can also affect image sharpness, particularly in hand-held shooting scenarios or when capturing fast action to avoid motion blur.
7 Active use of a tripod stabilizes your camera, ensuring that slow shutter speeds or long exposure shots don’t result in unwanted camera shake.
8 Experiment with different angles and positions to find the most stable shooting stance when you’re without a tripod; leaning against walls or lying flat can reduce shake significantly.
9 Understanding how light impacts your scene will also guide where to focus accurately; areas with better lighting typically yield sharper results due to reduced ISO settings and faster shutter speeds.
10 Utilize back-button focusing if available on your digital camera — this separates focusing from the shutter button, giving you more precise control over when to lock focus before taking a photo.
11 For subjects that are hard to capture with autofocus, switching to live view mode allows you to zoom in digitally on a particular area of your frame for manual focusing with high precision.
12 Keep essential gear clean, including lenses and sensors; dust or smudges can soften images significantly which emphasizes maintaining equipment regularly for optimal performance.
13 Explore advanced autofocus features such as eye-AF in modern cameras for portraits, which prioritize focusing on eyes ensuring critical sharpness where it matters most.
Every technique has its place depending on what you’re photographing and under what conditions you’re working, making experimentation fundamental to mastering these methods for perfectly focused photographs every time.
Camera Equipment Basics
Picking the right camera and lens can make a big difference. Think about sensor size and if you want a DSLR or mirrorless type; each has its pros and cons.
Choosing the Right Camera and Lens
DSLR cameras change lenses for many photos, like portraits or landscapes. They are versatile. Mirrorless cameras are lighter and have new tech. Both types need the right lens for your photo style.
For landscape shots, wide-angle lenses capture more scene. For portraits, telephoto lenses make backgrounds blur nicely. Think about what you shoot most to pick your gear.
The best camera is the one that fits your photography style and goals.
Importance of Sensor Size
Sensor size matters a lot in photography. Cameras with larger sensors capture more light, leading to better image quality and stronger performance in low-light conditions. This means your photos turn out clearer, with less noise, especially when shooting at night or indoors.
On the other hand, cameras with smaller sensors are lighter and add extra reach to your shots, making them ideal for travelers or anyone who prefers not to carry heavy gear.
Choosing between a full-frame sensor and cropped sensors affects how your images look. Full-frame sensors offer a wider field of view and shallower depth of field, giving that blurred background effect many photographers love for portraits or detailed shots.
Cropped sensors magnify subjects more due to their smaller size; this can be handy in wildlife or sports photography where getting close to the action isn’t always possible. So, whether it’s capturing expansive landscapes or snapping sharp shots of distant animals, understanding sensor size helps you pick the right camera for your needs and enhances your photo game significantly.
DSLR or Mirrorless: Choosing Your First Camera
Jumping from sensor sizes to choosing your first camera brings us to the DSLR vs. mirror steam match. DSLRs have those big, fancy optical finders and feel solid in hand. On the flip side, mirrorless cameras keep things light and easy with electronic finders for viewing scenes.
Your choice should hinge on what feels right for you.
Mirrorless devices might win you over if traveling light sounds appealing – they’re compact and perfect for on-the-go shots. Yet, DSLRs stand their ground with durability and a vast range of lenses.
Whether it’s capturing stars or shooting fast sports, weigh these features against your photography dreams to make the call.
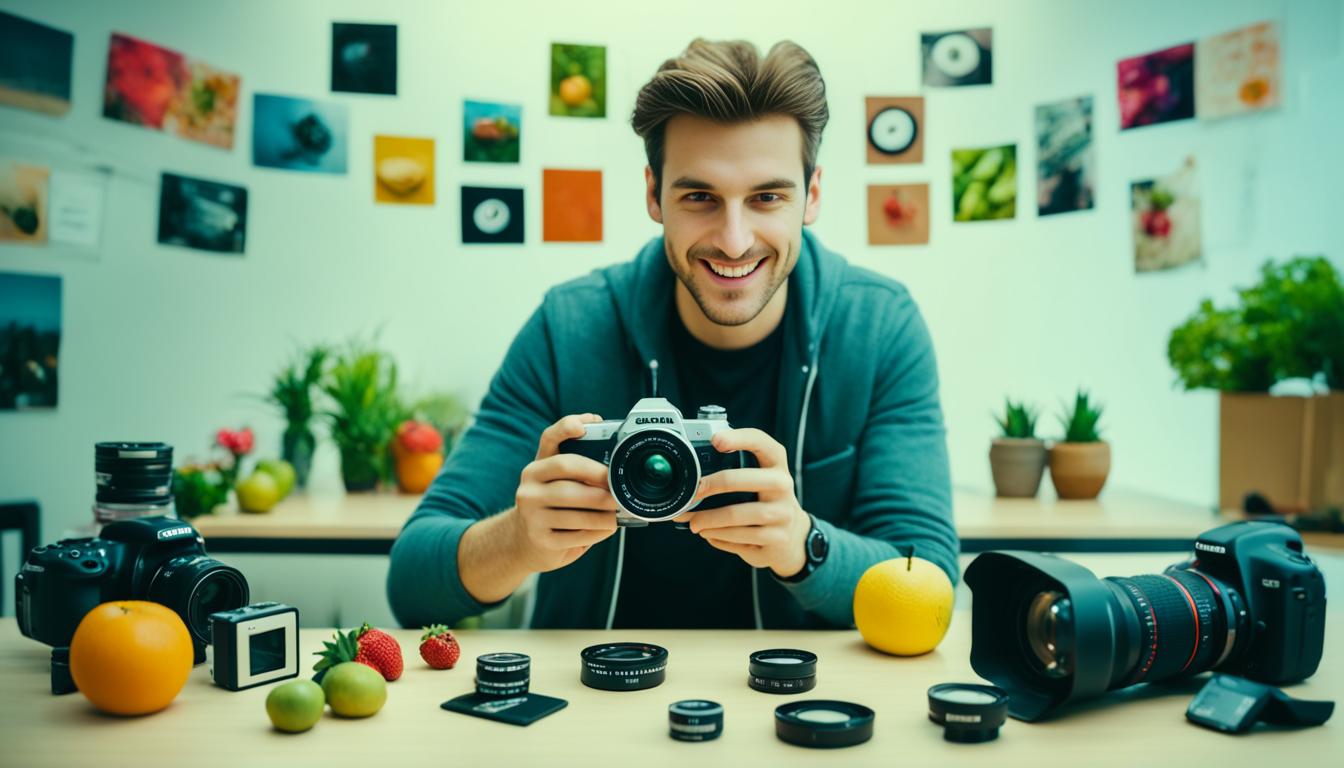
Essential Photography Gear for Beginners
Starting in photography requires the right gear. Entry-level cameras cost about $500-$1000, and lenses range from $100-$500.
- Digital camera – Choose between a DSLR or a mirrorless model for your first camera. Mirrorless cameras are lighter and more compact, making them great for beginners.
- Lenses – Start with two: a zoom lens for versatility and a prime lens for sharper images. Prime lenses have a fixed focal length, offering clarity and better performance in low light.
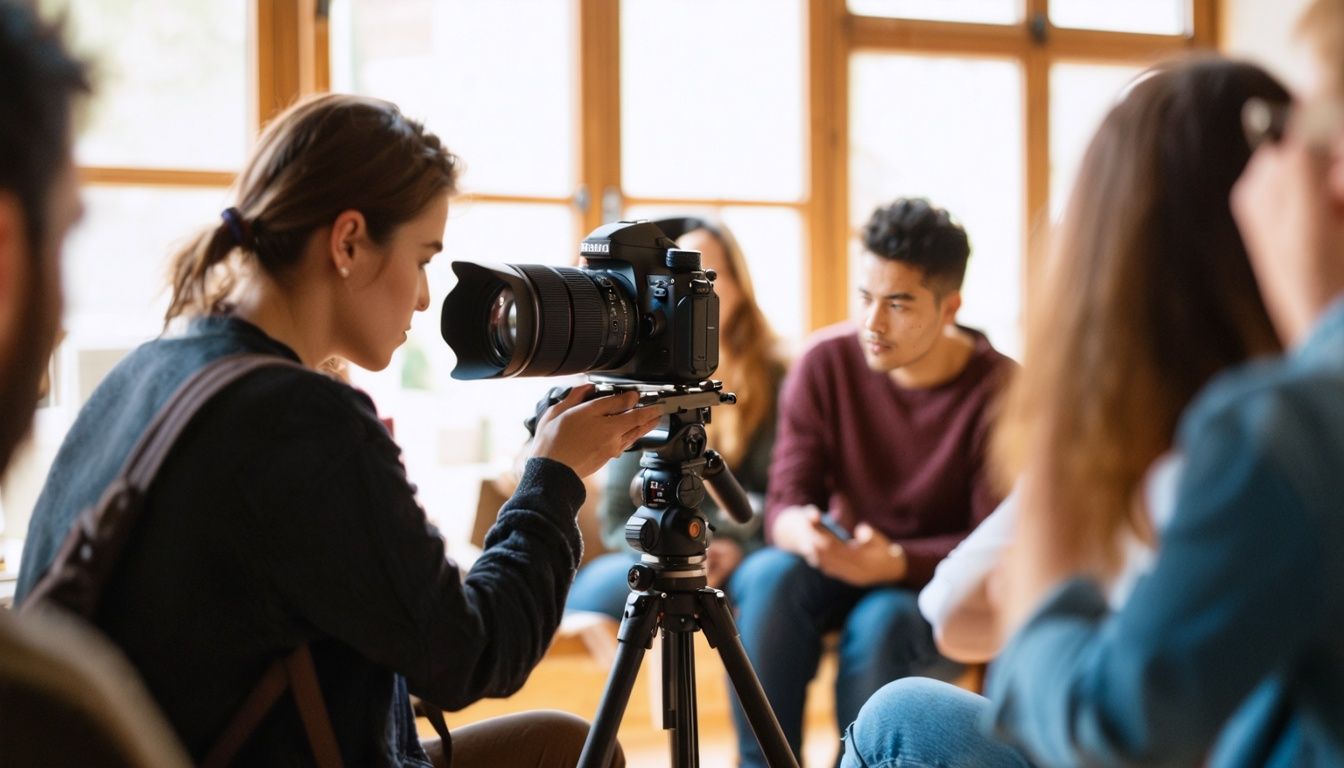
- Tripod – Essential for stable shots, long exposures, and astrophotography. It helps prevent blurry photos caused by hand movement.
- Lens filters – ND filters lower light entering the lens, allowing longer exposures without overexposing your shots. Polarizing filters reduce reflections and enhance colors.
- Memory cards – Get at least two high-capacity SD cards to ensure you don’t run out of storage while shooting.
- Extra batteries – Always carry spare batteries to avoid missing photo opportunities due to dead camera batteries.
- Cleaning kit – Includes microfiber cloths, lens cleaning solution, and a blower brush to keep your gear free from dust and smudges.
This list covers the basics to get started in photography, ensuring you have what you need to explore various shooting techniques and situations confidently.
Understanding Light and Exposure
Light makes photos. To get good photos, you need the right light and to know how your camera sees it. Metering modes help you measure light while histograms show if your snap is too bright or dark.
These tools guide you in capturing images just as you see them.
Importance of Lighting in Photography
Lighting sets the mood, tone, and clarity of your photos. Golden hour gives you soft lighting, making everything look better. Know your light sources and how they change your pictures.
This understanding is key for good photography.
Lighting can make or break a photo. It’s not just about having enough light but using it well to enhance your subject. Whether it’s bright sunlight or the soft glow of dawn, each type adds a unique feel to your images.
By mastering lighting, you capture photos that stand out.
Metering Modes Explained and Their Best Uses
Metering modes help photographers control the light in their photos. Each mode measures light differently, making it essential to choose the right one for your shot.
- Multi/matrix metering works well for general use. It analyzes the whole scene and sets exposure based on that. Most digital cameras have this as a default setting because it’s reliable in various conditions.
- Center-weighted metering focuses more on the middle of the frame while still considering the rest of the scene. This is great for portraits where your subject is in the center, and you want them correctly exposed while not worrying much about the background.
- Spot metering measures light from a small area of your frame. Use this when you need precise exposure on a specific part of your photo, like capturing a bird against a bright sky. It ignores everything else, ensuring your main subject looks perfect.
For example, if you’re shooting landscapes with multi/matrix metering, your camera evaluates light across the whole scene for an even exposure. But, when taking portraits, switching to center-weighted or spot metering can make sure your subject’s face is well-lit, even if parts of the background are overexposed or underexposed.
Choosing between these modes depends on what you’re photographing and how much of your scene you want in focus and properly exposed. Always test different settings to see how they affect your images.
Master Histograms for Perfect Exposures
Histograms are graphs showing exposure levels in photos. They make sure your shots have balanced light and dark areas. Learn to read them for perfect results. Dark parts appear on the left, light ones on the right, and mid-tones in the middle.
This helps adjust camera settings like aperture priority, shutter speed, and ISO to get desired pictures.
Use histograms for feedback after taking a shot. If too much is on the left or right, your photo may be too dark or too bright. Adjusting your settings based on this feedback ensures well-exposed images every time.
Master these tools – aperture priority mode, white balance adjustments, and exposure meter readings – to make histograms work for you.
Editing Techniques
Editing your photos can make a big difference. Learn basic steps and how using histograms help you get the right light in your pictures.
Basic Editing Steps
Editing photos brings out their best. Follow these essential steps to polish your pictures.
- Crop and straighten your images for better composition. This step helps focus on the main subject and aligns elements perfectly.
- Adjust the exposure to make sure your photo is not too dark or too bright. A well-exposed picture captures all details.
- Boost contrast to separate the darks and lights, adding depth and dimension.
- Fine-tune color balance to ensure colors look natural and true to life. Correcting color temperature can change the whole mood of your photo.
- Sharpen images to enhance edge clarity especially in key areas like the eyes in portraits.
- Apply noise reduction for cleaner shots, particularly useful in low light photos where grain can be a problem.
- Remove chromatic aberration, those unwanted purple or green fringes along high-contrast edges, to clean up your photo.
- Adjust shadows and highlights to recover details lost in overly bright or dark areas, giving a balanced look.
- Master curves tool for precise control over exposure, contrast, and colors by adjusting points throughout an image’s tonal range.
10 Color correct specific areas if needed using selective adjustment tools for targeting adjustments without affecting the whole picture.
11 Optimize saturation to make colors pop without making them look unnatural or oversaturated.
12 Work with layers in editing software for non-destructive edits allowing you to adjust effects without permanently altering the original image
13 Convert images between RAW and JPEG formats according to your needs – RAW for more detailed post-processing, JPEG for convenience and space saving.
14 Save edited photos at high resolution ensuring all fine details are preserved while also keeping file sizes manageable for sharing or printing.
These steps equip you with solid foundations in photo editing helping transform good shots into great ones through precision adjustments.
Using Histograms for Better Exposure
After mastering basic editing steps, it’s time to fine-tune exposure using histograms. Histograms show the spread of light across an image. A perfect histogram has a balance, not too skewed to either side.
To get this right, adjust your camera settings – aperture, shutter speed, and ISO based on what the histogram shows.
I’ve seen many shots improve dramatically by just tweaking these settings after reading the histogram. Dark images need more light, so increase ISO or open up the aperture. For too bright images, do the opposite.
Achieving balanced light makes all the difference in photography exposure.
RAW vs JPEG Formats: Clarity in Photo File Types
RAW files hold all the data from your camera’s sensor. This gives you more control when editing. You can adjust exposure, white balance, and other settings without losing quality. JPEGs, on the other hand, are compressed by your camera.
They take up less space and are ready to share right away but have less detail for edits.
Choosing between RAW or JPEG depends on your needs. If you want high-quality photos that you can edit in detail, go with RAW. For quick sharing or if storage is limited, JPEG works well.
Photographers must understand these differences to make the best choice for their work.
Basic Photo Editing Techniques for Beginners
Switching from understanding RAW vs JPEG formats sets the stage for basic photo editing. Adobe Photoshop and Lightroom stand out as essential tools for beginners looking to enhance their digital photographs.
- Open your photo in Adobe Photoshop or Lightroom.
- Adjust brightness and contrast to make your image pop. Slide the brightness up for darker photos or down if too bright. Increase contrast slightly for sharper differences between light and dark.
- Enhance colors using the saturation tool. A little goes a long way; don’t overdo it, or colors will look unnatural.
- Crop for better composition, keeping the Rule of Thirds in mind to focus on interesting parts of your photo.
- Use the clarity slider to bring out details in textures without making the photo look harsh.
- Apply sharpening filters sparingly to avoid adding noise; this makes edges crisper and details more defined.
- Remove unwanted spots or objects with the healing brush tool, cloning areas that look natural against the backdrop you’re correcting.
- Adjust shadows and highlights using their respective sliders: reduce highlights if they’re too glaring, increase shadows to reveal hidden details without making the entire picture too dark or washed out.
- Play with different angles of view by digitally zooming in or out without losing quality, thanks to high-resolution cameras and lenses.
- Apply vignetting lightly around corners for emphasis on central subjects, creating a subtle focus pull toward what matters in your image.
Each step builds upon another, forming a cohesive approach to bringing out the best in every shot you take—turning beginners into skilled photographers with every edit they make.
Additional Photography Techniques and Maintenance
Explore more ways to make your photos stand out with low light and flash photography tips. Keep your gear in top shape with a simple maintenance guide.
Low Light Photography Tips
Capturing sharp images in dim light challenges even skilled photographers. Using higher ISO settings and wide apertures can significantly improve your low-light photography. Here are ways to master shooting when light is scarce:
- Boost ISO settings for increased light sensitivity, making your camera better at capturing images under poor lighting.
- Open the lens aperture wider (lower f-stop numbers) to let in more light, crucial for reducing blur without sacrificing clarity.
- Employ tripods to stabilize your camera, preventing shake and ensuring sharp photos at slow shutter speeds.
- Explore shutter priority mode to control motion blur by setting the desired shutter speed; the camera adjusts the aperture accordingly.
- Use fast lenses with wide apertures; photography lenses with f-stops like 1.4 or 2.8 gather more light, ideal for darker scenes.
- Experiment with long exposures to capture detailed shots in minimal light; ensure a tripod is used to avoid unwanted blur.
- Engage automatic focus with modes designed for low light (like AI-Servo on some cameras) that adjust focus as the subject moves.
- Neutral density filters allow longer exposure times without overexposure, perfect for creating smooth water effects at night.
- Master the use of off-camera flash for dynamic lighting setups that illuminate subjects without harsh shadows typical of on-camera flashes.
- Understand how zoom lenses affect light intake; shorter focal lengths often allow more light, benefiting low-light conditions.
- Practice focusing manually when automatic focus struggles in dim environments; this ensures precise control over sharpness where you need it.
- Capture raw image files instead of JPEGs for greater flexibility in post-processing, especially useful for correcting underexposed shots.
- Learn how metering modes influence exposure values; spot metering can help expose key elements correctly in contrast-heavy scenes.
Next up, let’s explore why flash photography can transform your low-light images into works of art.
Flash Photography: On-Camera vs Off-Camera
Flash photography splits into two types: on-camera flash and off-camera flash. On-camera flash lights up your subject directly from the camera. This is simple to use but can create harsh shadows behind your subject.
It’s perfect for quick snaps where you don’t have time to set up extra equipment.
Off-camera flash separates the light source from the camera, giving you more control over lighting angles and effects. This way, you can avoid harsh shadows and add depth to your photos.
Off-camera flash needs extra gear like stands and remote triggers, but it unlocks creative options not possible with just on-camera flash. By experimenting with both methods, photographers can find the best way to light their subjects for any scene.
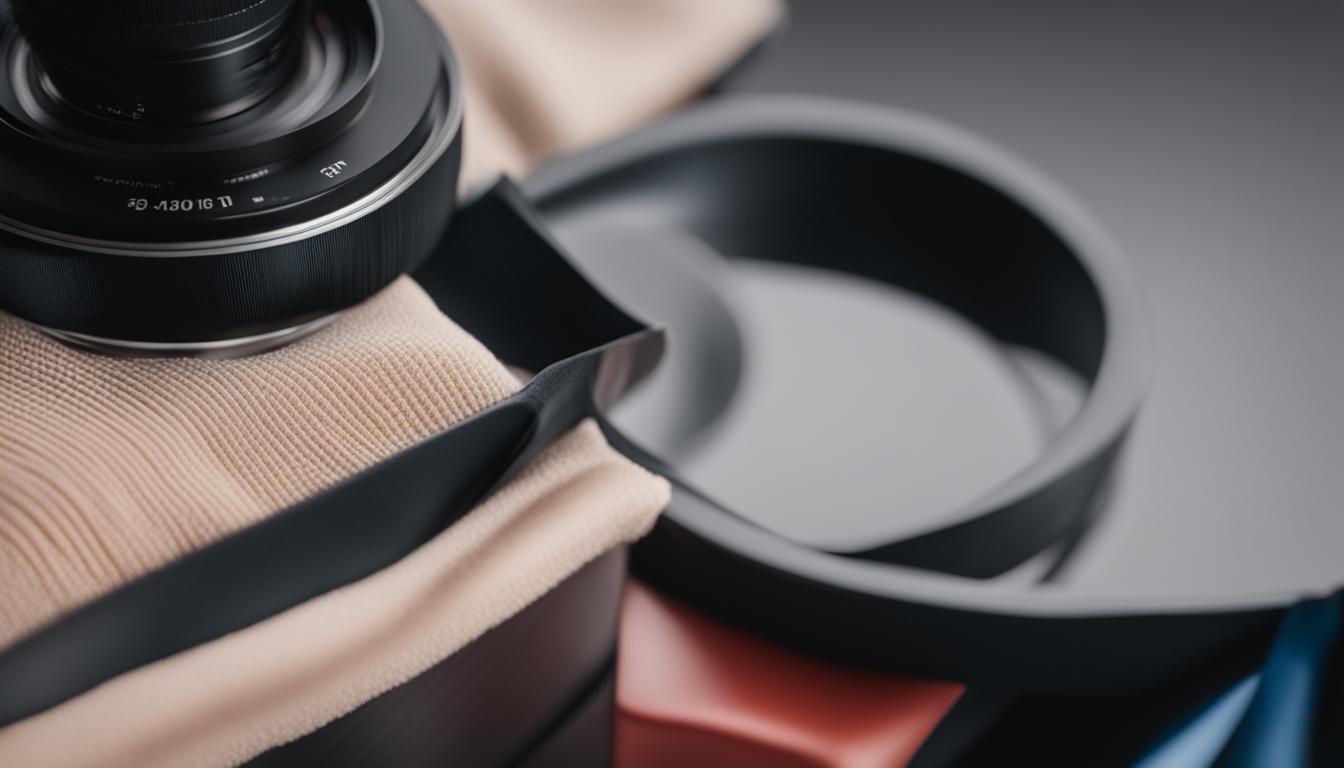
Camera Gear Maintenance and Cleaning Guide
Keeping your camera gear clean and well-maintained ensures they last longer. Regular care stops dust and moisture from harming your equipment. Here are steps to keep everything in top shape:
- Always store cameras and lenses in a dry, cool place. Humidity invites fungus.
- Use silica gel packs in your storage area to control moisture. They soak up dampness.
- Before cleaning any lens or sensor, use a blower to remove loose particles. This avoids scratches.
- Clean lenses with a soft, lint-free cloth and lens cleaner solution. Gently wipe away marks.
- For sensor cleaning, opt for a professional service if unsure. Sensors are sensitive.
- Check the camera body for dust or dirt regularly; wipe it with a dry cloth.
- Keep the battery contacts clean by gently rubbing them with a clean pencil eraser.
- Inspect your camera bag often; make sure it’s free from debris that could scratch equipment.
- After shooting in rough conditions, clean gear immediately to prevent damage.
- Replace lens caps and camera body caps when not in use to keep dust out.
Using these tips, you’re set for many years of capturing stunning photos without hitches or glitches due to dirty or damaged gear!
Conclusion
Mastering photography basics sets a solid foundation for any budding photographer. Through understanding camera settings like aperture, ISO, and shutter speed, beginners learn how to capture stunning images in varied lighting conditions.
Techniques such as the rule of thirds and leading lines improve photo composition dramatically. Essential gear knowledge ensures the right tools are always at hand. With practice, managing light and mastering exposure become second nature, enhancing every captured scene.
Start now—transform your passion for photography into impressive skills with each click of the camera.
FAQs
1. What are the basics of mastering photography for beginners?
The basics include understanding camera settings such as program mode (P), film speed, f stop, and camera shutter. It’s also crucial to learn techniques like long exposure photography and rules like the rule of odds.
2. How does angle of view affect my photos?
Your angle of view can drastically change your image… Wide angles create a larger field of vision but may cause distortion… Telephotos offer high magnification but limit your field… Mastering these variations is key to great photos.
3. Can I use point-and-shoot cameras for food photography?
Definitely! Point-and-shoot cameras work well for food photography… You just need to understand how to manipulate settings like ISOs and HDR for best results…
4. Why is the center of the lens important in photography?
The center of the lens affects focus, clarity, and distortion… Medium format lenses often provide better image quality due their larger size…
5. What role does magnification play in different types of photography?
Magnification impacts how large or small subjects appear in your photo… In food or macro-photography it’s vital… For landscape shots with wide angles, less magnification might be preferred… Remember—practice makes perfect!