Welcome to our macro photography guide! If you’re passionate about discovering the hidden beauty in the small details of the world, macro photography is the perfect art form for you. In this comprehensive guide, we will delve into the essential equipment and basics of macro photography, helping you capture stunning close-up images that reveal the intricacy of even the tiniest subjects.
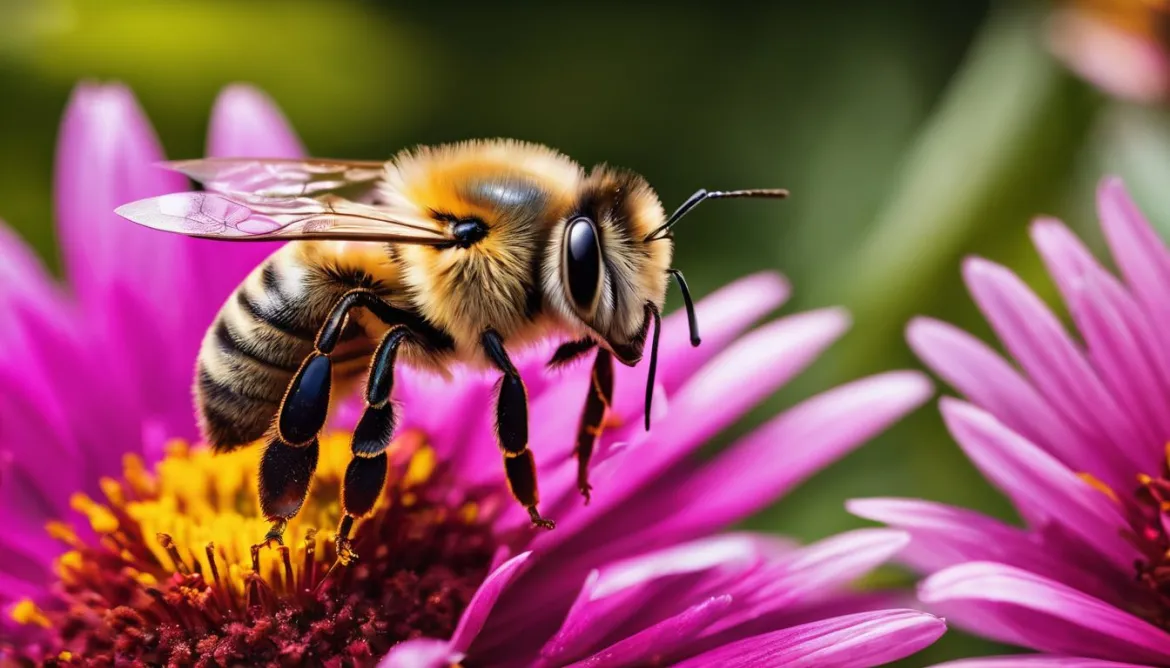
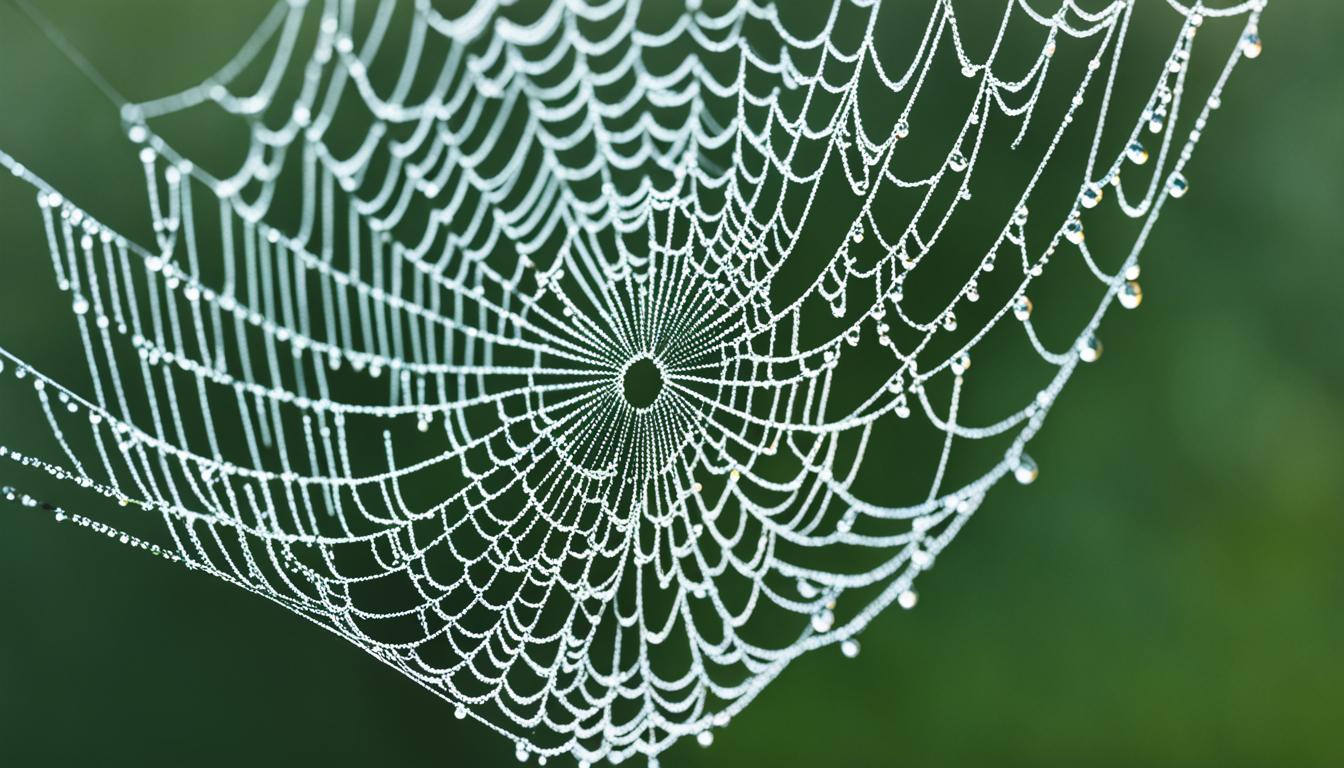
Macro photography allows you to magnify small objects in extraordinary ways, unveiling details that often go unnoticed by the naked eye. Whether you’re interested in capturing the delicate petals of a flower, the intricate patterns on an insect’s wings, or the fascinating texture of a dewdrop, macro photography opens up a whole new world to explore.
In this guide, we will cover everything you need to know to get started in macro photography. From choosing the right camera and lenses to achieving optimal magnification, and understanding lighting techniques, we’ve got you covered. Let’s dive in and unlock the secrets of macro photography!
Key Takeaways:
- Macro photography is the art of capturing close-up images that reveal intricate details.
- Essential equipment for macro photography includes a camera with interchangeable lenses and a macro lens.
- Achieving 1:1 magnification in macro photography can be done through dedicated macro lenses, extension tubes, or the reverse-lens technique.
- Lighting is crucial in macro photography, and options include flashes, constant lights, or natural lighting.
- Your smartphone can also be a useful tool for macro photography, with the availability of macro modes and add-on lenses.
Camera Recommendations for Macro Photography
When it comes to macro photography, having a camera with interchangeable lenses is crucial. You don’t necessarily need a high-end camera, as the megapixel count becomes less significant in this genre. In fact, even crop sensor cameras can work well for macro photography, especially when capturing extreme close-ups. The key is to use narrow apertures for greater depth of field, which is often required in macro photography.
So, what are the best camera options for macro photography? Let’s explore a few recommendations:
1. Canon EOS 90D
The Canon EOS 90D is a versatile camera that offers excellent image quality and a wide range of lens options. With its 32.5-megapixel APS-C sensor, it captures detailed macro shots with ease. Plus, its touchscreen interface and advanced autofocus system make it a user-friendly choice for both beginners and advanced photographers.
2. Nikon D5600
If you prefer Nikon, the D5600 is a great choice for macro photography. This camera boasts a 24.2-megapixel APS-C sensor, which delivers sharp and vibrant images. It also offers a vari-angle touchscreen, allowing you to easily compose your macro shots from various angles.
3. Sony Alpha A6400
For those who prefer mirrorless cameras, the Sony Alpha A6400 is an excellent option. With its 24.2-megapixel APS-C sensor and advanced autofocus system, it provides fast and accurate focusing for macro subjects. The camera’s compact size and lightweight design make it a great choice for photographers on the go.
Remember, these are just a few camera recommendations for macro photography. There are plenty of other models available on the market that can deliver stunning macro images. The key is to choose a camera that suits your budget, preferences, and interchangeable lens capability. With the right camera in hand, you’ll be ready to capture the intricate details of the macro world.
Macro Lens Considerations
When it comes to macro photography, choosing the right lens is of utmost importance. A macro lens allows you to capture stunning close-up shots with intricate details and superb sharpness. There are several factors to consider when selecting a macro lens for your photography needs.
Maximum Magnification
The maximum magnification of a macro lens determines how close you can focus on your subject. It is typically represented as a ratio, such as 1:1 or 1:2. A higher maximum magnification ratio allows for greater detail and more impressive close-ups. When choosing a macro lens, prioritize options with a higher maximum magnification ratio.
Working Distance
The working distance is the distance between the front of the lens and the subject when it is in focus. It is an important consideration, especially when photographing live subjects such as insects or flowers. A longer working distance provides more space between the lens and the subject, reducing the risk of scaring away or disturbing the subject. Consider lenses with a good working distance to ensure flexibility in your macro photography.
Autofocus vs Manual Focus
Macro lenses can come in both autofocus and manual focus options. Autofocus lenses offer convenience and ease of use, especially when capturing subjects that may be moving. However, at higher magnification levels, manual focus lenses provide better control and precision. Consider your shooting style and preferences when deciding between autofocus and manual focus macro lenses.
Presence of Electronic Contacts
Modern macro lenses often come with electronic contacts that allow communication between the lens and the camera. These contacts enable features such as autofocus, aperture control, and image stabilization. Consider lenses with electronic contacts if you want to take full advantage of these features for seamless macro photography.
Incidental Features and Image Quality
While the primary function of a macro lens is to capture close-up details, some lenses may offer additional features. These can include image stabilization, weather sealing, or special lens coatings to enhance image quality. Evaluate these incidental features based on your specific needs and budget. Furthermore, prioritize lenses known for delivering superior image quality with sharpness and minimal distortion.
By considering these factors, you can choose a macro lens that suits your requirements and helps you capture breathtaking macro photographs. Remember, the right lens can make all the difference in revealing the hidden beauty of the small world around us.
How to Get 1:1 Magnification – Different Types of Macro Lenses
When it comes to macro photography, achieving 1:1 magnification allows you to capture stunning details and bring tiny subjects to life. There are different types of macro lenses and techniques that can help you achieve this level of magnification, each with its own advantages and considerations.
Dedicated Macro Lenses
Dedicated macro lenses are specifically designed for close-up photography. They offer high magnification capabilities and excellent image quality, making them the most common choice among macro photographers. With a dedicated macro lens, you can achieve 1:1 magnification without the need for any additional accessories. These lenses often have a long working distance, allowing you to get close to your subject while maintaining enough distance to avoid casting shadows.
Extension Tubes vs Dedicated Macro Lenses
Extension tubes are hollow tubes that can be attached between your camera body and lens. They increase the minimum focus distance of the lens, allowing for closer focusing and increased magnification. While extension tubes can be a more cost-effective option compared to dedicated macro lenses, they may also introduce some limitations. When using extension tubes, the working distance becomes significantly reduced, making it more challenging to photograph subjects that may be easily startled or difficult to approach closely. Additionally, some image quality may be lost due to the increased distance between the lens and camera sensor.
Reverse Lens Technique in Macro Photography
The reverse lens technique involves mounting a wide or normal lens backward onto the camera body using a reversing ring or adapter. This technique can provide high levels of magnification and is often used for extreme close-up shots. By reversing the lens, you can achieve 1:1 magnification without the need for additional accessories. However, the reversed lens must be manually focused, and controlling the aperture may become more challenging. It is also important to note that this technique may result in reduced image quality and may require additional stabilization methods.
Each method of achieving 1:1 magnification has its advantages and limitations. The choice depends on personal preferences, budget, and the specific requirements of your photography. Experimenting with different types of macro lenses and techniques can help you find the approach that works best for you.
| Macro Lens Type | Advantages | Considerations |
|---|---|---|
| Dedicated Macro Lenses | High magnification | Generally more expensive |
| Extension Tubes | Cost-effective | Reduced working distance and potential image quality loss |
| Reverse Lens Technique | High magnification | Manual focusing, aperture control may be challenging, potential image quality issues |
By understanding the different types of macro lenses and techniques available, you can choose the method that best suits your needs. Whether it’s using a dedicated macro lens for convenience and excellent image quality, experimenting with extension tubes for budget-friendly macro photography, or exploring the creative possibilities of the reverse lens technique, achieving 1:1 magnification opens up a whole new world of macro photography.
Recommended Lighting Equipment
When it comes to macro photography, lighting plays a crucial role in capturing stunning close-up images. The right lighting equipment not only provides sufficient illumination but also helps freeze motion and enhance the overall quality of your macro photographs.
One popular option for lighting in macro photography is using flashes. Flashes are artificial lights that can be synchronized with your camera to provide a burst of light precisely when you need it. They are particularly useful when shooting at narrow apertures like f/16 and f/22, where you need ample light to compensate for the small aperture size.
Flashes are highly effective in freezing motion, making them an ideal choice for capturing subjects that may be moving, such as insects or wildlife. By freezing the motion, you can capture sharp details even in fast-paced scenarios, ensuring that every intricate detail is beautifully preserved.
For static subjects, or if you prefer a continuous light source, constant lights can be an excellent alternative. Constant lights provide a continuous stream of light, allowing you to see the effect of the light in real-time. They are particularly beneficial when you need to set up a shot and make fine adjustments to the lighting setup.
Investing in a reliable flash setup or constant lights can significantly enhance the quality of your macro photographs. Whether you prefer the versatility and freezing capabilities of flashes or the continuous illumination provided by constant lights, both options offer excellent lighting solutions for macro photography.
To achieve the best results, consider experimenting with different lighting angles, diffusers, and reflectors to manipulate the light and create the desired mood and effect in your macro images.
Recommended Lighting Equipment:
| Equipment | Description |
|---|---|
| Macro Ring Flash | A specialized flash that attaches directly to the front of the lens, providing even illumination and reducing shadows. |
| Off-Camera Flash | A detachable flash that can be positioned off-camera, allowing for more creative lighting setups and flexibility. |
| LED Panel Lights | Constant LED lights that offer consistent and adjustable illumination for macro photography. |
| Softboxes and Diffusers | Light modifiers that soften and diffuse the flash or constant light, creating a more natural and pleasing lighting effect. |
| Reflectors | Tools used to bounce and manipulate light, helping to fill in shadows and add dimension to your macro subjects. |
Experiment with different lighting equipment and techniques to find the ones that best suit your style and subjects. Remember, in macro photography, lighting is not only about illumination but also about creating mood and emphasizing the intricate details of your subjects.

Using Your Smartphone for Macro Photography
A cell phone camera can be a great tool for macro photography, especially with the advancements in smartphone technology. Many smartphone cameras offer macro modes and manual controls, allowing you to capture detailed close-up shots. Additionally, there are add-on lenses available that can enhance the macro capabilities of your cell phone camera. Experimenting with macro photography using your smartphone can be a cost-effective way to explore this genre.
Smartphone Macro Photography Tips
- Ensure proper lighting: Use natural light or a small LED light source to illuminate your subject.
- Get close: Move as close as your phone’s camera allows while maintaining focus.
- Use manual focus: Take advantage of manual focus controls to ensure the subject is sharp.
- Stabilize your phone: Use a tripod or stabilize your phone against a solid surface to avoid blurry images.
- Experiment with composition: Explore different angles and perspectives to create visually interesting macro shots.
“Macro photography with a smartphone offers convenience and accessibility. With add-on lenses and the ability to shoot in macro mode, capturing the small details has never been easier.” – Our Mobile Photography Expert
Whether you’re an amateur photographer or a professional looking to expand your portfolio, using your smartphone for macro photography can open up a world of creative possibilities. Don’t let the size of your equipment limit your creativity.
| Pros | Cons |
|---|---|
|
|
Close-Up Filters for Macro Photography
Close-up filters are a budget-friendly option for macro photography. These filters act as magnifying glasses when screwed onto the front of your lens, allowing for closer focusing and increased magnification. They are a convenient tool for capturing small subjects with your existing lens, without the need for additional equipment.
Close-up filters come in various strengths, typically labeled as +1, +2, +4, etc., indicating the diopter value. These values represent the level of magnification they provide. Multiple filters can be stacked together to achieve even higher magnification levels.
One of the advantages of close-up filters is that they are lightweight and portable, making them easy to carry in your camera bag. They are also simple to use, as they can be quickly attached or detached from the lens as needed.

However, it is important to note that there are some potential drawbacks to using close-up filters. At higher magnifications, image quality may suffer, resulting in reduced sharpness and potential distortion. The filters can also introduce additional lens flare and reduce contrast. Therefore, close-up filters may not be suitable for professional or high-end macro photography where image quality is paramount.
Close-up filters can be a good starting point for beginners or those on a limited budget, allowing them to experiment with macro photography without investing in dedicated macro lenses or other expensive equipment. They provide an affordable way to explore the world of close-up photography and unleash your creativity.
| Pros | Cons |
|---|---|
| 1. Budget-friendly option | 1. Potential reduction in image quality |
| 2. Lightweight and portable | 2. Increased lens flare and reduced contrast |
| 3. Easy to use and quick attachment |
Reverse-Lens Macro Technique
The reverse-lens macro technique is an exciting and cost-effective way to explore macro photography. By mounting a lens backward on the camera using a reversing ring, you can achieve excellent macro results without the need for dedicated macro lenses. This technique magnifies the subject and allows for extremely close focusing, opening up a world of intricate details.
Unlike dedicated macro lenses, the reverse-lens technique provides an affordable alternative for capturing stunning macro images. It’s a great option for photographers on a budget or those looking to experiment with macro photography without investing in specialized gear.
Mounting lenses backward for macro photography can be done by using a reversing ring, which attaches to the front filter thread of the lens. This effectively reverses the lens and allows it to be mounted onto the camera body. Once attached, you can explore the wonders of macro photography by capturing close-up shots with high magnification.
Extension Tubes for Macro Photography
Extension tubes are a valuable addition to any macro photographer’s toolkit. These hollow tubes serve as spacers between the camera body and the lens, allowing for closer focusing distances and increased magnification. By extending the lens away from the camera sensor, extension tubes enable you to capture stunning close-up shots with intricate details.
Using extension tubes for close-up photography offers several advantages. Firstly, they are a cost-effective alternative to dedicated macro lenses, making macro photography more accessible to photographers on a budget. Secondly, extension tubes are incredibly versatile, as they can be used with a variety of lenses, allowing you to experiment with different focal lengths and perspectives.
When using extension tubes, it’s important to choose high-quality tubes that maintain proper electrical connections between the camera and lens. This ensures that autofocus and auto-exposure functionality are retained, making your macro shooting experience seamless and efficient.
However, like any piece of equipment, extension tubes have their pros and cons. Let’s take a closer look:
Pros of Extension Tubes for Macro Photography
- Cost-effective option for achieving macro magnification
- Compatible with a range of lenses, offering versatility in focal lengths
- Retains autofocus and auto-exposure functionality with proper electrical connections
- Lightweight and portable, making them easy to carry in your camera bag
Cons of Extension Tubes for Macro Photography
- Increased focusing distance, which may limit working distance with certain subjects
- Reduction in maximum aperture, resulting in potentially slower shutter speeds or increased ISO
- Potential loss of image quality or introduction of chromatic aberration
To help you understand the benefits and limitations of using extension tubes, here is a comparison table of extension tubes versus other macro photography techniques:
| Macro Technique | Pros | Cons |
|---|---|---|
| Extension Tubes | Cost-effective, versatile, retains autofocus and auto-exposure functionality | Increased focusing distance, potential loss of image quality |
| Dedicated Macro Lens | Optimal image quality, dedicated macro capabilities | Higher cost, limited focal lengths |
| Close-Up Filters | Low cost, easy to use | Reduced image quality, limited magnification options |
| Reverse-Lens Technique | Cost-effective, high magnification potential | Limited control over aperture and focus, potential loss of image quality |
As you can see, extension tubes offer a balance of affordability, versatility, and functionality. Whether you’re a beginner exploring macro photography or a seasoned professional looking to expand your creative options, extension tubes can be an excellent tool to enhance your close-up photography capabilities.
Focusing Rails and Bellows for Macro Photography
When it comes to achieving precise control in macro photography, focusing rails and bellows are indispensable tools. These allow us to make fine adjustments to the distance between the camera and the subject, enabling accurate focus and magnification. Let’s explore the advantages of focusing rails and bellows in macro photography.
Focusing Rails
Focusing rails mount the camera on a tripod and feature geared knobs that allow for precise movements in small increments. By utilizing a focusing rail, we can gradually adjust the position of the camera to achieve perfect focus or create focus-stacked images. This is particularly beneficial when photographing subjects with intricate details or when employing high levels of magnification.
Bellows
Bellows, on the other hand, are adjustable extension tubes with a built-in focusing rail. They provide even greater control over the distance between the camera and the subject, allowing for precise adjustments in focus and magnification. Bellows are commonly used in macro photography to achieve extreme close-ups and focus stacking. However, it’s important to note that bellows can be more expensive compared to other macro equipment.
Both focusing rails and bellows offer unparalleled precision, making them ideal for photographers who prioritize fine-tuning their macro images. However, it’s crucial to ensure proper stability when using these tools, as any camera movement can result in blurry shots. Utilizing a sturdy tripod and remote shutter release can help maintain stability during the capture process.
In summary, focusing rails and bellows are key components in the macro photographer’s toolkit. With their ability to provide precise control over focus and magnification, these tools open up a world of creative possibilities, allowing us to capture the intricate details of our subjects with stunning clarity.
Conclusion
Macro photography opens up a captivating world of close-ups and intricate details. By familiarizing yourself with the essential equipment and basics, you can capture stunning macro images that reveal fascinating aspects of the small wonders around us.
When it comes to macro photography gear, you have a range of options to choose from. Dedicated macro lenses provide the convenience and precision needed for close focusing and high magnification. Additionally, techniques such as extension tubes, close-up filters, and the reverse-lens technique offer affordable alternatives to explore the macro world.
As you select your macro gear, consider factors such as your budget, subject preferences, and desired level of magnification. Each equipment option has its own advantages and limitations, so choose wisely to meet your specific needs.
With the right equipment and foundational knowledge, you can unlock the beauty of macro photography and discover a new perspective on the intricate details of the world around us. Capture the small wonders and let your creativity flourish in the realm of macro photography.
FAQ
Can I use any camera for macro photography?
Yes, as long as the camera has interchangeable lenses, it can be used for macro photography.
What should I consider when choosing a macro lens?
When choosing a macro lens, consider factors such as maximum magnification, working distance, autofocus vs manual focus, presence of electronic contacts, image stabilization, and overall image quality.
How can I achieve 1:1 magnification in macro photography?
You can achieve 1:1 magnification in macro photography through dedicated macro lenses, extension tubes, or by using the reverse lens technique.
What lighting equipment is recommended for macro photography?
Flashes are often used in macro photography for sufficient illumination and freezing motion. Constant lights can be an alternative for static subjects.
Can I use my smartphone for macro photography?
Yes, many smartphones offer macro modes and manual controls, making them suitable for capturing close-up shots. You can also enhance the macro capabilities of your smartphone camera with add-on lenses.
What are close-up filters and how do they work?
Close-up filters are magnifying glasses that screw onto the front of a lens, allowing for closer focusing and increased magnification.
What is the reverse-lens macro technique?
The reverse-lens macro technique involves mounting a lens backward on the camera using a reversing ring, which magnifies the subject and allows for extremely close focusing.
How do extension tubes work in macro photography?
Extension tubes increase the distance between the lens and the camera, enabling closer focusing and greater magnification.
What are focusing rails and bellows used for in macro photography?
Focusing rails and bellows provide precise control over the distance between the camera and the subject, allowing for fine adjustments in focus and magnification.
What is the conclusion of this macro photography guide?
This guide provided an overview of the equipment and basics of macro photography, including camera recommendations, macro lens considerations, achieving 1:1 magnification, lighting techniques, and various macro techniques. It’s time to go out and explore the small wonders of the world through macro photography!
Should I Use Reflectors and Diffusers in Macro Photography for Beginner?
When starting out in macro photography, reflectors and diffusers can make a big difference in your shots. Using macro photography reflectors diffusers can help control natural light, reduce harsh shadows, and create a more even, flattering light for your subjects. Experiment with different angles and positions to see what works best for you.


