In today’s visually-driven world, food photography has become an essential tool for restaurant marketing. Mastering the art of capturing culinary creations in stunning visuals can significantly impact a restaurant’s success. This comprehensive guide will explore the essential techniques and tips for building a professional food photography portfolio that captures culinary artistry and entices clients with stunning visuals.
Building a Food Photography Portfolio: Whether you’re a professional photographer or a restaurant owner looking to showcase your delectable creations, creating a compelling food photography portfolio is crucial. It allows you to showcase your skills, attract potential clients, and establish yourself as a trusted expert in the industry.
Food Photography Portfolio Tips: In this guide, we will cover everything you need to know to build a standout food photography portfolio. From setting up the perfect food photography studio to mastering composition techniques, harnessing light, capturing intricate details, post-processing magic, and creating a cohesive visual brand, we’ve got you covered.
Key Takeaways:
- Building a food photography portfolio is essential for showcasing culinary artistry and attracting clients.
- Set up a well-lit location with natural light and experiment with backgrounds and props to complement your dishes.
- Master the art of composition by applying the rule of thirds and utilizing leading lines, framing, and negative space.
- Explore the benefits of natural and artificial lighting in food photography and experiment with different techniques.
- Pay attention to the details, capturing the textures, colors, and depth of your dishes to create visually enticing photos.
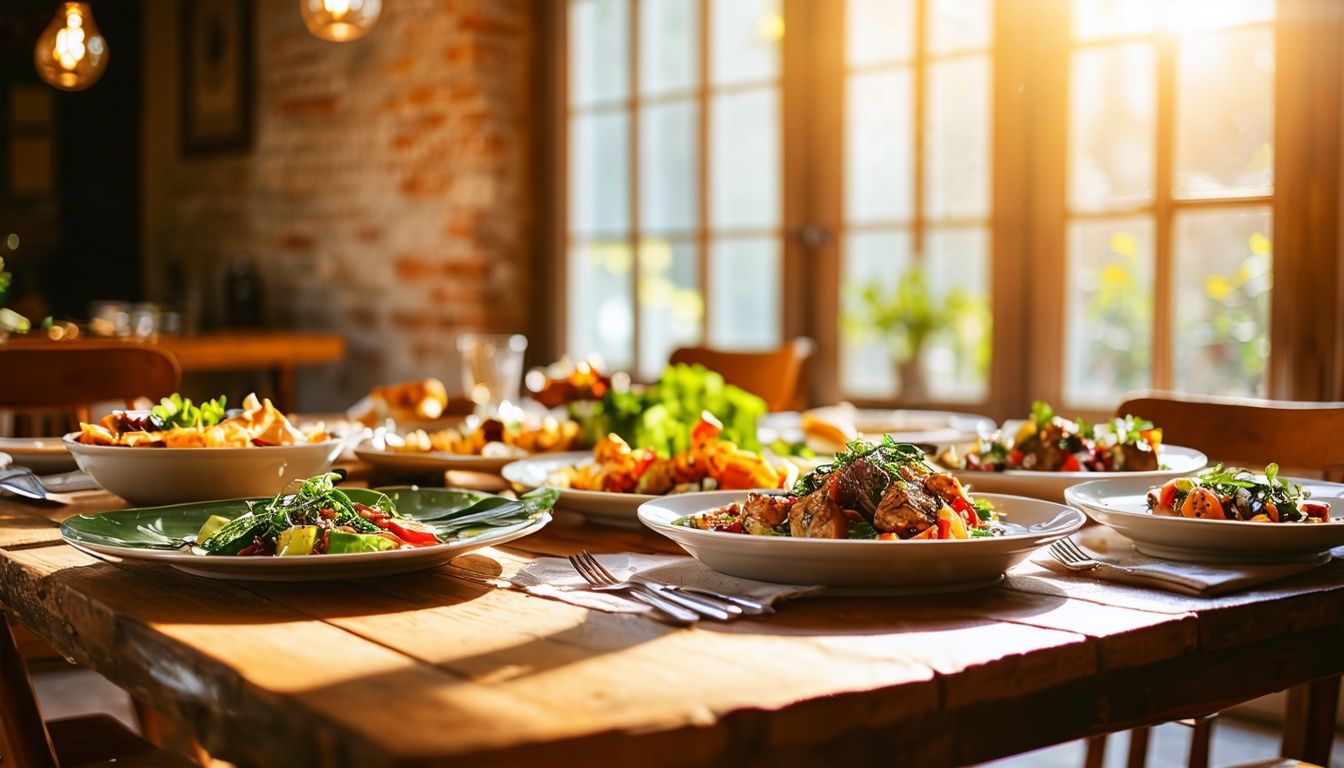
Set the Stage: Creating a Captivating Food Photography Setup
Before we begin capturing mouth-watering images of delectable dishes, it’s crucial to create the perfect setup for your food photography. The right ambiance, lighting, and props can elevate your visuals and leave a lasting impression on your audience. Let’s explore some tips and techniques to help you set the stage for captivating food photography.
Choosing the Right Location
The location of your food photography studio plays a significant role in the overall quality of your images. Look for a well-lit area with ample natural light, as it provides a soft and flattering illumination that enhances the colors and textures of your dishes. Position your setup near a large window or in an open space that receives plenty of sunlight during the day. Avoid harsh overhead lighting or fluorescent lights, as they can cast unflattering shadows and alter the colors of your food.
Experimenting with Backgrounds, Textures, and Props
The backdrop, textures, and props you choose for your food photography setup can greatly impact the overall aesthetics of your images. Consider your restaurant’s brand and the style you want to convey. Solid neutral backgrounds, such as rustic wood or marble surfaces, are popular choices as they provide a clean and elegant look that keeps the focus on the food. Alternatively, you can experiment with vibrant patterned backgrounds or complementary textures to add visual interest.
When it comes to props, opt for items that enhance the story and visual appeal of your dishes. For example, for a rustic Italian pasta dish, you might include fresh herbs, a wine glass, or a rustic napkin. Keep in mind that props should not overpower the main subject—the food itself. They should serve as supporting elements that add depth and context to your compositions.
Creating an Engaging Table Setting
The table setting is an essential aspect of food photography. It helps create a cohesive and inviting scene for your audience. Pay attention to the arrangement of plates, cutlery, and glasses. Consider the size and shape of your dishes, ensuring they are appropriately showcased. Experiment with different table settings to find the most visually appealing arrangement for each dish.
| Essential Elements for a Captivating Food Photography Setup | Sample Props | Background Textures |
|---|---|---|
| Set the stage for your photoshoot by considering these essential elements: | Create visual interest with carefully selected props such as: | Add depth and style to your images with various background textures: |
|
|
|
By considering these elements, experimenting with different backgrounds, textures, and props, and creating an engaging table setting, you can set the stage for captivating food photography that highlights the beauty and delectability of your dishes.
Mastering Composition: The Art of Creating Visually Appealing Food Photos
When it comes to food photography, composition plays a vital role in capturing captivating images that grab the viewer’s attention. By applying the principles of composition, you can create visually appealing photos that showcase the beauty of your culinary creations. One such principle is the rule of thirds.
The rule of thirds involves dividing your frame into a grid of nine equal sections by placing two horizontal and two vertical lines. The focal points of your image should align with these gridlines or their intersections, creating a visually balanced composition. This technique helps to draw the viewer’s eye to the most important elements in your photo.
In this image, we can see the rule of thirds in action. The main subject, a beautifully plated dish, is positioned at the intersection of the left vertical line and the bottom horizontal line. This placement creates a visually pleasing composition that guides the viewer’s eye directly to the dish.
Aside from the rule of thirds, you can also enhance your food photography composition by utilizing leading lines, framing, and negative space.
Leading lines are elements within your photo that create a path for the viewer’s eye to follow. They can be actual lines, such as a table edge or a utensil, or implied lines, like the direction in which ingredients are placed. By incorporating leading lines, you can guide the viewer’s gaze and add a sense of movement to your composition.
Framing involves using elements within your photo to frame the main subject. For example, you can use the edges of plates or the curves of utensils to create a natural frame around your dish. This technique adds depth and interest to your composition.
Negative space is the empty space surrounding your main subject. By incorporating negative space, you can create a sense of balance and give your subject room to breathe. This technique allows the viewer to focus on the key elements of your photo without distractions.
To summarize, mastering composition is essential for creating visually appealing food photos. By applying the rule of thirds and experimenting with leading lines, framing, and negative space, you can elevate your food photography and captivate your audience.
Harnessing Light: Natural vs Artificial Lighting in Food Photography
Lighting plays a crucial role in food photography, as it can make or break the visual appeal of your dishes. When it comes to lighting options, natural light and artificial light each offer unique advantages and considerations.
Natural Light in Food Photography
Natural light provides a soft, diffused illumination that enhances the textures and colors of your food. It creates a natural and inviting atmosphere, making your dishes look fresh and appetizing. When shooting with natural light, consider the following tips:
- Shoot near a window or in an outdoor setting during daylight hours to maximize the available natural light.
- Avoid direct sunlight, as it can create harsh shadows and excessive highlights. Instead, look for areas with indirect light or use a diffuser to soften the light.
- Experiment with different times of the day to capture various qualities of natural light, such as the warm hues of golden hour or the cooler tones of overcast conditions.

Artificial Lighting in Food Photography
Artificial lighting provides greater control over the lighting conditions, allowing you to shape the desired look and feel of your food photos. Here are some considerations for using artificial light:
- Invest in a quality artificial lighting setup, such as continuous lights or strobes, to achieve consistent results.
- Experiment with different types of artificial light sources, such as softboxes or diffusers, to mimic the softness of natural light.
- Adjust the intensity and direction of the artificial light to create the desired highlights and shadows on your dishes.
Pro Tip: Natural light is often considered the ideal choice for food photography due to its ability to enhance the natural beauty of food. However, artificial light provides greater control and consistency, making it a valuable tool for photographers looking to achieve specific effects or work in low-light environments.
Comparing Natural and Artificial Lighting
Both natural and artificial lighting have their advantages and considerations in food photography. Let’s compare them:
| Lighting Type | Advantages | Considerations |
|---|---|---|
| Natural Light |
|
|
| Artificial Light |
|
|
Ultimately, the choice between natural and artificial lighting depends on the desired aesthetic, shooting conditions, and available resources. Experiment with both to discover which lighting setup works best for your food photography style.
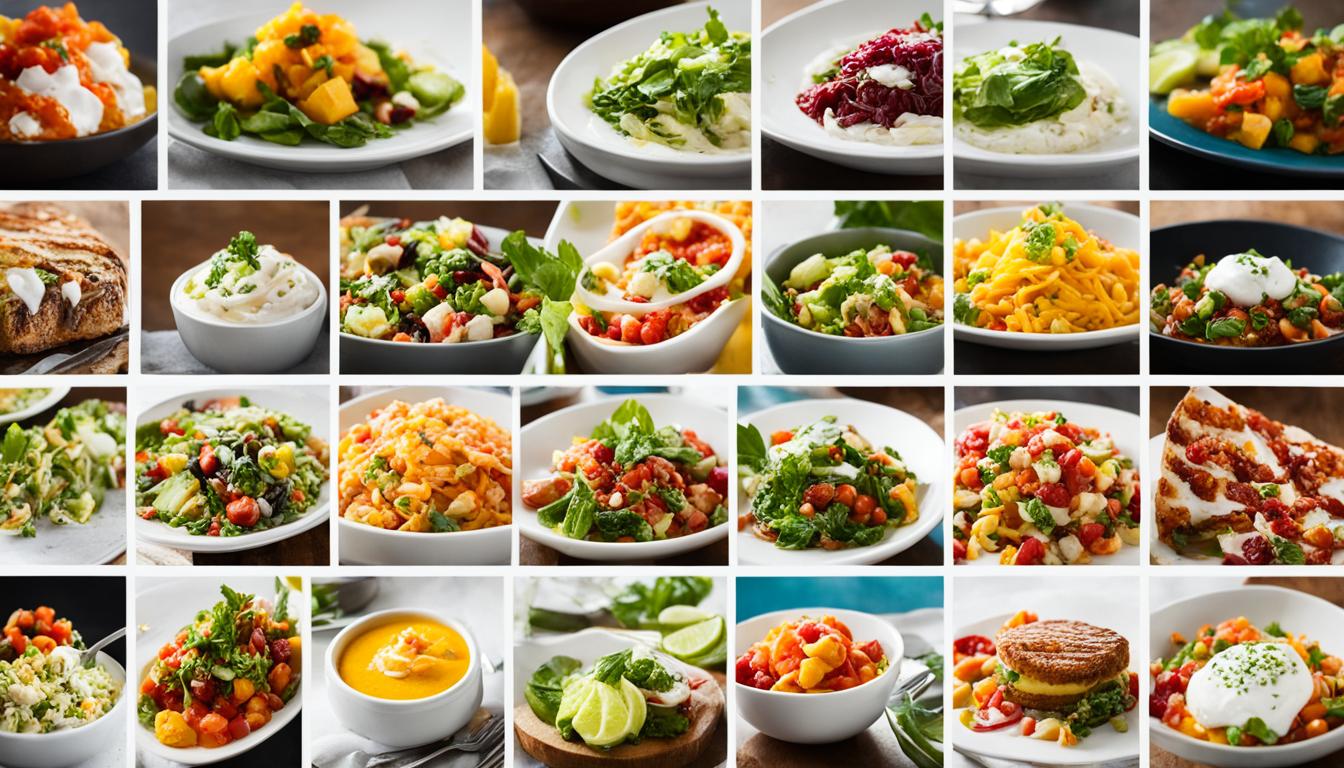
Capturing the Details: Highlighting Texture, Color, and Depth in Food Photography
When it comes to food photography, details are everything. It’s the intricate textures, vibrant colors, and visual depth that make your dishes come to life on camera. To create visually enticing photos that capture the essence of your food, it’s essential to pay attention to these key elements.
One way to highlight the details of your dishes is to focus on capturing the unique textures. Whether it’s the crispy crust of a freshly baked pie or the velvety smoothness of a decadent chocolate mousse, food textures can add a sensory element to your photos. Experiment with different angles and lighting to emphasize the textures and make your audience crave the tactile experience of tasting your creations.
In addition to textures, colors play a vital role in food photography. They can evoke emotions and create a visual feast for the eyes. Emphasize the vibrant hues of your ingredients to make your dishes pop off the screen. Consider the color wheel and complementary colors to create a striking contrast that enhances the visual appeal of your food.
Depth is another crucial aspect of food photography. It adds visual interest and makes your photos more dynamic. One way to achieve depth is by using a wide aperture to create a shallow depth of field. This technique keeps your subject in focus while blurring the background, drawing the viewer’s attention directly to the details of the dish.
“Food photography is all about capturing the nuances and details that make each dish unique. By highlighting the textures, colors, and depth, we can create visually enticing photos that truly showcase the artistry and flavors of our culinary creations.”
Remember, it’s the little details that make a big difference in food photography. By paying attention to the texture, color, and depth of your dishes, you can capture stunning visuals that leave your audience craving more.
| Tip | Description |
|---|---|
| Experiment with Different Lighting | Try using natural light for soft and diffused illumination to enhance textures and colors. Alternatively, experiment with artificial lighting for greater control over the lighting setup. |
| Use Props and Backgrounds | Choose props and backgrounds that complement your dishes and showcase their textures. Play with different materials like wood, fabric, and ceramic to add visual interest. |
| Focus on Plating Techniques | Pay attention to the way you arrange the ingredients on the plate. Consider symmetry, balance, and creating layers to add depth and visual appeal to your composition. |
Post-Processing Magic: Enhancing Food Photos with Editing
Once you have captured your mouthwatering food photographs, it’s time to bring them to life through post-processing. With the help of photo editing software, you can refine and enhance your images to make them truly captivating. Here are some essential editing techniques to take your food photography to the next level:
Adjusting Exposure, Color Balance, and Contrast
Start by adjusting the exposure of your food photos to ensure they are properly lit. This can help bring out the details in both the highlights and shadows. Experiment with adjusting the color balance to enhance the natural tones of your dishes. You can also play with the contrast to make your photos visually pop.
Enhancing Specific Colors
Food photography is all about making the viewer crave the dish. To achieve this, experiment with enhancing specific colors to make the ingredients look more vibrant and enticing. For example, you can boost the red hues of a juicy strawberry or make the greens in a salad appear fresh and appetizing.
Avoid Over-Editing for Natural-Looking Photos
While it’s tempting to go all out with editing, it’s crucial to strike a balance and maintain a natural look for your food photos. Over-editing can result in artificial-looking images that may not resonate well with your audience. Focus on enhancing the already beautiful aspects of your dishes without going overboard.
“Post-processing is like adding the final touches to a culinary masterpiece. It allows us to accentuate the flavors, textures, and colors that make each dish unique.”
Remember, the goal of post-processing is to enhance the inherent beauty of your food photos, not to completely transform them. Keep your edits tasteful and true to the original dish.

| Benefits of Post-Processing Food Photos | Considerations for Post-Processing |
|---|---|
|
|
With the right post-processing techniques, you can elevate your food photography from good to extraordinary. Remember to maintain a balance between enhancing the visuals and keeping the integrity of the dish intact. Let your creativity shine through while creating stunning food photos that will leave your audience craving for more.
Creating a Cohesive Visual Brand: Establishing Your Food Photography Identity
When it comes to food photography, capturing tantalizing images is just the beginning. To leave a lasting impression on your audience and stand out from the competition, it’s crucial to develop a cohesive visual brand that aligns with your restaurant’s identity.
By establishing a consistent style and visual identity throughout your food photography portfolio, you create a recognizable and memorable brand that not only captivates viewers but also builds trust and professionalism. This is especially important in the digital age, where consumers are constantly bombarded with visual content.
So, how do you create a cohesive visual brand? Start by understanding your restaurant’s unique selling points and desired image. Consider the atmosphere, style, and personality of your establishment. Is it cozy and rustic, or modern and sleek? Incorporate these elements into your food photography by using props, backgrounds, and lighting techniques that reflect your restaurant’s brand.
Consistency is key. Pay attention to details such as color palette, composition, and editing style. Aim for a harmonious and consistent look across all your photographs. This not only helps your images flow together seamlessly but also creates a sense of professionalism and reliability. Remember, your food photography should tell a story and evoke emotions that resonate with your target audience.
FAQ
What is the first step in building a food photography portfolio?
The first step is to set the stage by choosing a well-lit location with ample natural light and experimenting with different backgrounds, textures, and props to complement your dishes.
How can I create visually appealing compositions in food photography?
You can create visually appealing compositions by applying the rule of thirds, experimenting with leading lines, framing, and negative space to add depth and visual interest to your photographs.
What is the importance of lighting in food photography?
Lighting is crucial in food photography as it enhances the textures and colors of your dishes. Natural light provides soft, diffused illumination, while artificial lighting allows for greater control.
How can I capture the details in my food photography?
To capture the details in your food photography, pay attention to the texture, color, and depth of your dishes. Use a wide aperture to create a shallow depth of field and focus on the subject.
How can I enhance my food photos through post-processing?
You can enhance your food photos through post-processing by adjusting exposure, color balance, and contrast. Experiment with enhancing specific colors to make ingredients pop, but be cautious not to over-edit.
How can I create a cohesive visual brand for my food photography portfolio?
To create a cohesive visual brand, develop a consistent style and visual identity that aligns with your restaurant’s brand. This helps build recognition and creates a sense of trust and professionalism.
How Can I Use My Food Photography Portfolio to Attract Clients and Determine Pricing?
When it comes to navigating food photography pricing clients, your portfolio is key. Showcase a varied range of high-quality images that reflect your style and expertise. Highlight your ability to capture the essence of different cuisines and dishes. Use your portfolio to demonstrate your value and attract potential clients.