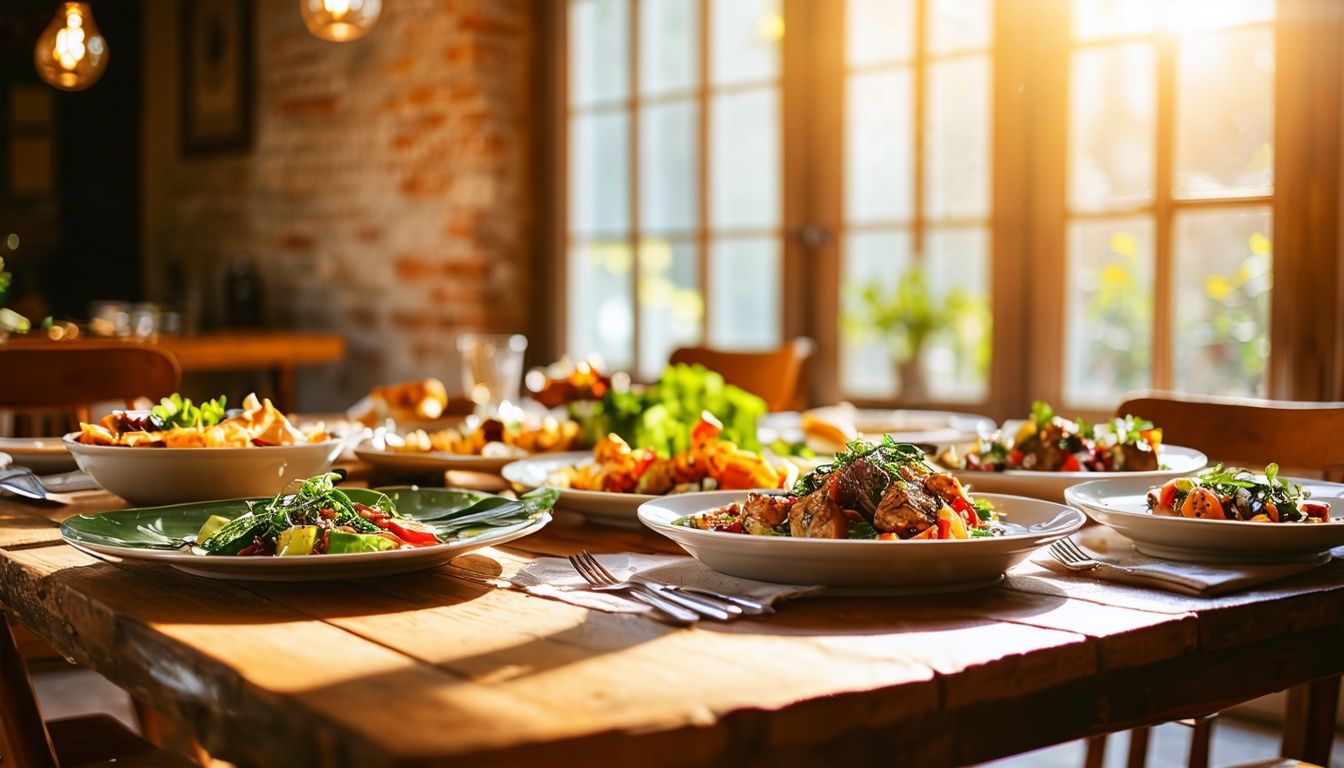
Welcome to our article on editing and post-processing tips for food photographs. In this section, we will explore some expert techniques that will help you enhance the visual appeal of your food photos. From adjusting exposure and white balance to cropping and sharpening, we will cover all the essential editing techniques to make your culinary shots stand out.
Key Takeaways:
- Adjust exposure, white balance, and HSL to enhance colors
- Crop and straighten your photos for a balanced composition
- Sharpen your images for added detail
- Remove dust or crumbs and reduce noise levels
- Experiment with creative effects like color grading
Basic Editing Techniques for Food Photography
In this section, we will explore some essential editing techniques for food photography. Whether you’re a professional food photographer or an amateur food enthusiast, these techniques will help you enhance the visual appeal of your food photos and make them truly mouthwatering.
Editing and post-production are key aspects of food photography. They allow you to fine-tune your images, adjust colors and exposure, and create a cohesive and captivating visual story. Let’s dive into the basic techniques that will elevate the quality of your food photos.
Crop and Straighten
One of the first steps in editing your food photos is to crop and straighten them. This process helps remove any distracting elements and focuses the viewer’s attention on the main subject – the delicious food. Use photo editing software, such as Adobe Lightroom or Capture One, to adjust the composition and ensure your photos are aligned and visually appealing.
Adjust Exposure and White Balance
The right exposure and white balance are crucial for accurate color representation in your food photos. Adjusting the exposure helps control the brightness and contrast levels, while white balance ensures that the colors in your image are true to life. Use the exposure and white balance tools in your editing software to achieve the perfect balance of light and color in your food photos.
Make HSL Adjustments to Enhance Colors
The colors of your food can really make it pop in photos. Use the Hue, Saturation, and Luminance (HSL) adjustments in your editing software to enhance the vibrance and richness of the colors in your food photos. Increase the saturation to make the colors more vibrant, or adjust the hue and luminance to achieve the desired effect. Experiment with these settings to find the perfect balance that brings out the natural beauty of your food.
Add Detail with Sharpening
Sharpening is a crucial step in enhancing the fine details and textures in your food photos. It helps make the food appear more appetizing and adds a professional touch to your images. Use the sharpening tools in your editing software to bring out the intricate details of your dish without over-sharpening and creating artifacts. Remember, subtle sharpening is key when it comes to food photography.
By mastering these basic editing techniques for food photography, you’ll be able to enhance the overall quality of your food photos and create images that are visually appealing and enticing. Now let’s move on to more advanced editing techniques to take your food photography to the next level!
| Food Photo Editing Software | Features |
|---|---|
| Adobe Lightroom | – Powerful editing tools – Intuitive interface – Advanced color grading – Local adjustment brushes – Seamless integration with Photoshop |
| Capture One | – Precise color editing – Robust noise reduction – Layer editing – Tethered shooting support – Enhanced details and sharpening |
| Luminar | – AI-powered editing tools – Advanced color grading – Sky replacement feature – Easy-to-use interface – Presets and filters |
Advanced Editing Techniques for Food Photography
In this section, we will delve into more advanced editing techniques for professional food photography editing. In addition to styling tips and food photography composition, the post-production process is key in creating visually stunning images that captivate the audience.
One important aspect of professional food photography editing is the removal of any imperfections in the image. This can include dust or crumbs that may have been unintentionally captured during the photoshoot. By carefully removing these distractions, you can ensure that the focus remains on the delicious food itself.
Next, adjusting noise levels is crucial in achieving clean and sharp food photos. High ISO settings or low light conditions can often result in a grainy appearance. By using noise reduction techniques, you can maintain the quality of your image and eliminate any distractions caused by noise.
Post-crop vignetting is another technique that can enhance the composition of your food photos. By adding a subtle darkening effect towards the edges of the image, you can draw the viewer’s attention towards the central subject, creating a more visually appealing composition.
Dehaze effects can also be beneficial in enhancing the overall atmosphere and mood of the image. If your food photo appears hazy or lacks clarity, applying a dehaze effect can help bring back the detail and intensify the colors, resulting in a more captivating image.
Additionally, enhancing depth of field is a technique that can greatly impact the aesthetic appeal of your food photographs. By selectively adjusting the focus and blur of certain areas within the image, you can create a sense of depth and dimension, making your food appear even more enticing.
Lastly, consider applying creative effects like color grading to add a unique touch to your food photos. This allows you to experiment with different color palettes and tones, further enhancing the visual impact of the image and creating a distinct style.
By mastering these advanced editing techniques, utilizing food styling tips, and incorporating proper lighting techniques, you can take your food photography to the next level. These techniques will help you create professional, visually stunning images that showcase the beauty and deliciousness of your culinary creations.
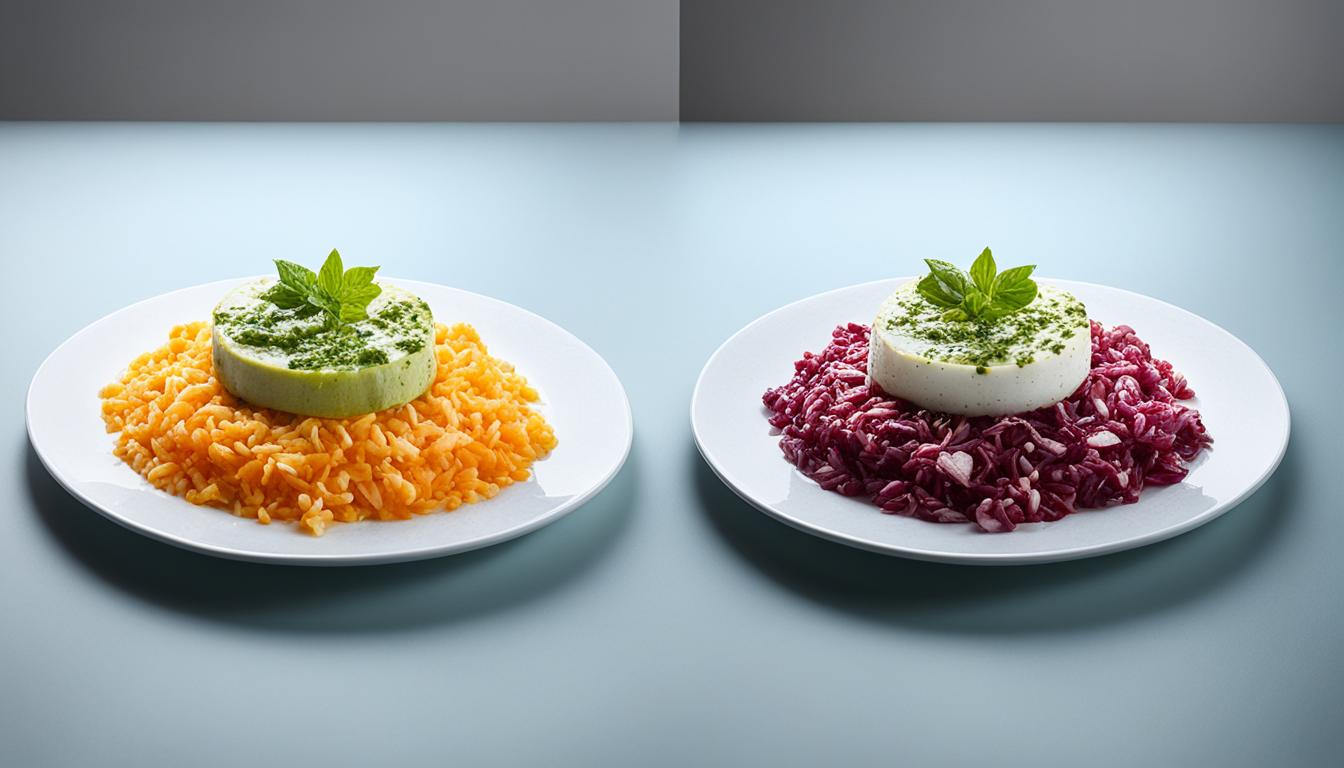
Example of Color Grading:
Take a look at the example below to see how color grading can significantly enhance the mood and visual impact of a food photograph:

| Before Color Grading | After Color Grading |
|---|---|
| The original image lacks vibrancy and appears flat. | The color grading brings out warmer tones, enhancing the overall mood and making the food more appetizing. |
Mistakes to Avoid in Food Photography Editing
When it comes to editing food photos, it’s important to avoid common mistakes that can have a negative impact on the final result. In this section, we will discuss some key errors to watch out for when editing your food photography. By being mindful of these mistakes, you can ensure that your images look professional, appealing, and true to life.
1. Shooting in RAW Format
One of the biggest mistakes in food photography editing is not shooting in RAW format. RAW files contain all the image data captured by your camera, offering greater flexibility and control during the editing process. JPEG files, on the other hand, are compressed and have limited editing capabilities. By shooting in RAW, you can adjust exposure, white balance, and other settings without compromising image quality.
2. Avoiding Over-Editing
Over-editing is a common pitfall in food photography. While it may be tempting to apply excessive filters, adjustments, and effects, it can result in images that look unnatural and unappetizing. The goal of editing should be to enhance the natural beauty of your food, not to completely transform it. Remember to use a light touch and preserve the authenticity of the dish.
3. Using Flash Improperly
Using flash in food photography can lead to harsh shadows, reflections, and an artificial appearance. It’s important to understand how to use flash effectively and avoid its negative effects. Whenever possible, utilize natural light or diffused artificial light sources to create a soft and flattering illumination on your subjects.
4. Neglecting Proper Cropping and Selective Editing
Cropping is a powerful tool for composition and can significantly enhance the visual impact of your food photos. Failing to crop appropriately or neglecting selective editing can result in distracting elements or an unbalanced composition. Pay attention to the placement of your subject, remove any unwanted elements, and ensure that the focus remains on the delicious food.
By keeping these common editing mistakes in mind and being mindful of your editing choices, you can create mouthwatering food photos that truly shine. Remember, less is often more when it comes to editing, and the goal should always be to maintain the authenticity and appeal of the dishes you capture.

Continue reading the article to discover advanced editing techniques and conclude by learning how to take your food photography to the next level.
Conclusion
In conclusion, the art of editing and post-processing is paramount in enhancing the visual appeal of food photographs. By implementing the editing tips and techniques discussed in this article, you can elevate your food imagery and create photos that are not only visually appealing but also appetizing.
When editing your food photos, it is essential to focus on natural-looking edits that preserve the authenticity of the dish. Avoid common editing mistakes, such as over-editing, and strive for a balanced and pleasing aesthetic that enhances the original colors and textures of the food.
Don’t be afraid to experiment with advanced editing techniques to add unique and captivating elements to your images. Whether it’s removing dust or crumbs, manipulating depth of field, or applying creative effects like color grading, these professional food photography editing techniques will help your culinary shots stand out.
Remember, editing is not meant to completely transform your food photos; it is meant to enhance them. By following these editing tips and techniques, you can take your food photography to the next level and create images that make your audience’s mouths water.
FAQ
What are some basic editing techniques for food photography?
Some basic editing techniques for food photography include cropping and straightening the photos, adjusting exposure and white balance, and making HSL (Hue, Saturation, and Luminance) adjustments to enhance colors.
Are there any advanced editing techniques that can take my food photos to the next level?
Yes, there are advanced editing techniques that can elevate your food photos. These include removing dust or crumbs, adjusting noise levels, adding post-crop vignetting and dehaze effects, enhancing depth of field, and applying creative effects like color grading.
What are some common mistakes to avoid when editing food photos?
Some common mistakes to avoid when editing food photos are shooting in RAW format, over-editing, using flash in food photography, improper cropping, and excessive selective editing, which can result in an unnatural look.
How Can Editing and Post-Processing Enhance Food Photos After Mastering Composition and Styling?
Editing and post-processing are essential for enhancing food photos after achieving perfect food composition and styling. These final touches can improve lighting, color balance, and overall visual appeal. Utilizing tools such as Lightroom and Photoshop can elevate the quality of the images and make them more professional-looking.