Photo editing can seem overwhelming, but it doesn’t have to be. In this article, we will share a series of basic photo editing techniques that are perfect for beginners. These techniques will help you enhance your images and transform them with simple and effective tips. Whether you’re using Adobe Camera Raw, Lightroom, or any other editing software, these principles will remain useful. We will cover topics such as shooting in RAW, adjusting exposure, white balance, contrast, saturation, and sharpening. By following these techniques, you’ll be able to take your photos from ordinary to extraordinary.
Key Takeaways:
- Beginner photo editing tips to enhance your images
- Easy photo editing tutorials for beginners
- Simple photo editing tricks to transform your photos
- Photo editing techniques specifically designed for newbies
- How to edit photos as a beginner and achieve professional results
Shooting in RAW for Maximum Editing Flexibility
When it comes to photo editing, shooting in RAW format provides unparalleled flexibility compared to JPEG. RAW files preserve all the image data captured by your camera, allowing you to make extensive adjustments during post-processing. With RAW, you have complete control over crucial elements such as exposure, white balance, color, and more.
In contrast, JPEG files have limited editing capabilities and can result in unwanted artifacts when heavily edited. This is because JPEG files are compressed and discard some image information during the saving process. As a result, when you make significant adjustments to a JPEG image, the quality can quickly deteriorate.
Fortunately, most cameras, including smartphones, now offer the option to shoot in RAW format. This is especially advantageous for photographers who want to push their creative boundaries and extract the utmost detail from their images. Shooting in RAW ensures that no important data is lost, allowing for more precise editing and fine-tuning.
While RAW files are not easily shareable due to their larger sizes, they can be easily converted to JPEG using editing software such as Adobe Camera Raw and Lightroom. This allows you to retain the flexibility of RAW during the editing process while still being able to conveniently share your final JPEG images.
To summarize, shooting in RAW format is essential for maximum editing flexibility. It empowers you to bring out the best in your photos by utilizing the full range of editing tools and making precise adjustments. Whether you’re a beginner or a professional, shooting in RAW ensures that you have control over every aspect of your image, leading to stunning results.
RAW vs JPEG Comparison
| RAW | JPEG | |
|---|---|---|
| Editing Flexibility | High | Low |
| Image Information | All data captured by the camera | Compressed and lossy |
| Editing Artifact Risk | Minimal | High, especially with heavy edits |
| File Size | Large | Small |
| Shareability | Not easily shareable | Easily shareable |
Adjusting Exposure for Proper Brightness
The first step in editing any photo is to adjust the exposure. The exposure determines the overall brightness of the image and plays a crucial role in how the final photo looks. By adjusting the exposure, you can bring out the details in both the dark and bright areas of the image. Let’s dive into some key techniques that will help you achieve the desired brightness and retain details in the shadows and highlights.
To adjust the exposure, most photo editing software provides an exposure slider. This slider allows you to increase or decrease the overall brightness of the image. By moving the slider to the right, you can make the image brighter, while moving it to the left will darken the image. Find the right balance that suits your photo.
When adjusting the exposure, keep an eye on the histogram. The histogram is a graphical representation of the tonal distribution in your image. It shows the brightness levels from shadows to highlights. By analyzing the histogram, you can ensure that there are no clipped details, where the image loses information in areas that are too dark or too bright.
By using the exposure slider, you can achieve a well-exposed image with optimal brightness and a balanced distribution of tones. Let’s see an example:

“Adjusting the exposure is like adding the right amount of light to bring out the details and make your photo shine.” – Photography Pro
By adjusting the exposure, you can transform a dull or underexposed image into a visually captivating one. Take the time to experiment with the exposure slider and observe the changes in your images. Remember, the key is to achieve the optimal brightness while retaining details in the shadows and highlights.
Correcting White Balance for Accurate Colors
White balance plays a crucial role in achieving accurate colors in your photos. While cameras apply a default white balance, it often needs adjustment to match the true colors of the scene. With the white balance section in your editing software, you can fine-tune the color temperature and tint of the image.
To begin, select the eyedropper tool and click on an area of the image that should appear as a true white color. This automatic adjustment will correct any color casts and bring the image closer to its natural tones.
However, you may still need to further refine the white balance using the temperature and tint sliders. The temperature slider allows you to adjust the image’s warmth or coolness, while the tint slider helps you eliminate any unwanted color biases.
Experimenting with these adjustments will ensure that your photos showcase accurate and vibrant colors. By fine-tuning the white balance, you can breathe life into your images and create a more immersive visual experience.
| Presets | Description |
|---|---|
| Auto | Camera determines white balance based on the scene |
| Daylight/Sunny | For outdoor shots in natural daylight |
| Cloudy | For cloudy or overcast conditions |
| Shade | For shooting in shaded areas |
| Tungsten/Incandescent | For indoor settings with warm light |
| Fluorescent | For indoor settings with cool, fluorescent lighting |
| Flash | For using the camera’s built-in flash |
| Custom | Manually set white balance based on specific lighting conditions |
Note: The available white balance presets may vary depending on your camera or editing software.
Remember, finding the right white balance is essential for ensuring accurate colors in your photos. Take the time to adjust and fine-tune it, and your images will truly come to life with vibrant and realistic hues.
Enhancing Contrast for Impactful Images
When it comes to creating impactful images, contrast plays a crucial role. Contrast refers to the difference between dark and light areas in an image, and adjusting it can significantly enhance the visual impact of your photos.
To achieve the desired contrast in your photos, you can utilize the contrast slider in your editing software. Increasing the contrast can make your images more vibrant and dynamic, while decreasing it can create a softer, more ethereal look.
However, it’s essential to exercise caution when adjusting contrast. Applying excessively high contrast can result in a harsh and garish effect, while too little contrast can make your images appear flat and lacking in depth.
Fine-Tuning Contrast with Additional Sliders
In addition to the contrast slider, many editing software provide additional sliders that allow you to fine-tune the contrast further. These sliders typically include options for adjusting highlights, shadows, whites, and blacks.
By utilizing these additional sliders, you can have precise control over different tonal ranges in your image. This level of control enables you to bring out specific details and add depth to your photos.
For example, increasing the contrast of the highlights can make them pop, while reducing the contrast of the shadows can bring out hidden details. Experimenting with these sliders can help you achieve the perfect balance of contrast in your images.
| Adjustment | Effect |
|---|---|
| Increasing contrast | Makes the image more vibrant and dynamic |
| Decreasing contrast | Creates a softer, more ethereal look |
| Adjusting highlights | Brings out detail in brighter areas |
| Adjusting shadows | Reveals hidden details in darker areas |
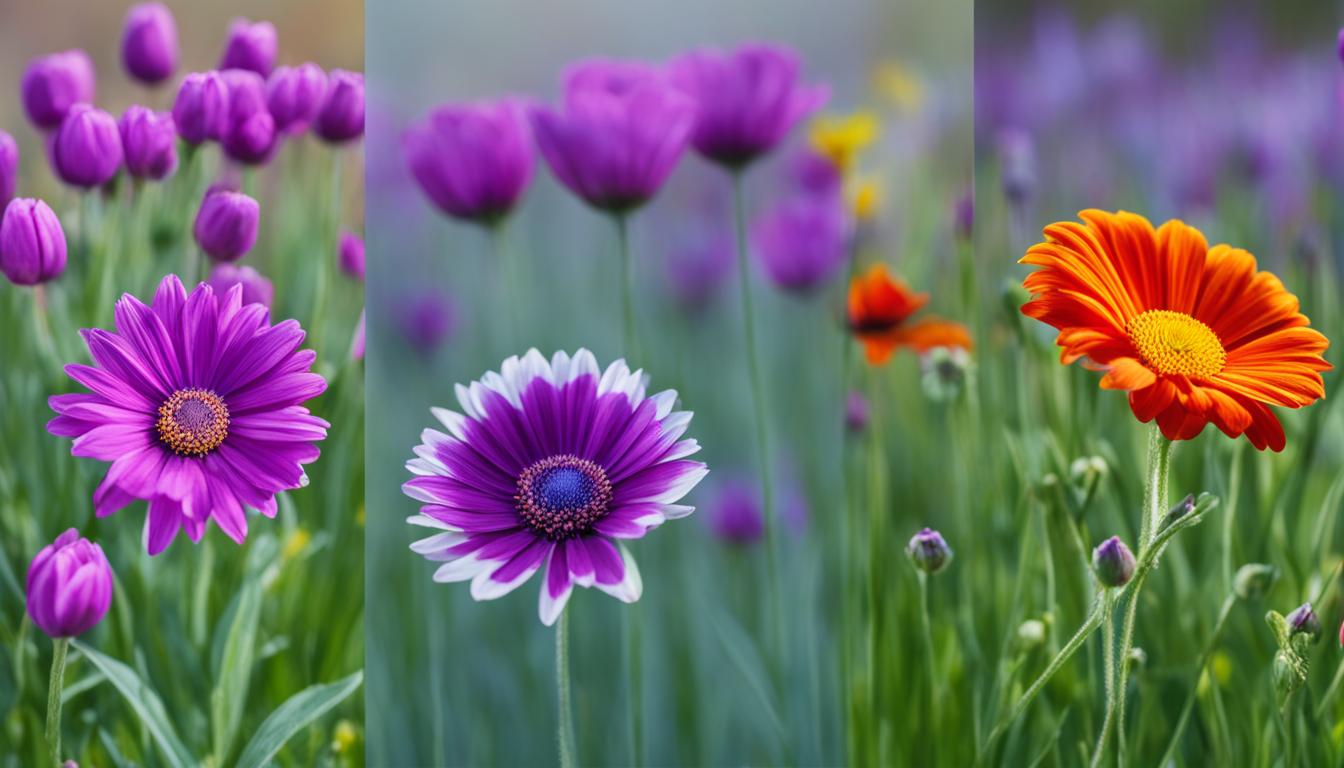
Enhancing Saturation for Vibrant Colors
Saturation is the key to creating vibrant and eye-catching colors in your photos. By adjusting the saturation, you can breathe life into your images and make them truly stand out. Whether you want to enhance the colors of a nature landscape, a portrait, or a still life, understanding how to work with saturation is essential.
When it comes to adjusting saturation, the saturation slider in your editing software is your best friend. This powerful tool allows you to increase or decrease the saturation levels of your image, giving you full control over the color intensity.
But remember, moderation is key. While it may be tempting to crank up the saturation to make your photos more striking, going overboard can result in unnatural and garish colors. Strive for a balance that highlights the richness of the colors without overpowering the image.
Another way to enhance and fine-tune colors in a more subtle manner is by using the vibrance adjustment. The vibrance slider in your editing software boosts the intensity of muted colors while leaving already vibrant colors untouched. This allows you to create a more nuanced and natural-looking saturation effect without compromising the overall balance of the image.
To truly harness the power of saturation and vibrance, don’t be afraid to experiment and find the perfect balance. In some cases, a slight decrease in saturation can create a moody and cinematic atmosphere, while in others, a boost in vibrance can bring out the hidden details and nuances in your subjects.

| Advantages of Saturation Adjustment | Advantages of Vibrance Adjustment |
|---|---|
|
|
Sharpening and Reducing Noise for Crisp Images
Sharpening is an essential step in enhancing the sharpness and detail of your images. By using sharpening tools in your editing software, you can bring out small details and enhance line definition, making your photos appear crisp and vibrant.
It’s important to strike a balance when sharpening your images – avoid over-sharpening, as it can create a grainy and unnatural effect. Instead, focus on enhancing the overall sharpness while maintaining a natural look.
To further enhance the quality of your images, it’s crucial to reduce noise. Noise refers to random variations in brightness and color that can create a grainy or speckled appearance in your photos. The noise reduction tools in your editing software allow you to minimize unwanted noise while preserving image sharpness.
Adjust the luminance and color sliders to delicately reduce noise without sacrificing the overall sharpness of your images. By reducing noise, you can achieve clean and clear photos that appear professional and visually appealing.
Mastering Sharpening Tools
When sharpening your images, various sharpening tools are available in editing software. These tools allow you to control the level of sharpening applied to achieve the desired effect.
Remember, adjusting sharpening settings is subjective and depends on personal preference and the specific image. Experiment with different settings to find what works best for you and your photos.
Reducing Noise with Precision
Noise reduction is a crucial technique for achieving clean and polished images. By applying noise reduction tools, you can minimize unwanted speckles and graininess while preserving the overall image sharpness.
Take care not to overdo noise reduction, as it can result in a loss of detail and create a soft and unnatural appearance. Find the right balance between noise reduction and maintaining sharpness to achieve optimal image quality.
By combining sharpening and noise reduction techniques, you can elevate the quality of your images, ensuring they are sharp, detailed, and visually stunning.
Developing Your Unique Style through Photo Editing
Photo editing provides an exciting opportunity to develop your unique style and showcase your artistic vision. By experimenting with different editing techniques, you can transform your photos into stunning and captivating creations. Here are some tips to help you define and refine your photo editing style:
- Finding Inspiration: Look for inspiration from photographers whose work resonates with you. Study their use of lighting, composition, and colors. Analyze their editing choices to understand how they achieve their desired aesthetic. Use their work as a guide to inspire and influence your own style.
- Experimenting with Presets: Presets are pre-packaged editing settings that can instantly transform your photos. They offer a quick and easy way to experiment with different styles and looks. Explore various presets and see how they alter the mood and atmosphere of your images. Make adjustments to suit your preferences and create your own unique presets.
- Studying before-and-after photos: One of the best ways to understand the power of photo editing is to study before-and-after photos. Pay attention to the specific edits made and how they impact the overall image. Learn from these examples by applying similar techniques to your own photos.
- Defining Your Own Style: As you gain experience and experiment with different editing techniques, you’ll start to develop a distinctive editing style that reflects your personal vision. Don’t be afraid to break the rules and think outside the box. Embrace your unique perspective and let it shine through in your edits.
Remember, developing your editing style takes time and practice. It’s an ongoing process that evolves as you grow as a photographer. Continuously explore new editing techniques, stay inspired, and always strive to define your own signature style.
Choosing the Right Editing Software
Choosing the right editing software is crucial for a smooth editing workflow. Whether you’re a beginner or a professional, selecting the software that best suits your needs will greatly impact the quality and efficiency of your editing process.
Consider Compatibility and User Interface
When choosing editing software, consider its compatibility with RAW files, as this will allow you to have maximum flexibility in post-processing. Look for software that supports popular camera formats and offers a seamless RAW editing experience.
Additionally, pay attention to the user interface of the software. A user-friendly interface can significantly enhance your editing experience, making it easier to navigate through the various tools and features.
Explore Your Options: Paid vs. Free Software
When it comes to editing software, you have the option to choose between paid and free software. Paid software like Adobe Camera Raw, Lightroom, Capture One, Affinity Photo, and Luminar offer extensive editing capabilities and frequent updates, ensuring that you have access to the latest features and improvements.
On the other hand, there are free software options like GIMP, RawTherapee, Canva, Fotor, and Darktable that provide basic editing tools without any cost. These free options can be great for beginners or those on a budget who still want to achieve professional-looking edits.
Find the Right Fit for Your Needs
Ultimately, the best editing software is one that aligns with your specific needs and editing goals. Consider your skill level, the complexity of your editing projects, and your budget when making your decision.
Take advantage of free trials or demos offered by paid software to get a firsthand experience and determine if it meets your requirements. Similarly, explore the features and capabilities of free software to see if they are sufficient for your editing needs.
Maximize Your Editing Potential
No matter which software you choose, remember that it’s not the software alone that makes a great photo. Your creativity, technical skills, and artistic vision play a significant role in the editing process. Use the software as a tool to enhance your images and bring your visual ideas to life.
Now that we’ve covered the importance of choosing the right editing software, let’s move on to the final section of our article: Conclusion.
Conclusion
Congratulations on mastering the basic photo editing techniques for beginners! By implementing these techniques including shooting in RAW, adjusting exposure, white balance, contrast, saturation, and sharpness, you can elevate your images from ordinary to extraordinary. Remember that photo editing is not just about improving technical aspects but also about developing your unique style and artistic vision.
As you continue on your photography journey, don’t be afraid to experiment and find inspiration from other photographers. Analyze their work, understand their lighting and composition techniques, and incorporate elements that resonate with you into your own editing process. By doing so, you can develop your own signature style that sets your images apart.
Choosing the right editing software is equally important in enhancing your images. Consider factors such as compatibility with RAW files and your specific editing needs. Whether you opt for paid software like Adobe Camera Raw and Lightroom or free options like GIMP and Canva, find a software that suits your requirements and allows you to maximize your editing capabilities.
With practice and dedication, you will become more proficient in photo editing and be able to create stunning images that showcase your artistic vision. Remember to stay consistent in your editing workflow and continue seeking knowledge through tutorials, workshops, and staying up to date with the latest editing techniques. So go ahead, enhance your images, and let your creativity shine!
FAQ
What is the benefit of shooting in RAW format?
Shooting in RAW format allows for more flexibility in post-processing compared to JPEG. RAW files contain all the image data captured by your camera, allowing you to make extensive adjustments to exposure, white balance, color, and more.
How can I adjust the exposure of my photos?
Use the exposure slider in your editing software to find the right balance between dark and bright areas in the image. The histogram can help you determine if there are any clipped details. By moving the exposure slider, you can achieve the desired brightness and retain details in the shadows and highlights.
How do I correct the white balance in my photos?
Use the white balance section in your editing software to adjust the color temperature and tint of the image. Select the eyedropper tool and click on an area of the image that should be a true white color. This will automatically adjust the white balance, but you can further fine-tune it using the temperature and tint sliders.
How can I enhance the contrast in my images?
Use the contrast slider in your editing software to increase or decrease the contrast. Be careful not to overdo it, as excessively high contrast can result in a garish effect. You can also fine-tune the contrast using additional sliders for highlights, shadows, whites, and blacks.
What is the purpose of adjusting the saturation?
Adjusting the saturation can add vibrancy and pop to your photos. Use the saturation slider in your editing software to increase or decrease the saturation. Be mindful not to go overboard, as excessive saturation can result in unnatural and unpleasant colors. You can also experiment with adjusting vibrance for a more subtle enhancement.
How can I make my images sharp and detailed?
Use the sharpening tools in your editing software to enhance line definition and bring out small details. Be cautious not to over-sharpen, as it can create a grainy and unnatural effect. Additionally, reduce noise in your images using the noise reduction tools. Adjust the luminance and color sliders to minimize unwanted speckles without sacrificing sharpness.
How can I develop my own editing style?
Look for inspiration from photographers whose work resonates with you. Analyze their use of lighting, colors, and composition, and try to incorporate elements into your own editing. Experiment with presets, watch tutorials, and study before-and-after photos. Ultimately, your editing style should reflect your personal vision and artistic expression.
How do I choose the right editing software?
Consider factors such as compatibility with RAW files, user interface, and pricing options. Paid software like Adobe Camera Raw, Lightroom, Capture One, Affinity Photo, and Luminar offer extensive editing capabilities and regular updates. Free software like GIMP, RawTherapee, Canva, Fotor, and Darktable provide basic editing tools without the cost. Choose a software that suits your needs and allows you to edit RAW files for maximum flexibility.
What are some basic photo editing techniques for beginners?
By shooting in RAW, adjusting exposure, white balance, contrast, saturation, and sharpness, you can enhance your images and take them from ordinary to extraordinary. Developing your own editing style, finding inspiration, and choosing the right editing software are also important aspects of photo editing for beginners.
Can Beginner Photo Editing Techniques Be Applied to Street Photography?
Beginner photo editing techniques can definitely be applied to street photography. With editing street photos postprocessing, beginners can enhance colors, adjust lighting, and crop images to create stunning results. Simple techniques like adjusting contrast and sharpening can significantly improve the overall quality of street photographs.