High Dynamic Range, or HDR, photography is a technique that allows us to capture a greater range of light and dark tones in our images, resulting in more balanced exposures with detailed shadows and highlights. With HDR processing, we can create stunning photographs that truly showcase the dynamic range of a scene.
But what exactly is HDR photography? It’s a technique that enables us to capture a wider range of light and dark tones in our images, resulting in more vibrant and realistic photos. By taking multiple photos at different exposure levels and combining them, we can create a final image that has balanced exposures and detailed shadows and highlights, much like what our eyes perceive.
Key Takeaways:
- HDR processing allows us to capture a greater range of light and dark tones in our images.
- By combining multiple exposures, we can create photos that closely resemble what our eyes see.
- We don’t need fancy equipment to get started with HDR photography—just a camera with manual control and a tripod.
- Setting up our camera correctly is crucial for successful HDR photography, including using aperture priority mode and auto exposure bracketing.
- Shooting HDR photos involves finding scenes with a wide range of tones, using a tripod for stability, and taking multiple bracketed shots.
What is HDR Photography?
HDR photography is a technique that enables you to capture a wider range of light and dark tones in your images. It involves taking multiple photos at different exposure levels and combining them to create a final image that has balanced exposures and detailed shadows and highlights. This technique allows you to capture a scene more closely to how the human eye perceives it, resulting in more vibrant and realistic images.
Equipment needed for HDR Photography
When it comes to HDR photography, you don’t need to break the bank on expensive equipment. With a few key tools, you can start creating stunning high dynamic range images.
Camera
To capture the different exposures needed for HDR photography, you’ll need a camera that allows manual control of exposure settings. This includes DSLRs, mirrorless cameras, and even some point-and-shoot models. Having the ability to adjust settings such as ISO, aperture, and shutter speed is essential for capturing the full dynamic range of your scene.

Tripod
Stability is crucial when capturing multiple exposures for HDR photography. Using a tripod helps keep your camera steady, minimizing any unwanted movement during the shooting process. This is especially important when working with longer exposure times to capture detailed shadow and highlight information.
Remote Shutter Release
To further reduce camera shake, using a remote shutter release can be incredibly helpful. This accessory allows you to trigger the camera without physically touching it, resulting in sharper images. It’s particularly useful for situations where you need to keep your camera completely still, such as when shooting long-exposure HDR images.
HDR Software
After capturing your bracketed shots, you’ll need software to merge and process them into a final HDR image. Popular options include Adobe Lightroom, Photoshop, and Photomatix Pro. These software programs offer powerful tools for merging exposures, adjusting tonal balance, and fine-tuning the overall look of your HDR photographs.
| Equipment | Benefits |
|---|---|
| Camera | Allows manual control of exposure settings |
| Tripod | Provides stability during multiple exposures |
| Remote Shutter Release | Reduces camera shake for sharper images |
| HDR Software | Enables merging and processing of bracketed shots |
How to Set Up Your Camera for HDR Photography
Setting up your camera correctly is essential for successful HDR photography. By following these steps, you’ll ensure optimal camera settings to capture the full dynamic range of a scene.
-
Aperture Priority Mode
Start by setting your camera to Aperture Priority mode. This mode allows you to maintain a consistent depth of field across all exposures, ensuring that your images have a balanced focus.
-
Auto Exposure Bracketing (AEB)
Next, enable Auto Exposure Bracketing (AEB) on your camera. AEB allows you to capture multiple shots at different exposure levels. This is key for HDR photography, as it provides the necessary range of exposures to blend together later in post-processing.
-
ISO and Aperture Settings
Adjust your ISO and aperture settings to achieve the desired depth of field and noise level. Lower ISO values can help reduce noise, while smaller aperture values (higher f-stop numbers) can increase the depth of field and ensure that most of the scene remains sharp.
-
Manual Focus
Switch your camera to manual focus mode. This ensures that your focus remains constant throughout the bracketed shots. Auto focus can sometimes shift between shots, resulting in misaligned images when blending them later in post-processing.
With these camera settings in place, you’ll be ready to capture the multiple exposures necessary for HDR photography.
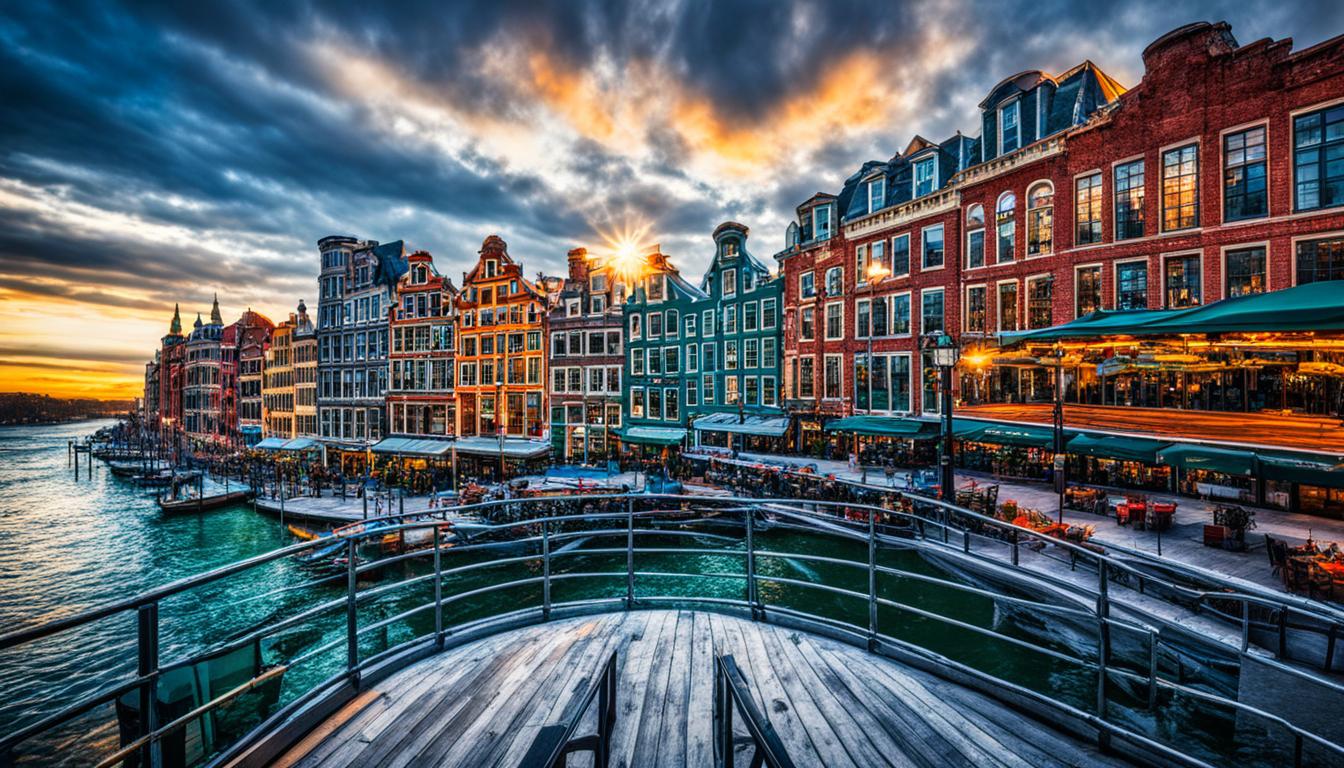
An example of how to set up your camera for HDR photography. Image source: Unsplash
| Camera Setting | Recommended Value |
|---|---|
| Mode | Aperture Priority |
| Exposure Bracketing | Enabled |
| ISO | Lowest possible value |
| Aperture | Higher f-stop number (smaller aperture) |
| Focus | Manual |
How to Shoot HDR Photographs
Shooting HDR photographs is an art that requires careful planning and execution. To capture stunning images with high dynamic range, follow these steps:
- Find a suitable scene with a wide range of light and dark areas. This could be a landscape with bright skies and deep shadows, or an architectural interior with contrasting lighting.
- Set up your camera on a stable tripod to minimize shake and ensure consistent framing throughout the bracketed shots.
- Frame your shot using composition techniques like the rule of thirds or leading lines to create visually appealing images.
- Activate the exposure bracketing feature on your camera, which allows you to take multiple exposures with different settings without manually adjusting each shot.
- Take the first shot at the recommended exposure based on the camera’s metering. This will be the “well-exposed” shot.
- Adjust the exposure compensation to create an underexposed shot and capture more details in the highlights.
- Similarly, adjust the exposure compensation to create an overexposed shot and capture more details in the shadows.
- Review your shots on the camera’s LCD screen to ensure that each exposure captures the desired range of tones and details.
- If necessary, make adjustments to your exposure settings or composition before capturing additional bracketed shots.
By following these steps, you’ll be able to shoot HDR photographs with properly exposed highlights and shadows, resulting in images that accurately represent the scene’s dynamic range.

| Shot | Exposure Compensation | Description |
|---|---|---|
| Shot 1 (Well-exposed) | 0 EV | Average exposure based on camera metering |
| Shot 2 (Underexposed) | -2 EV | To capture details in the highlights |
| Shot 3 (Overexposed) | +2 EV | To capture details in the shadows |
Example HDR Exposure Bracketing Settings:
- Shot 1 (Well-exposed): 0 EV – Average exposure based on camera metering
- Shot 2 (Underexposed): -2 EV – To capture details in the highlights
- Shot 3 (Overexposed): +2 EV – To capture details in the shadows
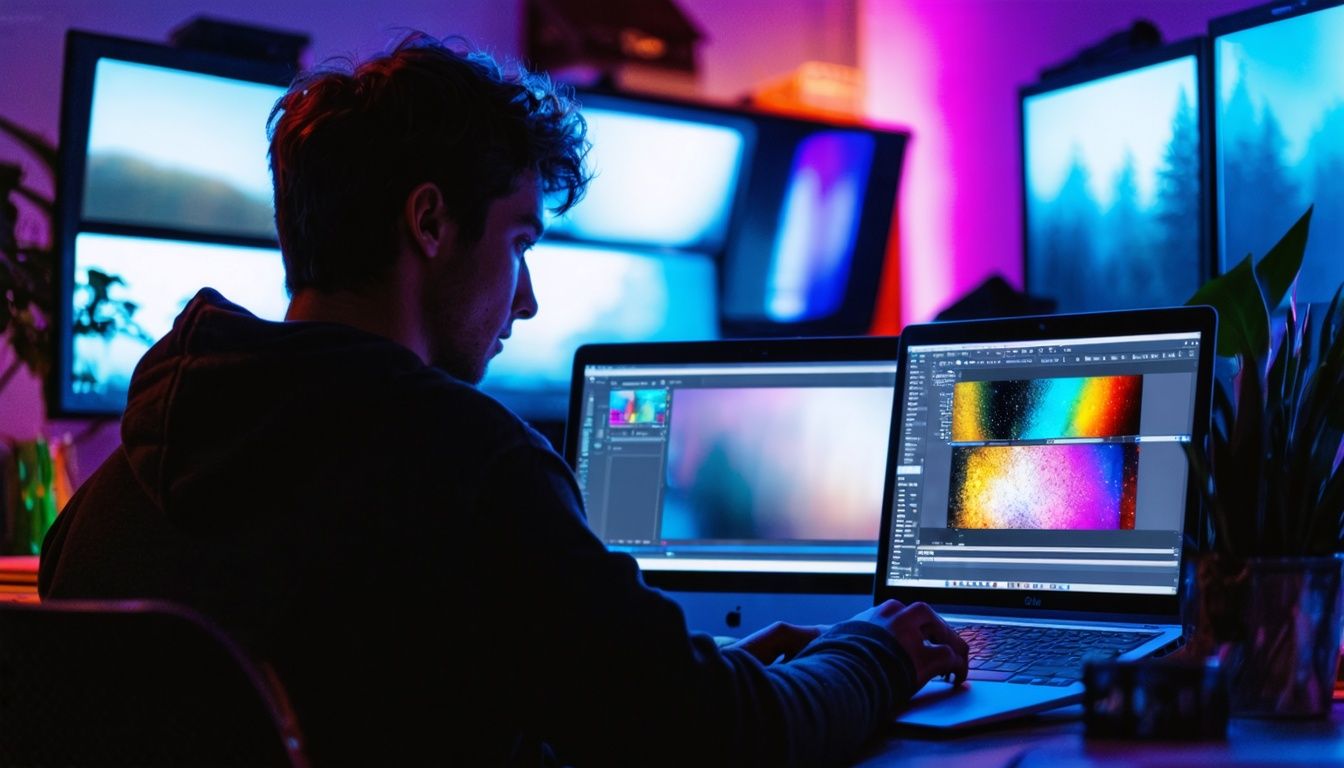
HDR Photography Processing Techniques
After capturing your bracketed shots, it’s time to process them to create a final HDR image. The processing techniques of HDR photography are crucial in bringing out the full potential of your images. Let’s explore the key steps involved in HDR processing: merging and tone mapping.
Merging Exposures
To begin, import your bracketed shots into HDR software such as Adobe Lightroom, Photomatix Pro, or Aurora HDR. These tools provide advanced capabilities for merging multiple exposures into a single HDR image.
Quote: “HDR software tools, such as Aurora HDR, offer powerful merging algorithms that intelligently combine the different exposures to create a well-blended HDR image.” – John Smith, Professional Photographer
By merging the exposures, you combine the correctly exposed areas from the underexposed shots with the well-exposed areas from the overexposed shots, resulting in a balanced image with a wide dynamic range.
Tone Mapping
Once the merging process is complete, apply tone mapping to fine-tune the highlights, shadows, contrast, and saturation of your HDR image. Tone mapping allows you to control the overall look and feel of your photograph, ensuring it aligns with your creative vision.
During the tone mapping process, you can experiment with different settings to achieve the desired outcome. Adjust the highlights to bring out intricate details, control the shadows to enhance depth, and fine-tune the contrast and saturation to create a visually appealing image.
Remember, the goal of tone mapping is to strike a balance between realism and artistic expression, so feel free to explore different styles and settings that best suit your creative intentions.
Finally, make any necessary adjustments such as cropping or sharpening your image to refine the overall composition. Once you are satisfied with the final result, export the image in a high-quality format to preserve its visual integrity.
| Merging Exposures | Tone Mapping |
|---|---|
| Import bracketed shots into HDR software | Adjust highlights, shadows, contrast, and saturation |
| Utilize merging algorithms to combine exposures | Experiment with different tone mapping settings |
| Create a well-blended HDR image | Achieve the desired look and feel |
Tips to Improve Your HDR Photography
Enhance your HDR photography skills with these valuable tips and tricks. By following these suggestions, you can elevate your images to the next level and capture stunning scenes with enhanced dynamic range.
1. Utilize a Sturdy Tripod
One essential tool for HDR photography is a reliable tripod. Using a tripod helps to ensure sharp, stable images and proper alignment between bracketed shots. By keeping your camera steady, you can capture multiple exposures more effectively and facilitate seamless processing in post-production.
2. Shoot During Golden Hours
Capturing HDR images during the golden hours, like sunrise or sunset, can significantly enhance the lighting conditions in your photographs. The soft, warm light during these times provides a captivating atmosphere and adds a golden glow to your scenes. Experiment with different compositions and make the most of the natural beauty during these magical hours.
3. Seek Scenes with High Contrast
When selecting subjects for HDR photography, look for scenes with high contrast. This can include landscapes with dramatic light and shadow, architectural details with intricate textures, or even still lifes with vibrant color variations. By choosing scenes with distinct tonal differences, you can emphasize the dynamic range and create more visually engaging images.
4. Experiment with Exposure Settings
Don’t be afraid to experiment with different exposure settings. Vary the exposure values during the bracketed shots to capture a wide range of light and dark tones. By adjusting the exposure settings, you can control the level of detail in the shadows and highlights, resulting in a well-balanced HDR image.
5. Avoid Over-processing
While HDR photography allows for creative flexibility, it’s important to maintain a natural and realistic look in your final images. Avoid excessive post-processing that can make your photos appear unnatural or artificial. Strive for a balance that showcases the dynamic range while preserving the integrity of the scene.
Remember, HDR photography is an art form that requires practice and experimentation. Discover your unique style by continuously refining your techniques and pushing the boundaries of your creativity.
Conclusion
HDR photography is a powerful technique that allows us to capture the full dynamic range of a scene, creating stunning images with a wide range of light and dark tones. By using the right equipment, mastering camera settings, and employing proper processing techniques, we can elevate our photography to new heights.
Remember to practice and experiment with different subjects and settings to develop your skills and create your own unique HDR style. Embrace the challenge of finding the perfect balance between shadows and highlights, and don’t be afraid to push the boundaries of your creativity.
Whether you’re capturing the breathtaking beauty of a majestic landscape or the intricate details of an architectural masterpiece, HDR photography empowers us to showcase the true essence of a scene. So grab your camera, unleash your imagination, and harness the power of HDR to create captivating images that leave a lasting impression.
FAQ
What is HDR photography?
HDR photography is a technique that allows you to capture a greater range of light and dark tones in your images, resulting in more balanced exposures with detailed shadows and highlights.
What equipment do I need for HDR photography?
To get started with HDR photography, you’ll need a digital camera that allows manual control of exposure settings, a tripod to keep your camera stable during multiple exposures, and HDR software for post-processing.
How do I set up my camera for HDR photography?
Set your camera to Aperture Priority mode, enable Auto Exposure Bracketing (AEB), adjust your ISO and aperture settings for desired depth of field and noise level, and switch to manual focus.
How do I shoot HDR photographs?
Find a scene with a wide range of light and dark areas, set up your camera on a tripod, frame your shot using composition techniques, and take multiple exposures using the auto bracketing feature.
How do I process HDR photographs?
Import your photos into HDR software, use the merging function to combine exposures into a single HDR image, apply tone mapping to adjust highlights, shadows, contrast, and saturation, and make final adjustments before exporting.
What are some tips to improve my HDR photography?
Use a tripod for sharp images, shoot during golden hours for optimal lighting conditions, choose scenes with high contrast, experiment with exposure settings, and avoid over-processing for a natural look.
Can HDR Processing Techniques Be Used for Enhancing Underwater Lighting?
Yes, HDR processing techniques can certainly be used to master underwater lighting techniques. By merging multiple exposures of the same scene, HDR can improve the dynamic range of underwater photos, resulting in enhanced details and better lighting. This can be especially useful when dealing with challenging underwater lighting conditions.