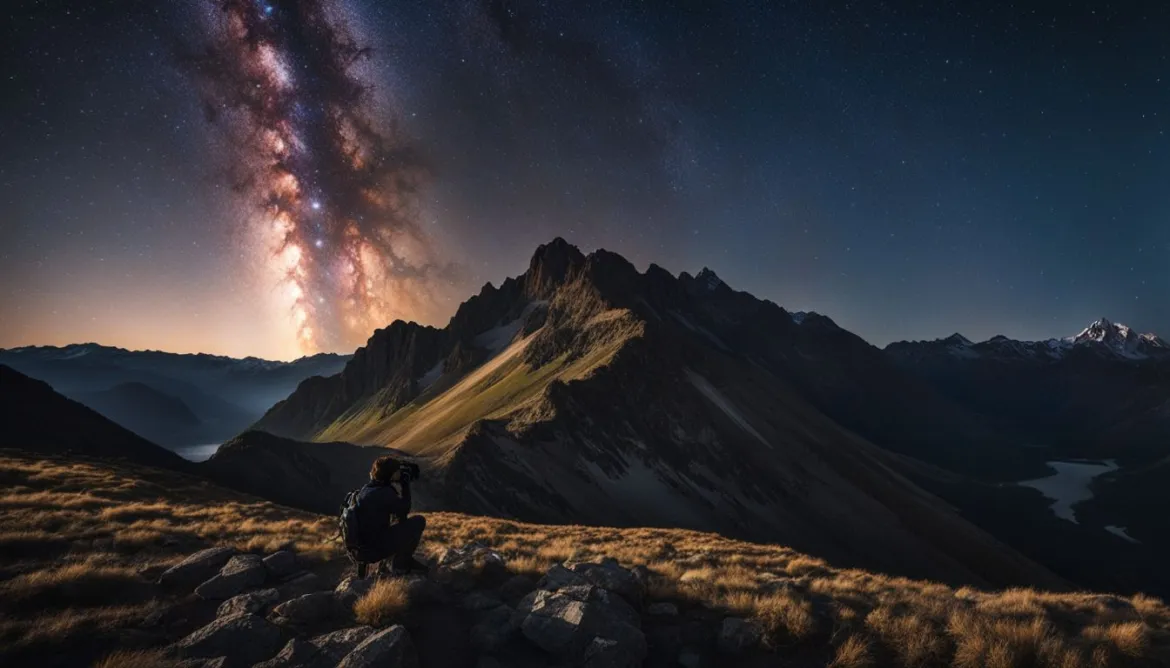
Welcome to our astro photography guide, where we will explore the incredible world of capturing the night sky. Whether you are a beginner or have some experience in photography, astrophotography offers a unique and awe-inspiring way to capture the beauty of the cosmos. From twinkling stars to distant galaxies, the night sky holds countless wonders waiting to be discovered through your camera lens.
Astrophotography is the art of photographing celestial objects such as stars, star clusters, nebulae, and galaxies. It allows us to capture the majesty of the night sky and reveal its hidden treasures. With the advancements in camera technology, it is now easier than ever to embark on this mesmerizing journey. You can use a DSLR or mirrorless camera on a tripod-mounted tracker, or even capture stunning images with just your smartphone.
In this beginner’s astrophotography guide, we will guide you through the process of getting started, the necessary equipment, and the different types of targets you can aim for. Whether you are interested in capturing breathtaking nightscapes, exploring the beauty of the Solar System, or delving into the depths of deep-sky objects, we have got you covered.
Key Takeaways:
- Astrophotography allows you to capture the beauty of the night sky and celestial objects.
- You can get started in astrophotography with a DSLR or mirrorless camera and a tripod.
- Choosing the right camera settings and techniques is crucial for capturing stunning astrophotos.
- Researching the best targets and locations will help you achieve the best results.
- Keep practicing and experimenting to improve your astrophotography skills.
Getting Started in Astrophotography
To embark on your astrophotography journey, you’ll need a few essential pieces of equipment and some valuable tips to ensure successful captures. Whether you’re a beginner or have some experience, these astrophotography tips and equipment recommendations will help you get started on the right track.
Essential Astrophotography Equipment
Before you head out into the night sky, here are some must-have astrophotography equipment:
| Equipment | Description |
|---|---|
| DSLR or Mirrorless Camera | A camera with manual mode allows you to have full control over your settings and capture the night sky with precision. |
| Tripod | A sturdy tripod is essential to keep your camera steady during long exposures, preventing blurry images. |
| Wide-angle Lens | A wide-angle lens with a low aperture (such as f/2.8 or lower) enables you to capture more of the night sky and gather as much light as possible. |
| Remote Shutter Release | A remote shutter release minimizes camera shake caused by pressing the camera’s shutter button. It’s especially useful for long-exposure shots. |
As a beginner, it’s recommended to start with the basic astrophotography setup using a DSLR or mirrorless camera with a tripod and wide-angle lens. However, as you progress and gain more experience, you may want to consider investing in additional equipment like a star tracker or telescope to capture more detailed images of celestial objects.
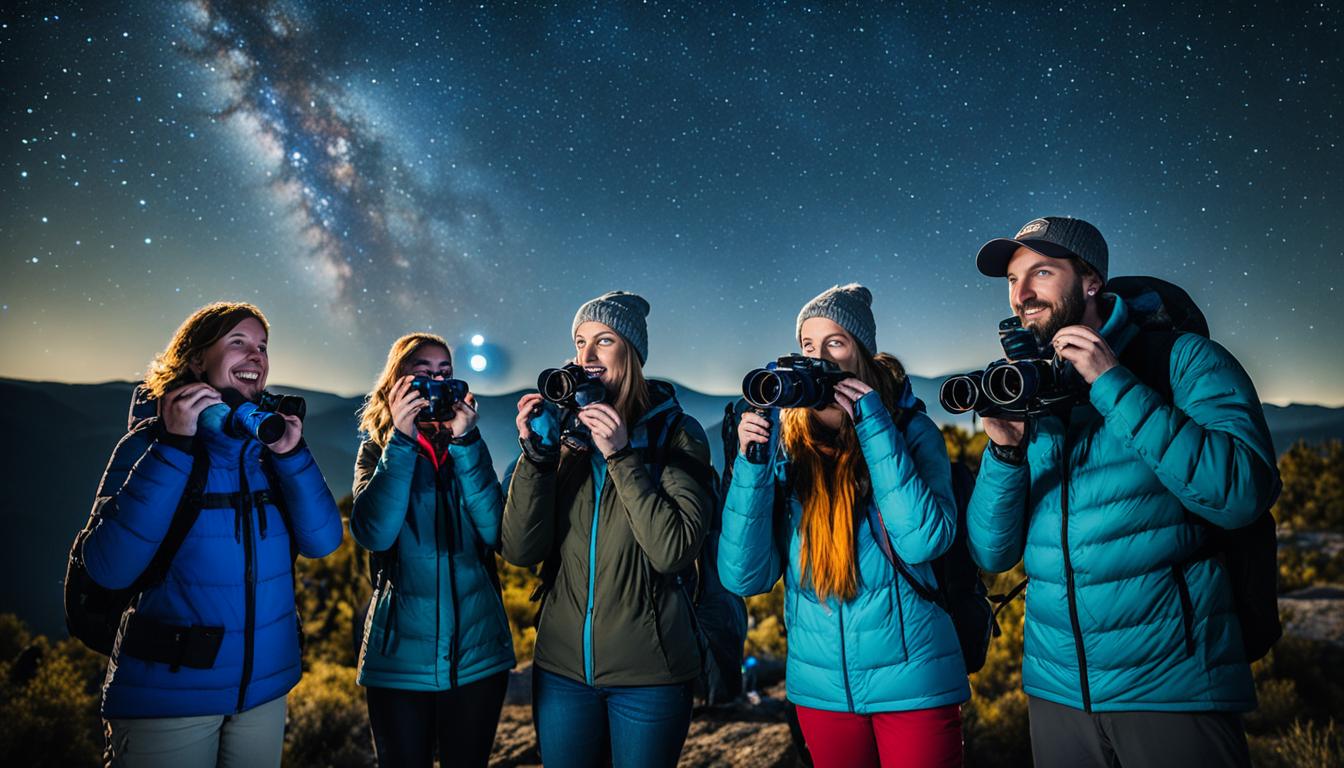
Astrophotography Tips for Beginners
Here are some tips to help you kickstart your astrophotography journey:
- Find a dark sky location away from light pollution to capture clearer and more vibrant night sky images.
- Use manual focus and set your lens to infinity to ensure sharp stars.
- Experiment with different camera settings, such as adjusting the aperture, ISO, and shutter speed, to achieve the desired effects.
- Shoot in RAW format to retain more details and flexibility during post-processing.
- Take multiple exposures and consider stacking them later to reduce noise and enhance image quality.
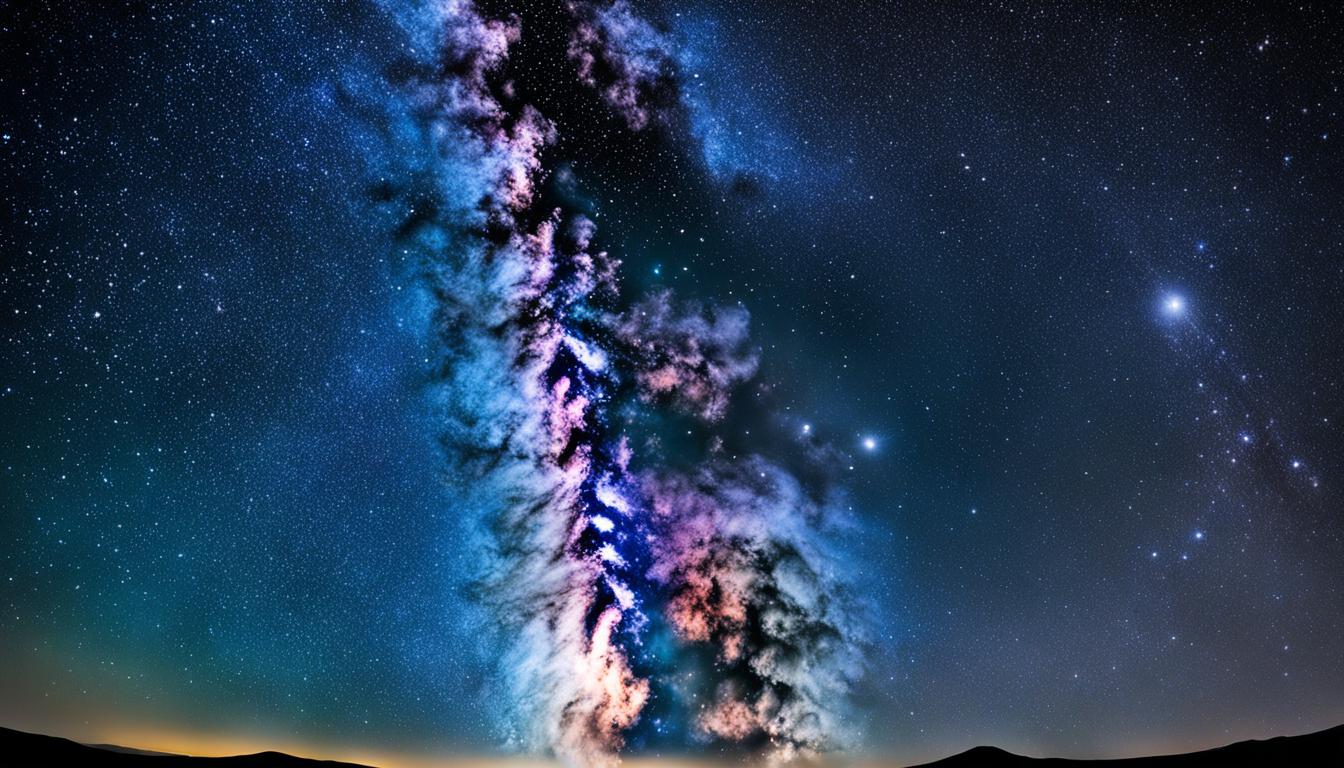
- Learn about the different celestial objects and choose your targets accordingly. The Milky Way, the Orion Nebula, and the Andromeda Galaxy are popular choices for beginners.
By following these astrophotography tips and using the recommended equipment, you’ll be well-equipped to capture stunning images of the night sky. Experiment, practice, and let your creativity soar as you explore the wonders of astrophotography.
Photography is a way of feeling, of touching, of loving. What you have caught on film is captured forever… it remembers little things, long after you have forgotten everything. – Aaron Siskind
Camera Settings and Techniques
When it comes to night sky photography, getting the right camera settings is crucial to capturing stunning images of the stars. In this star photography tutorial, we will explore the optimal camera settings and techniques to help you achieve breathtaking results.
Aperture: Let the Light In
Wide aperture is the key to capturing as much light as possible. When shooting at night, start with the widest aperture your lens allows. This allows more light to enter the camera sensor, enhancing the visibility of stars and other celestial objects.
ISO: Finding the Balance
ISO settings will depend on the lighting conditions of your surroundings. To begin, set your ISO to 800 and adjust it upwards as needed. Higher ISO values allow for capturing more light, but be cautious of introducing noise into your images. Strike a balance between capturing enough light and maintaining image quality.
Shutter Speed: Exploring Possibilities
Shutter speed varies depending on the focal length of your lens and the desired effect. Experiment with different settings to achieve the desired level of star detail and motion blur. Long exposures are commonly used to create star trails, while shorter exposures freeze the motion of the stars.
“The night sky is a canvas waiting to be painted with light. Experiment with various camera settings to unlock its breathtaking beauty.”
– Carl Sagan
Don’t be afraid to step outside of your comfort zone and explore different techniques for capturing the night sky. Here are a few additional techniques you can try:
- Stacking Images: Combine multiple exposures of the same scene to reduce noise and enhance details.
- Using Long Exposures: Experiment with longer shutter speeds to capture star trails and create mesmerizing effects.
- Utilizing Light Painting: Add creative elements by illuminating foreground objects with a flashlight or other light sources.
Remember, photography is an art form, and astrophotography is no different. Practice, explore, and have fun discovering the endless possibilities that the night sky offers.

| Camera Setting | Recommendation |
|---|---|
| Aperture | Start with the widest aperture your lens allows |
| ISO | Begin with ISO 800 and adjust as needed |
| Shutter Speed | Experiment with different settings based on your desired effect |
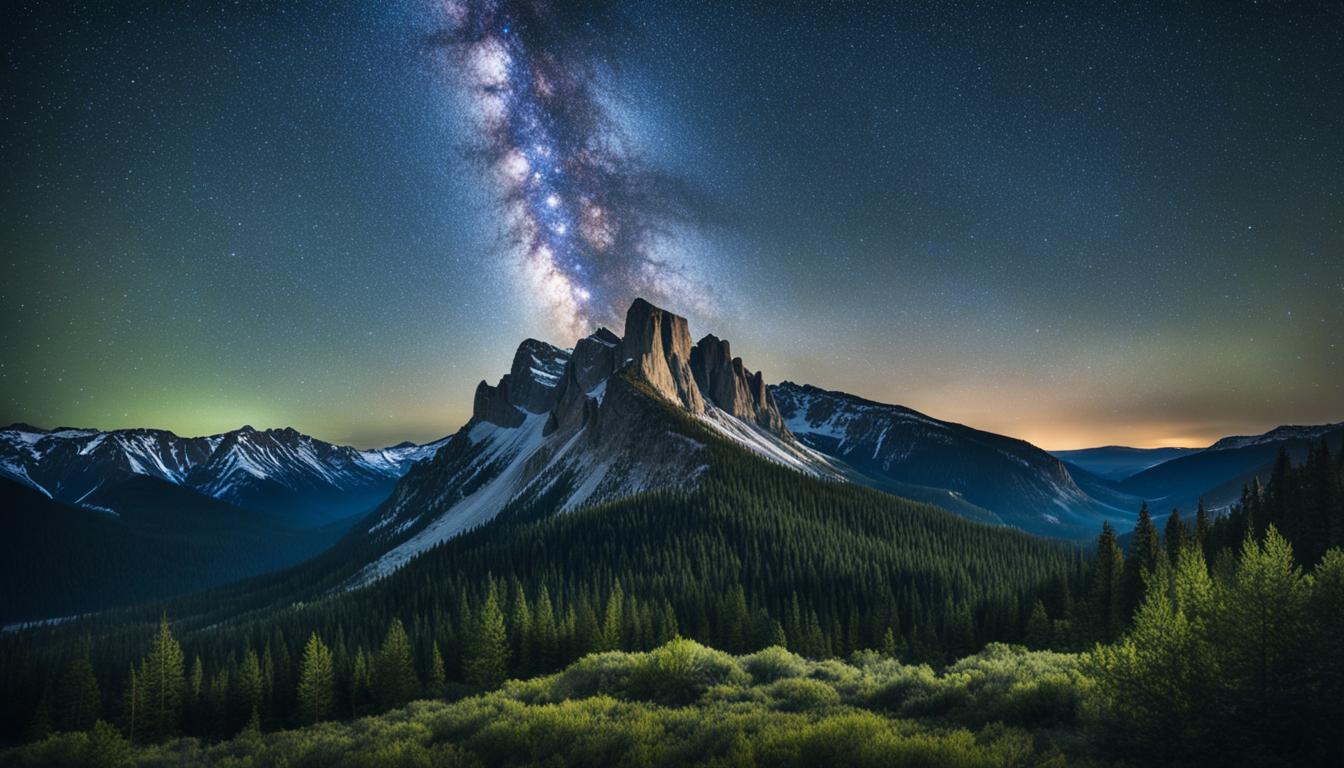
Choosing Targets and Locations
As a beginner in astrophotography, there are several popular targets you can aim for. The Perseus Double Cluster, the Orion Nebula, and the Andromeda Galaxy are great options to start with. These celestial objects offer stunning visuals and are relatively easy to capture.
When photographing the night sky, it’s crucial to consider the time of year and the location you choose. Different targets may be more visible or prominent during specific seasons. For example, the Milky Way is best photographed during the summer months when it is more visible in the night sky.
To photograph the Milky Way, find a location with minimal light pollution. Light pollution from nearby cities can hinder visibility and affect the quality of your astrophotography. Rural areas, national parks, and designated dark sky locations are ideal for capturing the Milky Way in all its glory.
Researching the best times to photograph specific targets and finding dark sky locations can greatly improve your astrophotography results. Online resources, smartphone apps, and local astronomy clubs can provide valuable information on the best times and locations for astrophotography in your area.
Popular Targets in Astrophotography
| Celestial Object | Description |
|---|---|
| Perseus Double Cluster | Located in the constellation Perseus, this cluster consists of two open star clusters, NGC 869 and NGC 884. It is a great target for wide-field astrophotography. |
| Orion Nebula | Also known as Messier 42, the Orion Nebula is a bright emission nebula located in the constellation Orion. It is one of the most easily recognizable and photographed targets in astrophotography. |
| Andromeda Galaxy | The Andromeda Galaxy, also known as Messier 31, is a spiral galaxy located close to our Milky Way. It is the largest galaxy in the Local Group and offers a captivating target for astrophotography. |
By selecting the right targets and finding optimal locations, you can create breathtaking astrophotography images. Remember to plan your sessions based on the best visibility, avoid light pollution, and explore the unique beauty of the night sky.
Conclusion
Astrophotography is a captivating and fulfilling form of photography that allows us to capture the breathtaking beauty of the night sky. By utilizing the right equipment, mastering camera settings, and expanding our knowledge, we can create stunning images of stars, star clusters, nebulae, and even distant galaxies. Whether we are beginners or seasoned photographers, astrophotography provides us with endless avenues for creativity and exploration.
To improve our astrophotography skills, it is crucial to keep practicing and experimenting with different techniques. By honing our skills through trial and error, we can unlock new possibilities and capture even more impressive images. Additionally, exploring new targets and locations will broaden our horizons and enable us to capture unique and extraordinary celestial landscapes.
As we venture further into the realm of astrophotography, it is important to stay inspired and motivated. There is always something new to learn and discover, allowing us to continuously refine our craft. Remember to enjoy the journey and savor the incredible images we create along the way. Happy astrophotography!
FAQ
What is astrophotography?
Astrophotography is the art of photographing the night sky, capturing images of stars, star clusters, nebulae, and galaxies.
What equipment do I need to get started in astrophotography?
You will need a DSLR or mirrorless camera with manual mode, a tripod, and a wide-angle lens with a low aperture. A sturdy tripod and a remote shutter release are also recommended for stability and reducing camera shake.
What camera settings should I use for astrophotography?
Use a wide aperture to capture as much light as possible, starting with the widest aperture your lens allows. ISO settings will depend on the lighting conditions, but starting with ISO 800 is a good starting point. Shutter speed will vary depending on the focal length of your lens and the desired effect.
What are some popular targets for astrophotography beginners?
The Perseus Double Cluster, the Orion Nebula, and the Andromeda Galaxy are great options to start with. Consider the time of year and location when planning your astrophotography sessions.
How can I improve my astrophotography skills?
Keep practicing, experimenting with different techniques, and exploring new targets and locations. Researching the best times to photograph specific targets and finding dark sky locations can greatly improve your astrophotography results.