Taking high-quality product photos doesn’t have to break the bank. With these affordable DIY product photography tips, we can help you elevate your images and attract more customers without spending a fortune on professional equipment. Whether you’re a small business owner or a hobbyist, these budget-friendly techniques will help you achieve professional-looking product photos.
Key Takeaways:
- DIY product photography allows you to achieve professional-looking images without the need for expensive equipment.
- Utilize everyday objects such as fishing wire and smartphones to create unique angles and compositions.
- Enhance your product display with a rotating turntable to capture 360-degree shots.
- Experiment with DIY lighting solutions using reflectors and natural light to eliminate harsh shadows.
- Showcase your products in real-life scenarios to create engaging lifestyle shots.
Enhance Your Product Display with a Rotating Turntable
A rotating turntable is a valuable tool to enhance your product display and capture captivating 360 product shots. Investing in expensive equipment may not always be feasible, especially for budget-conscious businesses. That’s where a DIY approach comes in. By creating a handcrafted, durable turntable, you can easily showcase your products from all angles without breaking the bank.
With a rotating turntable, you can effortlessly capture 360-degree views of your products, giving customers a detailed look at every side. This is particularly beneficial for e-commerce businesses, as it allows potential buyers to virtually examine the product before making a purchase decision.
By employing DIY product photography techniques, you can achieve professional results at an affordable cost. Instead of spending money on expensive turntables, build your own using readily available materials. This cost-effective solution not only saves you money but also maximizes the visual impact of your product display.
The enhanced product display achieved through a rotating turntable helps you present your products in a more engaging and interactive manner. Customers can visualize your products from all angles, improving their understanding and increasing their confidence in making a purchase.
Take advantage of this simple yet effective DIY product photography technique to elevate your brand’s visual appeal and stand out from the competition.
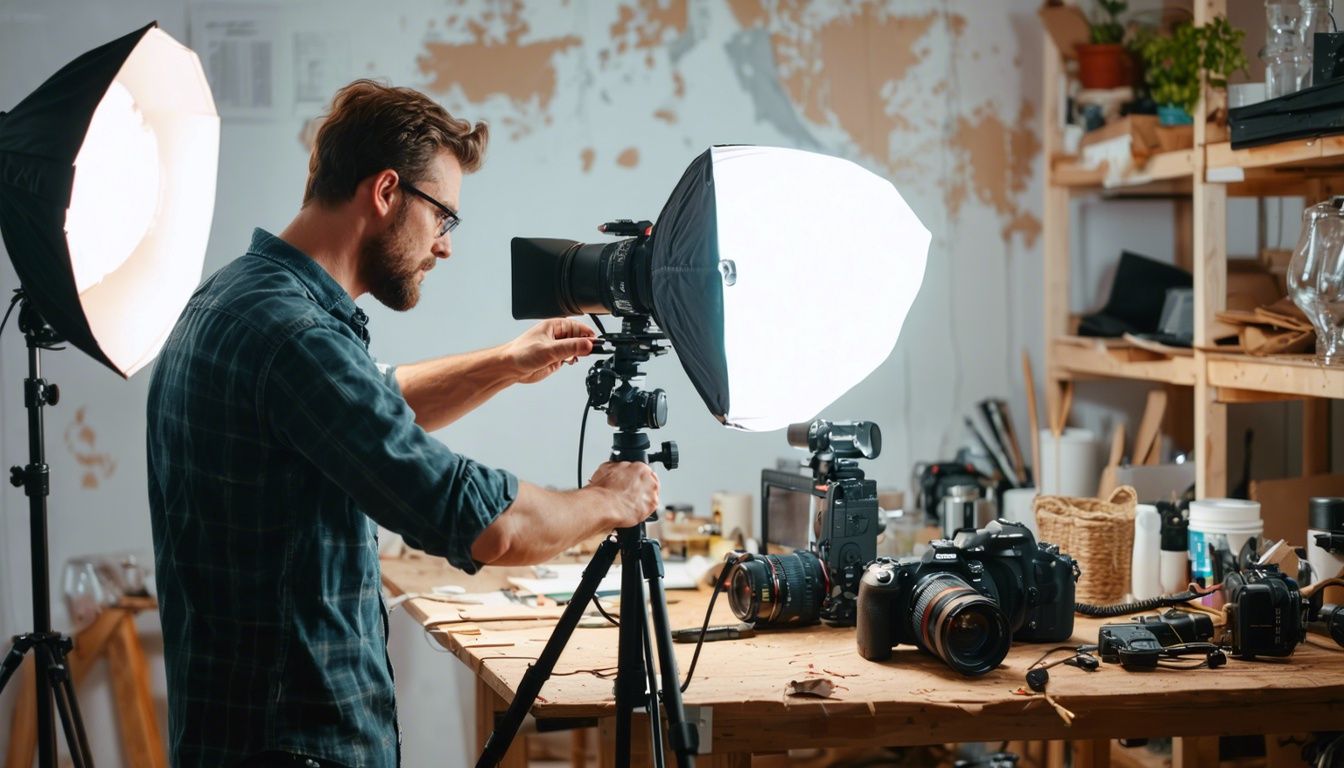
Use DIY Tools for Lighting Enhancement
Good lighting is crucial for high-quality product photography. Instead of relying on expensive studio lighting equipment, we can create our own DIY lighting solutions. By using simple tools and techniques, we can achieve professional-looking results without breaking the bank.
Fill Lighting with Reflectors
One effective way to enhance lighting is by using reflectors to create a fill lighting effect. Reflectors help bounce light onto the subject, reducing harsh shadows and creating a more balanced and flattering image. Instead of purchasing expensive reflectors, we can easily make our own using white card stock or foam board. Place the reflector opposite the main light source to reflect and distribute light onto the subject.
Adding a Creative Backdrop
A plain white background can sometimes be too dull for product photography. To add more depth and detail, try experimenting with a creative backdrop. One creative option is using glass as a backdrop. The reflections and texture created by the glass can add a unique touch to your product shots. So, next time you’re shooting, consider using a glass surface as a backdrop and see how it enhances the overall aesthetic of your images.
Utilizing Natural Light and Window Lighting
Another cost-effective way to enhance lighting is by utilizing natural light. Shooting near a window can provide a soft and diffused light that complements product photography. To further control the light, we can use DIY reflectors. These can be created using materials such as aluminum foil or white foam boards. Simply position the reflectors strategically to bounce light onto the subject and eliminate unwanted shadows.

Remember, natural light changes throughout the day, so it’s important to experiment with different setups and see how the light affects your product. Take advantage of the golden hours (early morning and late afternoon) for a warm and soft effect, or shoot during the midday for a brighter and more dramatic look.
With these DIY lighting techniques, you can enhance the quality of your product photography without investing in expensive equipment. By utilizing reflectors, experimenting with creative backdrops, and harnessing the power of natural light, you can create stunning product images that attract and engage your audience.
Create DIY Photo Studio Setup
Setting up a DIY photo studio doesn’t have to be complicated or expensive. With a few key elements, you can achieve professional-quality product photos right in the comfort of your own home. Let’s explore some essential tools and techniques to create your own photography setup.
Lazy Susan for Effortless 360 Product Shots
If you want to showcase your products from every angle, a lazy Susan is a must-have tool. This rotating platform allows you to effortlessly capture 360-degree shots without having to constantly reposition your products. Place your item on the lazy Susan and gently rotate it while taking photos from various angles. This simple yet effective technique adds dynamism to your product images and gives customers a comprehensive view of what you’re offering.
DIY Shower Curtain Lightbox for Soft Lighting
Lighting is a crucial aspect of product photography, and a DIY lightbox made from a shower curtain can help you achieve soft and even lighting. Simply drape the shower curtain over a medium to small-sized table, creating a tent-like structure. Position your light source outside the lightbox, allowing the diffused light to enter through the curtain. The translucent material helps scatter the light, minimizing harsh shadows and creating a professional-looking setup. Experiment with different light sources and positions to achieve the desired brightness and ambiance for your product photos.
Create a Clean Background with a Background Sweep
To create a clean and professional look for your product images, use a background sweep. A background sweep is a smooth, uninterrupted backdrop that extends from the surface your product sits on to the vertical wall behind it. You can easily create a background sweep by using white poster board or craft paper. Curve the board or paper, placing one end on the surface and the other against the wall. This seamless white background eliminates distractions and helps your product stand out. For larger products, a chair-mounted sweep can provide a stable and scalable background setup.
Stable Shooting Table for Precise Product Positioning
When photographing small or delicate items, a stable shooting table can make a big difference in achieving precise positioning. You can invest in a professionally designed shooting table or create a DIY version using sturdy materials like wood or acrylic. A shooting table provides a flat, steady surface for your product, allowing you to capture images from consistent angles. This ensures that every shot looks professional and well-composed.
By implementing these DIY photo studio setup techniques, you can elevate your product photography and capture images that truly showcase the beauty and details of your products. Remember to experiment with different setups, lighting conditions, and camera settings to find the perfect combination that best represents your brand.
Utilize Everyday Objects for Product Photography
When it comes to capturing stunning product photos, you don’t always need to invest in expensive camera equipment. In fact, you can achieve professional results by utilizing everyday objects that you may already have on hand. Here are some creative ways to enhance your product photography without breaking the bank:
- Use fishing wire: Take advantage of fishing wire to suspend small products or create unique angles and compositions. By carefully positioning your products with fishing wire, you can add an element of visual interest and create captivating shots.
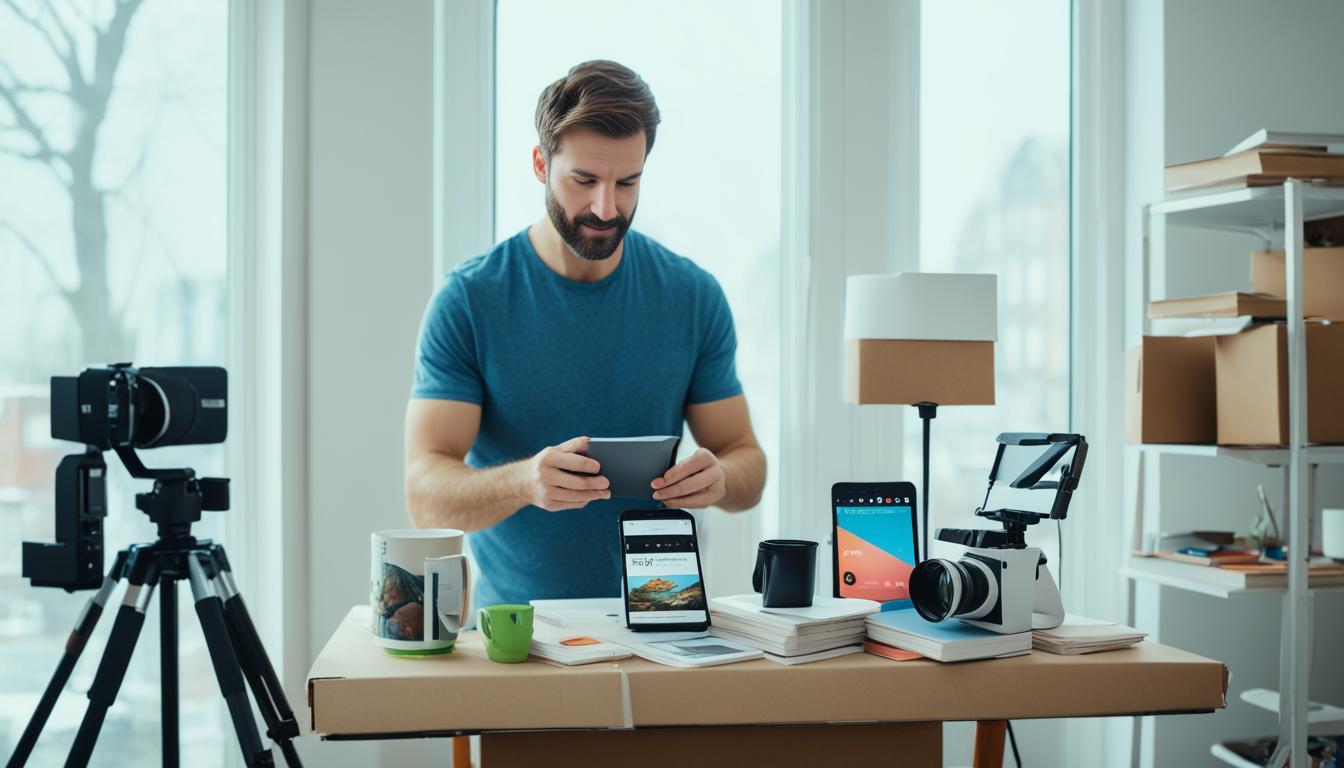
- Utilize your smartphone camera: Don’t underestimate the power of your smartphone camera. With advancements in technology, smartphone cameras have become incredibly capable and can produce high-quality images. Experiment with different lighting conditions and angles to capture stunning product shots.
- Enhance your edits with GIMP: If you’re looking to make professional-looking edits to your product photos, consider using GIMP. GIMP is a free photo editing software that offers a wide range of features and tools to enhance your images. From adjusting colors to adding creative effects, GIMP can take your product photos to the next level.
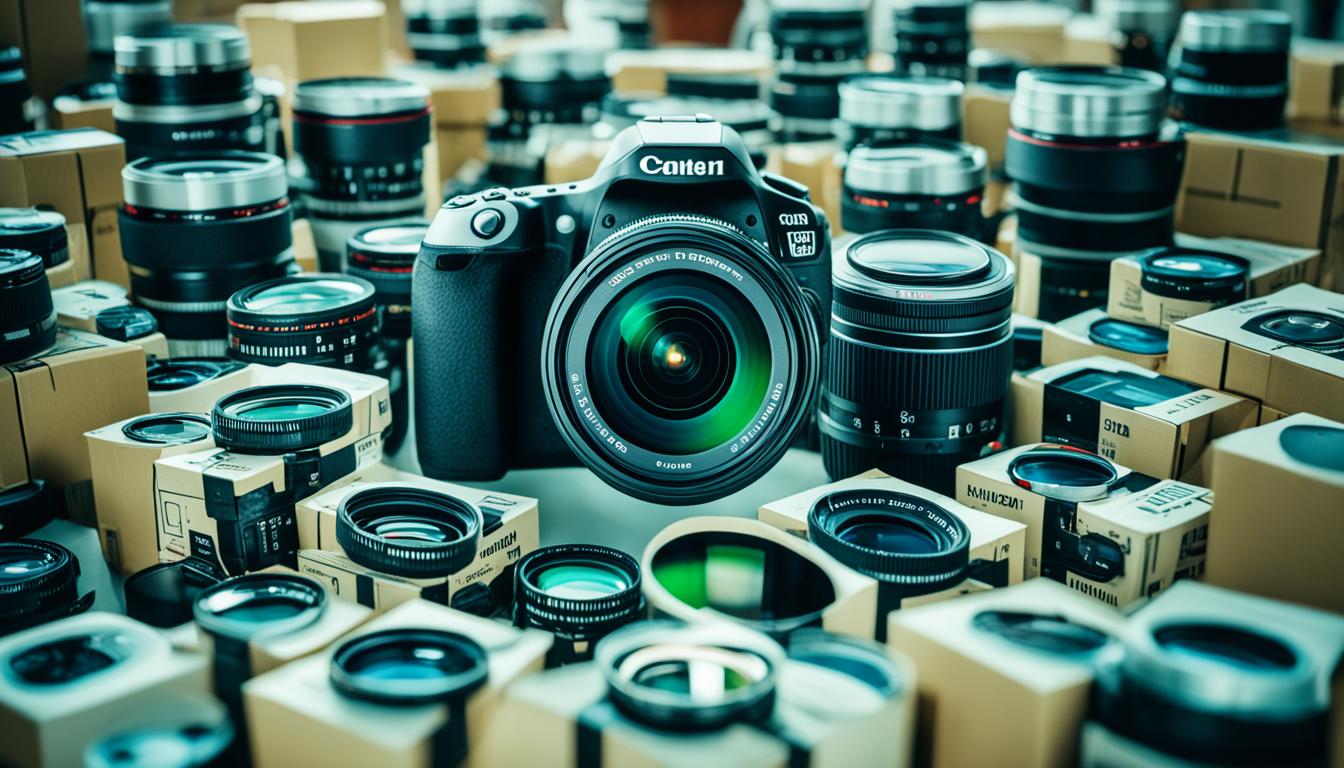
- Invest in a tripod: To ensure stable shots and eliminate camera shake, invest in a tripod. A tripod allows you to capture sharp and focused images, especially when shooting in challenging lighting conditions or using longer exposure times.
By incorporating these everyday objects into your product photography workflow, you can unleash your creativity and capture eye-catching product shots without the need for expensive equipment. Remember, it’s not about the gear you have, but how you use it!
Showcase Your Products in Real-Life Scenarios
Creating engaging product photos that captivate your customers goes beyond simple product shots. By embracing real-life scenarios and incorporating models, you can tell a visual story that resonates with your audience. Lifestyle shots transport viewers into a world where your products are an integral part of their everyday lives.
Imagine this: a beautifully designed kitchen with your cookware in action, delicious meals being prepared and enjoyed by a happy family. These lifestyle shots not only showcase the functionality of your products but also evoke an emotional connection with your customers.
When incorporating models into your product photography, you allow viewers to see themselves using your products. Whether it’s a fashion brand featuring models wearing their clothing or a skincare brand showing the transformation of skin with their products, model photography adds a human touch and helps build trust.
Visual Storytelling and Nature-Inspired Aesthetics
Visual storytelling is a powerful tool that can elevate your product photos to new heights. By carefully selecting props and settings, you can create a narrative that resonates with your target audience. For example, if you sell outdoor gear, showcasing your products in nature-inspired settings like a hike in the mountains or a camping trip can evoke a sense of adventure and connection with the great outdoors.

“Products featured in real-life scenarios create an emotional connection with customers, helping them envision how our products can enhance their daily lives.”
Props are an essential element of visual storytelling. They add depth, context, and personality to your product photos. Imagine a beautifully set table with your dinnerware, complete with fresh flowers and elegant table settings. These elements not only showcase your products but also create a visual experience that entices customers to visualize themselves using your products.
When selecting locations for your lifestyle shots, ensure they align with your brand’s aesthetic and target audience. For example, if you create organic skincare products, incorporating natural elements like botanical gardens or serene coastal landscapes can enhance the overall message and appeal to eco-conscious consumers.
Incorporating lifestyle shots, model photography, nature-inspired aesthetics, and props in your product photography can elevate your brand’s visual storytelling and create a stronger emotional connection with your customers. It’s about showing your products in a real and relatable context that resonates with your audience’s aspirations and desires.
Highlight Product Details with Close-up Shots
When it comes to showcasing products with intricate details, close-up shots play a vital role in highlighting specific features. Whether you’re photographing jewelry, electronics, or other small items, capturing the small details is essential to help customers see the quality and craftsmanship of your products.
Small product photography for maximum impact
Small product photography requires careful attention to detail. To capture those intricate elements, consider using a macro lens or adjusting your camera settings to emphasize the tiny details that make your products unique. A macro lens allows you to get up close and personal, bringing out the textures, patterns, and product features that might otherwise go unnoticed.
When framing your close-up shots, pay attention to composition to ensure that the product details take center stage. Experiment with different angles and perspectives to create visually striking images that grab attention. By zooming in on the product, you provide potential customers with a detailed glimpse of what they can expect, building trust and confidence in your brand.
| Benefits of close-up shots: | Challenges of close-up shots: |
|---|---|
|
|
Overcoming tricky lighting conditions
Close-up photography often presents challenges in lighting. To overcome tricky lighting conditions and achieve the best results, experiment with different lighting setups and techniques.
Consider using a combination of natural light and artificial lighting sources to achieve the desired effect. Diffuse harsh lighting with a softbox or a light tent to create a soft, even light across your product. Use reflectors or bounce cards to fill in shadows and add a touch of brightness to the areas you want to highlight.
Remember to pay attention to the direction of the light to create depth and dimension in your close-up shots. Experiment with side lighting, backlighting, or top lighting to bring out texture and add visual interest to the product details.
Close-up shots allow you to showcase the smallest features of your products, giving potential customers a sense of the quality and craftsmanship they can expect. Take your product photography to the next level by focusing on the details that make your products unique. With careful attention to lighting and composition, you can create stunning close-up shots that captivate your audience.
Conclusion
With these DIY product photography tips, you can achieve professional-looking product photos without breaking the bank. We have explored several budget-friendly techniques that will help you elevate your images while keeping your expenses low.
First, consider enhancing your product display with a rotating turntable. This affordable solution allows you to capture 360-degree views of your products, making your images more engaging and informative for your customers.
Next, harness the power of DIY lighting. By using simple tools like reflectors and creative backdrops, you can create professional-looking lighting effects without investing in expensive studio equipment. Take advantage of natural light and experiment with different setups to find the perfect lighting for your products.
Additionally, we have shown you how to set up a DIY photo studio using everyday objects. From a lazy Susan for easy 360-degree shots, to a shower curtain lightbox for soft and even lighting, these low-cost solutions provide a professional backdrop for your product photos.
Finally, don’t be afraid to get creative with everyday objects and utilize your smartphone camera. Fishing wire can help you create unique angles, while free photo editing software like GIMP can take your smartphone photos to the next level. And remember, investing in a tripod can help you achieve stable shots and eliminate camera shake.
So, whether you’re a small business owner or a passionate hobbyist, these DIY product photography tips offer you affordable and budget-friendly techniques to capture stunning product photos. Get creative, experiment with different setups, and showcase your products in the best possible light.
FAQ
Are there any affordable DIY product photography tips?
Yes, there are several budget-friendly techniques you can use to achieve professional-looking product photos without breaking the bank.
How can I enhance my product display with a rotating turntable?
Instead of investing in expensive equipment, you can opt for a handcrafted, durable turntable that allows you to easily capture 360-degree views of your products.
What DIY tools can I use for lighting enhancement?
You can create your own DIY lighting solutions by using white card stock or foam board as reflectors and experimenting with glass as a creative backdrop. Additionally, you can utilize natural light by shooting near a window and using homemade reflectors to eliminate harsh shadows.
How can I create a DIY photo studio setup?
You can invest in a lazy Susan to capture 360 product shots effortlessly and repurpose a shower curtain to create a DIY lightbox. Use a white background sweep made from white poster board or craft paper to create a clean and professional look. Set up a stable shooting table or use a chair-mounted sweep for larger products.
How can I utilize everyday objects for product photography?
You can use fishing wire to suspend small products or create unique angles and compositions. If you don’t have a professional camera, you can still achieve great results with your smartphone camera paired with free photo editing software like GIMP. Investing in a tripod can also help you capture stable shots and eliminate camera shake.
How can I showcase my products in real-life scenarios?
Try capturing lifestyle shots that showcase your products in action and create a narrative around them. Incorporate props and choose locations that align with your brand’s aesthetic. Nature-inspired aesthetics work well for products like healthcare items, outdoor products, and food items.
How can I highlight product details with close-up shots?
You can use a macro lens or adjust your camera settings to capture the small details. Close-up shots require careful attention to lighting and composition to ensure the details are properly highlighted. They add a level of sophistication and help customers see the quality and craftsmanship of your products.
What are some budget-friendly DIY product photography tips?
With these DIY product photography tips, you can achieve professional-looking product photos without breaking the bank. From enhancing your product display with a rotating turntable to utilizing DIY lighting solutions, there are plenty of cost-effective techniques to elevate your images.
How Can I Use DIY Techniques to Incorporate the Latest Product Photography Trends?
Incorporating the latest product photography trends into your DIY projects can elevate the overall look and feel of your images. Try experimenting with different lighting techniques, creative compositions, and unique angles to capture the essence of the latest product photography trends and make your images stand out.