Astrophotography is a fascinating genre of photography that allows us to capture the stunning beauty of the night sky. But to create truly mesmerizing images, it’s crucial to understand the basics and master the right camera settings. In this guide, we will delve into the essential aspects of astrophotography, including the significance of weather and seasonal conditions in capturing breathtaking shots.
Key Takeaways:
- Master the camera settings for astrophotography, including ISO and aperture settings.
- Understand the 500 rule to avoid star trails in your images.
- Plan your astrophotography shoots based on weather and seasonal conditions.
Camera Settings and the 500 Rule
When it comes to astrophotography, understanding your camera settings is crucial for capturing stunning images of the night sky. In this section, we will explore the key camera settings and techniques that will enhance your astrophotography experience.
Shooting in Manual Mode
One of the first things you should do when shooting astrophotography is to switch to manual mode. This allows you to have complete control over your camera settings, enabling you to capture the perfect exposure for your night sky shots. Manual mode gives you the flexibility to adjust your ISO, aperture, and shutter speed without any interference from the camera’s automatic settings.
Shooting in RAW
Shooting in RAW format is highly recommended for astrophotography. RAW files contain the maximum amount of image data captured by your camera, providing greater flexibility when it comes to post-processing. This allows you to maintain the highest possible image quality and make adjustments to exposure, white balance, and noise reduction during editing.
ISO Settings for Astrophotography
ISO determines the sensitivity of your camera’s image sensor to light. In astrophotography, using a high ISO is essential for capturing the faint stars in the night sky. Start with an ISO setting of 1600 or higher and adjust accordingly based on the brightness of the stars and the desired exposure.
Aperture Settings for Astrophotography
Aperture, represented by the f-number, controls the amount of light entering the camera lens. In astrophotography, it’s recommended to set your aperture as wide open as possible, typically the lowest f-number your lens supports. This allows more light to reach the sensor, resulting in brighter and more detailed images of the night sky.
The 500 Rule for Avoiding Star Trails
Star trails can occur in long exposure astrophotography if the shutter speed is set too slow. To avoid star trails, use the 500 rule as a guideline. Divide 500 by the effective focal length of your lens (taking into account any crop factors) to get the maximum shutter speed in seconds. For example, if you are using a 24mm lens with a full-frame camera, the maximum shutter speed would be approximately 20 seconds (500 ÷ 24 = 20.8).
| Camera Setting | Description |
|---|---|
| Manual Mode | Provides full control over camera settings |
| RAW Format | Retains maximum data for post-processing |
| High ISO | Captures faint stars in the night sky |
| Wide Aperture | Allows more light for brighter images |
| The 500 Rule | Prevents star trails during long exposures |
Ideal Astrophotography Conditions
When it comes to astrophotography, the right conditions can make all the difference in capturing breathtaking images of the night sky. To ensure the best results, there are a few factors we need to consider:
Moon Phases and Avoiding Moonlight
The moon can be both a blessing and a challenge for astrophotographers. While a full moon can illuminate the landscape, it can also wash out the stars, making them less visible in your images. To avoid this, plan your shoots around the phases of the moon. Ideal weather for astrophotography
Low Wind Conditions for Sharp Exposures
Long exposures are a common technique in astrophotography to capture the faint details of the night sky. However, even slight movements caused by wind can result in blurry images. To achieve sharp exposures, it’s best to shoot during low wind conditions. This will help you maintain the desired level of clarity and ensure that the stars remain sharp in your photos.
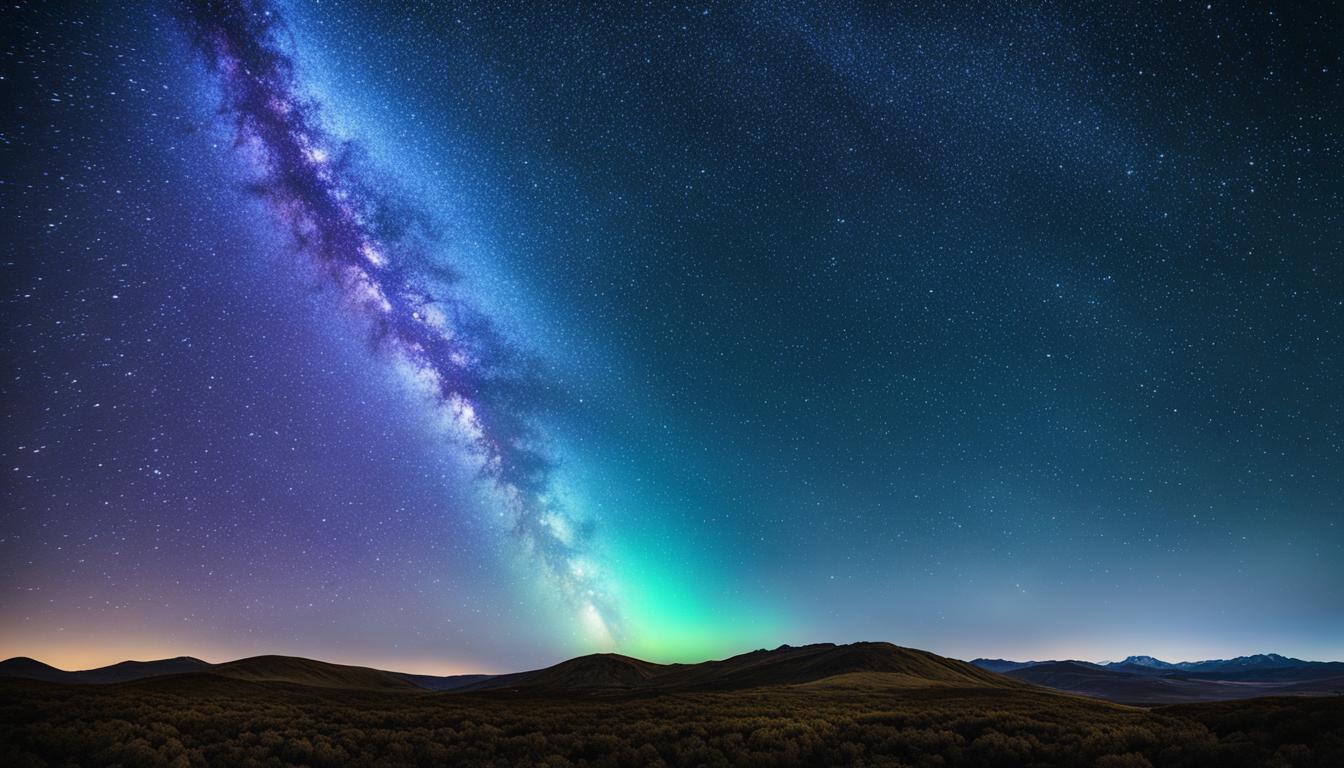
Clear Skies and Dark Sky Locations
Clear skies are essential for capturing the full beauty of the night sky. Light pollution from cities and other sources can obstruct the view of stars and other celestial objects. To maximize your astrophotography experience, consider traveling to dark sky locations away from city lights. These areas offer minimal light pollution, allowing you to witness the wonders of the universe with crystal clarity.
Exploring dark sky locations also provides an opportunity to immerse yourself in the serene atmosphere of the night sky, away from the hustle and bustle of urban environments. It’s in these secluded areas that you can truly appreciate the vastness and majesty of the cosmos.

By taking advantage of ideal weather conditions, avoiding moonlight, shooting in low wind conditions, and choosing dark sky locations, you can create astrophotography images that showcase the beauty and grandeur of the night sky.
Planning Your Shoots for Astophotography
Planning is key when it comes to successful astrophotography shoots. By considering the time of day and season, you can determine the best opportunities for capturing mesmerizing images of the night sky. Here are some essential tips and tools to help you plan your astrophotography adventures.
Determining the Time of Day
The time of day plays a crucial role in astrophotography. To capture the Milky Way or other celestial objects, it’s important to know when they will be visible in your location. Astrophotographers often target specific astronomical events, such as meteor showers or lunar phases, to capture unique shots. Smartphone apps like Stellarium and PhotoPills provide valuable information on celestial events and the best time for astrophotography in your area.
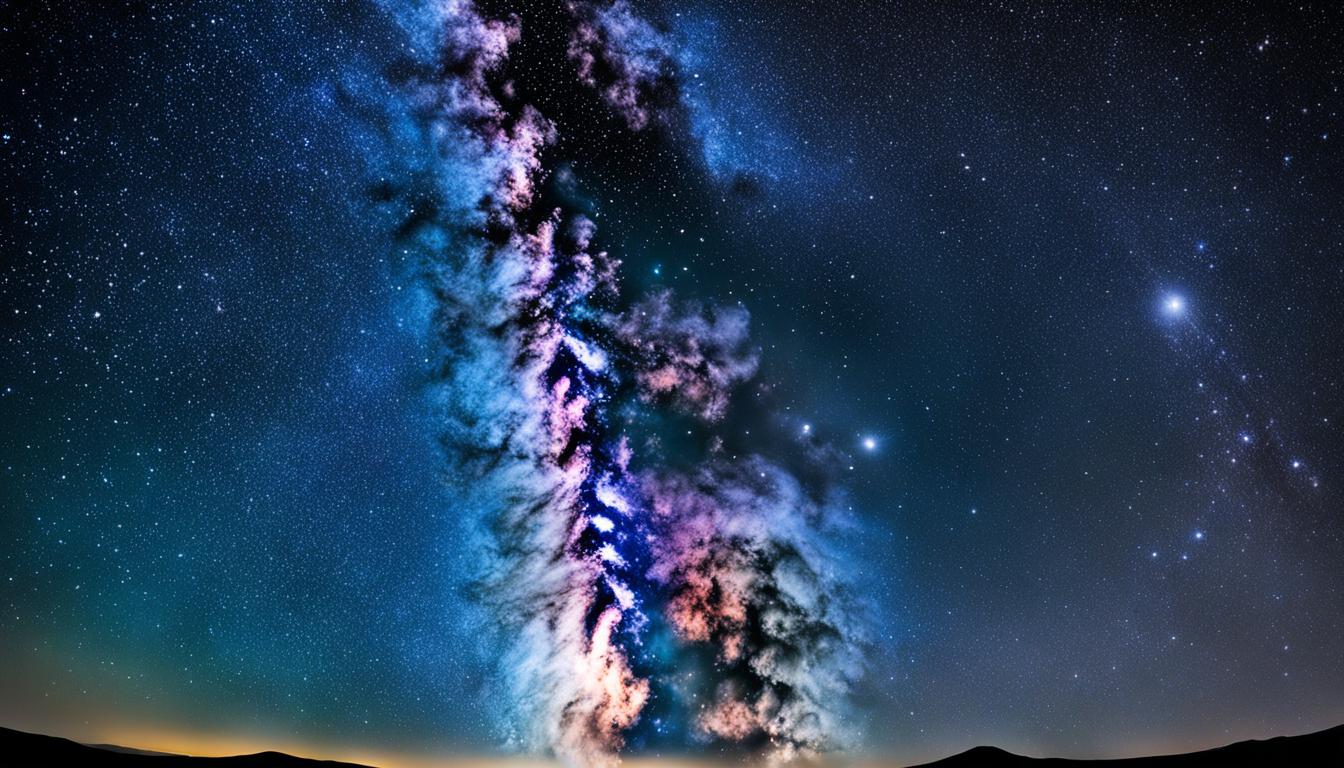
Locating the Milky Way
Photographing the Milky Way can create stunning and awe-inspiring images. However, finding its position in the night sky can be challenging for beginners. Smartphone apps like Stellarium help you locate the Milky Way by providing real-time star maps and constellation guides. With these apps, you can determine the best direction and angle for capturing the Milky Way in your astrophotography compositions.
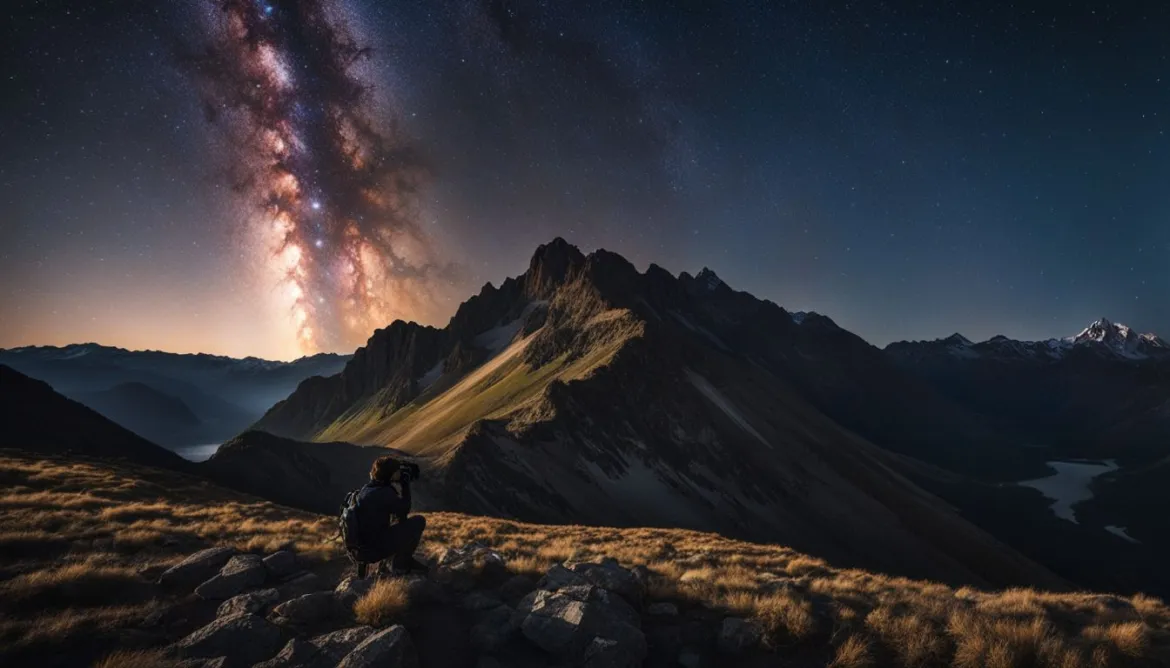
Including Foreground Objects
Adding foreground objects in your astrophotography compositions can enhance the visual impact and storytelling of your images. Incorporating trees, buildings, or other interesting elements in the foreground can provide depth and context to your shots. Experiment with creative compositions and perspectives to create unique and captivating astrophotography images.
“Including foreground objects in my astrophotography compositions has allowed me to create images that truly stand out. The juxtaposition of the night sky with earthly elements adds a sense of scale and wonder to my photographs.” – Jane Adams, Astrophotographer
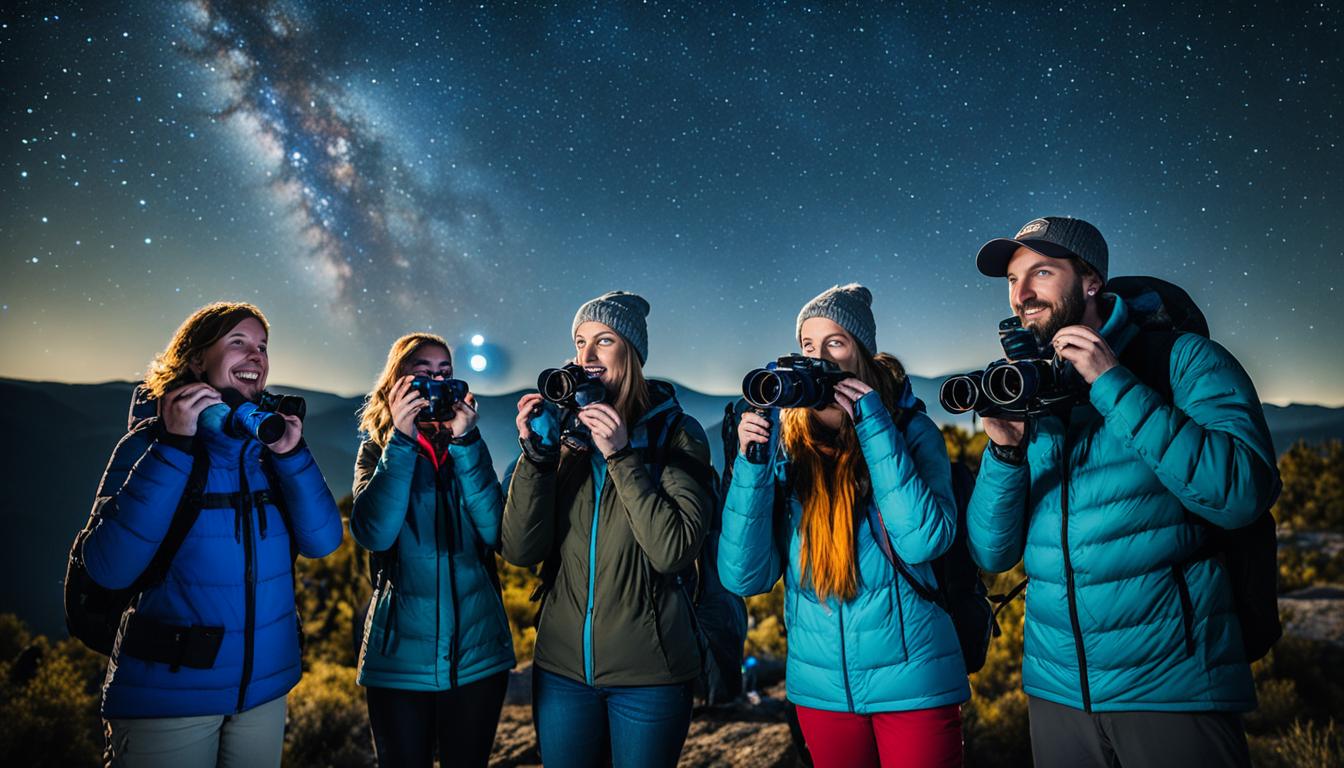
Smartphone Apps for Astrophotography
Smartphone apps have revolutionized astrophotography by providing valuable tools and resources at your fingertips. In addition to helping you locate celestial objects, apps like Star Walk, SkySafari, and Dark Sky Finder offer features such as augmented reality stargazing and light pollution maps. These apps can greatly enhance your astrophotography experience and help you capture breathtaking images of the night sky.
Stacking Images and Post-Processing
Stacking images is a popular technique in astrophotography that can significantly enhance the quality of your images. By taking multiple shots of the same scene and combining them, you can reduce noise and improve the overall signal-to-noise ratio in your astrophotography images.
One of the widely used software for star stacking is Sequator. It helps align the stars in your images and reduces noise, resulting in cleaner and more detailed astrophotography shots. Whether you’re capturing the Milky Way or deep space objects, star stacking software can make a significant difference in the final outcome.
Another technique to reduce sensor noise in post-processing is by taking dark images. This involves capturing images with the lens cap on to map and remove any sensor noise present in your camera. These dark images can then be subtracted from your astrophotography shots to eliminate noise and enhance the overall image quality.
Exploring different post-processing techniques is essential to bring out the best in your astrophotography images. From adjusting the brightness and contrast to enhancing the colors and details, post-processing allows you to fine-tune your images for a more visually appealing result. There are various software options available, such as Adobe Photoshop, Lightroom, and PixInsight, that offer a range of tools and features specifically designed for astrophotography post-processing.
Composition Tips for Astrophotography
Composition is a crucial aspect of astrophotography that can elevate your images from ordinary to extraordinary. By incorporating certain techniques, you can create visually captivating photographs that capture the essence and beauty of the night sky. In this section, we will explore some composition tips to enhance your astrophotography skills.
Including Foreground Objects
One effective way to add depth and interest to your astrophotography images is by including foreground objects in your composition. Trees, buildings, or mountains can provide a sense of scale and help viewers connect with the overall scene. Consider positioning these objects strategically within the frame to create a balanced and visually pleasing composition. The contrasting elements of the night sky and the earthly foreground can create a captivating story within your photograph.

Light Painting Techniques
Light painting is another technique that can enhance your astrophotography compositions. By using a flashlight or other light source, you can selectively illuminate the foreground objects during long exposures. This technique allows you to control the amount and direction of light, adding additional depth and visual interest to your images. Experiment with different lighting angles and intensities to achieve the desired effect.
Creating Scale
Creating a sense of scale is important in astrophotography to convey the vastness of the night sky. Including objects of known size, such as people or vehicles, can help viewers understand the magnitude of the stars or galaxies in your photographs. Position these objects strategically within the frame to emphasize the juxtaposition of the small human-sized figures against the expansive night sky. This technique can evoke a sense of awe and wonder in your audience.
By combining composition techniques, such as including foreground objects, utilizing light painting, and creating scale, you can take your astrophotography to new heights. Experiment with different angles, perspectives, and framing to create visually compelling compositions that tell a story and elicit emotions. Remember, astrophotography is not just about capturing the night sky; it’s about creating a visual masterpiece that leaves a lasting impression.
Personal Experiences and Tips for Astrophotography
Astrophotography is a captivating journey that unveils the wonders of the night sky. To expand your skills and overcome challenges, learning from the personal experiences and insights of seasoned astrophotographers is invaluable. Here, we share some tips and strategies to enhance your astrophotography adventures.
Embracing Night Sky Photography Challenges
Embarking on astrophotography can present a myriad of challenges. From unpredictable weather conditions to light pollution, each obstacle requires creative problem-solving. One of the key challenges faced is finding dark sky areas for optimal stargazing experiences. Exploring nearby national parks, nature reserves, or remote locations away from city lights can yield breathtaking results. Additionally, overcoming weather challenges by tracking ideal conditions such as clear skies and low wind can significantly elevate the quality of your astrophotography.
Personal Astrophotography Experiences: Learning from the Experts
By tapping into the experiences of seasoned astrophotographers, you can gain valuable insights and accelerate your learning curve. Renowned astrophotographer Jane Adams shares her personal journey, emphasizing the importance of patience and perseverance. Jane recalls her first encounter with the mesmerizing Milky Way and how it inspired her to unlock the secrets of the night sky through astrophotography. Learning from Jane’s experiences, you can navigate common pitfalls and gain confidence in your own astrophotography endeavors.
“Astrophotography has been a transformative experience for me. Every new photo brings me closer to understanding the vastness and beauty of the universe. My advice to beginners is to be persistent, experiment with different techniques, and never stop exploring the night sky.” – Jane Adams
Tips for Successful Astrophotography
Mastering the art of astrophotography is a continuous learning process. Here are some tips from our seasoned astrophotographers to help you capture stunning images of the night sky:
- Plan Ahead: Research and plan your shoots in advance by considering astronomical events, moon phases, and the best time of year to observe specific celestial objects. Utilize smartphone apps like SkySafari or Star Walk to aid in your planning process.
- Compose with Care: Experiment with composition techniques to create striking images. Include interesting foreground objects like trees, mountains, or structures to add depth and context to your astrophotography.
- Set the Stage: Prioritize finding dark sky areas away from light pollution to capture clearer and more brilliant stars and celestial phenomena. Consult light pollution maps or join local astrophotography communities to discover optimal shooting locations.
- Master Your Equipment: Understand your camera and lens capabilities, experiment with different ISO settings, and master the art of long exposures to capture the elusive beauty of the night sky.
- Embrace Post-Processing: Use photo editing software like Adobe Photoshop or Lightroom to fine-tune your images and bring out the intricate details of the cosmos. But remember, moderation is key as the goal is to enhance, not completely alter, the natural beauty of the night sky.
Incorporating these tips into your astrophotography practice will undoubtedly elevate your skills and enrich your overall experience. Remember that astrophotography is a journey of curiosity, exploration, and connection with the universe. Embrace the challenges, learn from seasoned astrophotographers, and ignite your passion for capturing the celestial wonders above.
Conclusion
Astrophotography is an incredibly rewarding and awe-inspiring form of photography that allows us to capture the captivating beauty of the night sky. Throughout this guide, we have discussed the importance of understanding the basics, planning your shoots, and experimenting with different techniques in order to create stunning astrophotography images.
By considering weather and seasonal conditions, we can ensure the best possible conditions for our shoots. Additionally, composing our shots creatively and including interesting foreground objects can add depth and scale to our images.
Investing in the right equipment, such as a camera with manual mode and the ability to shoot in RAW format, is crucial for enhancing our astrophotography experience. Remember to have fun and let your creativity soar as you explore the wonders of the night sky. So grab your gear, venture out into the darkness, and capture the breathtaking world of astrophotography.
FAQ
What camera settings should I use for astrophotography?
It is recommended to shoot in manual mode and RAW format for greater control and data retention. Use a high ISO to capture faint stars and set the aperture as wide open as possible for maximum light intake.
What is the 500 rule in astrophotography?
The 500 rule helps determine the maximum shutter speed to avoid star trails. Divide 500 by the focal length of your lens to get the recommended shutter speed.
What are the ideal weather conditions for astrophotography?
Clear skies are essential to avoid light pollution and capture the best views of the night sky. Shooting in low wind conditions ensures sharp long exposures, and planning shoots around the phases of the moon helps avoid moonlight washing out stars.
How can I plan my shoots for astrophotography?
Consider the time of day and season to determine the best opportunities for capturing the night sky. Use smartphone apps like Stellarium and PhotoPills to locate the Milky Way and plan the direction of your shots. Including foreground objects and experimenting with light painting techniques adds interest to your compositions.
What is image stacking in astrophotography?
Stacking images involves combining multiple shots to reduce noise and improve overall image quality. Software like Sequator can help align stars and reduce noise in stacked images. Taking dark images with the lens cap on also helps remove sensor noise in post-processing.
How can I compose impactful astrophotography images?
Including interesting foreground objects adds depth and scale to your shots. Experiment with light painting techniques to illuminate these objects during long exposures. Try different angles, perspectives, and framing to create visually compelling compositions.
Are there any personal experiences and tips for astrophotography?
Learning from seasoned astrophotographers can provide valuable guidance. Explore tips for finding dark sky areas, dealing with different weather conditions, and overcoming common obstacles in night sky photography.
What are the key takeaways for astrophotography?
Understanding camera settings, planning shoots around weather and seasons, experimenting with stacking and post-processing, and composing creatively are essential for successful astrophotography. Remember to enjoy the process and let your creativity soar.
What Weather and Seasonal Tips Would Help in Capturing the Milky Way for Astrophotography?
When it comes to astrophotography, utilizing the right “tips for capturing Milky Way” can make a significant difference. Clear, dark skies during the summer months are ideal for capturing the Milky Way. Additionally, choosing a location with minimal light pollution and utilizing a tripod and remote shutter release can enhance your results.