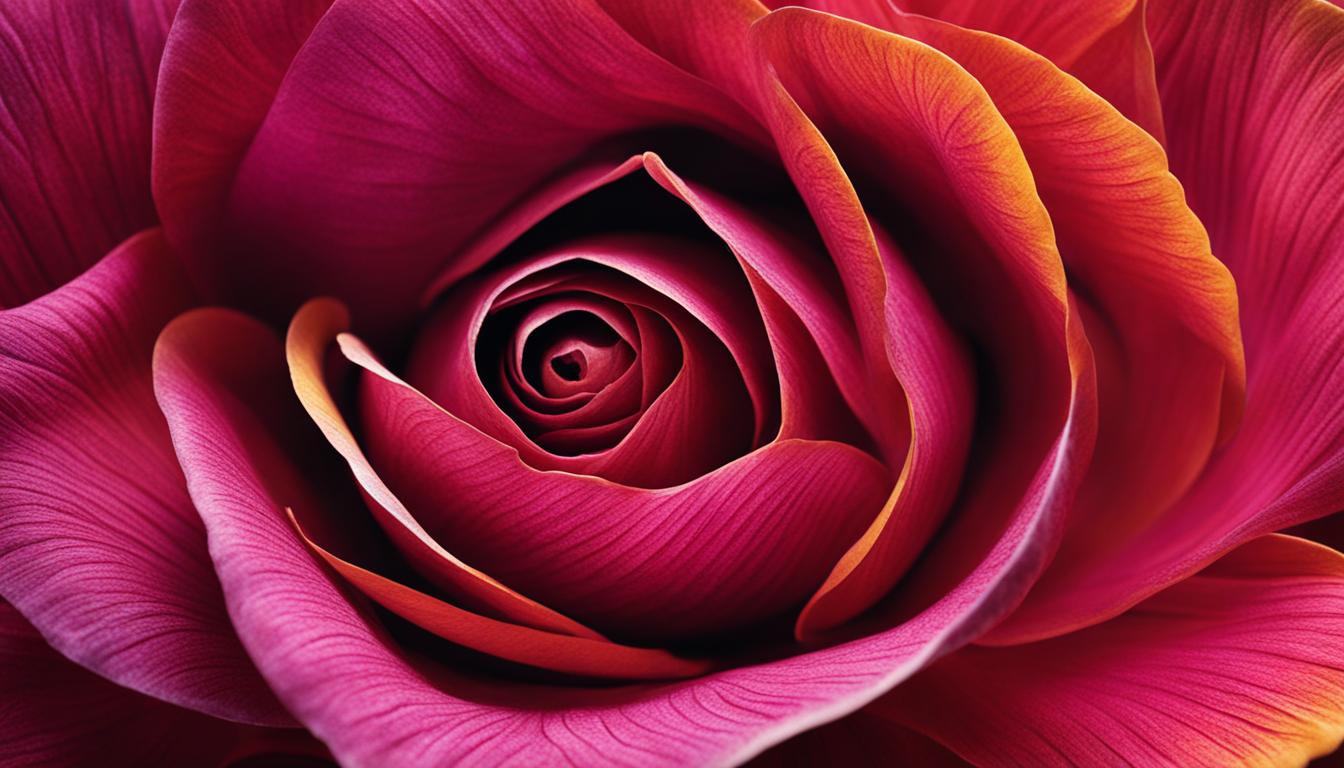
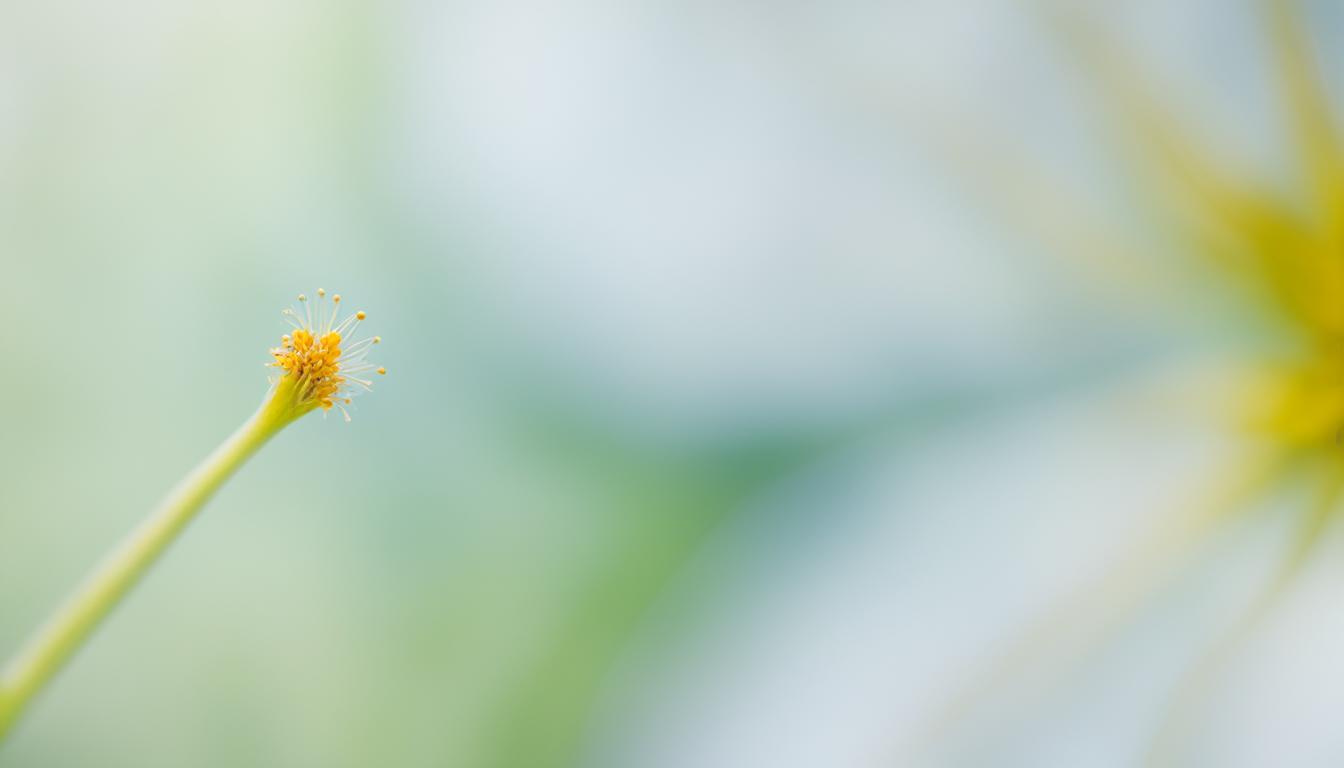
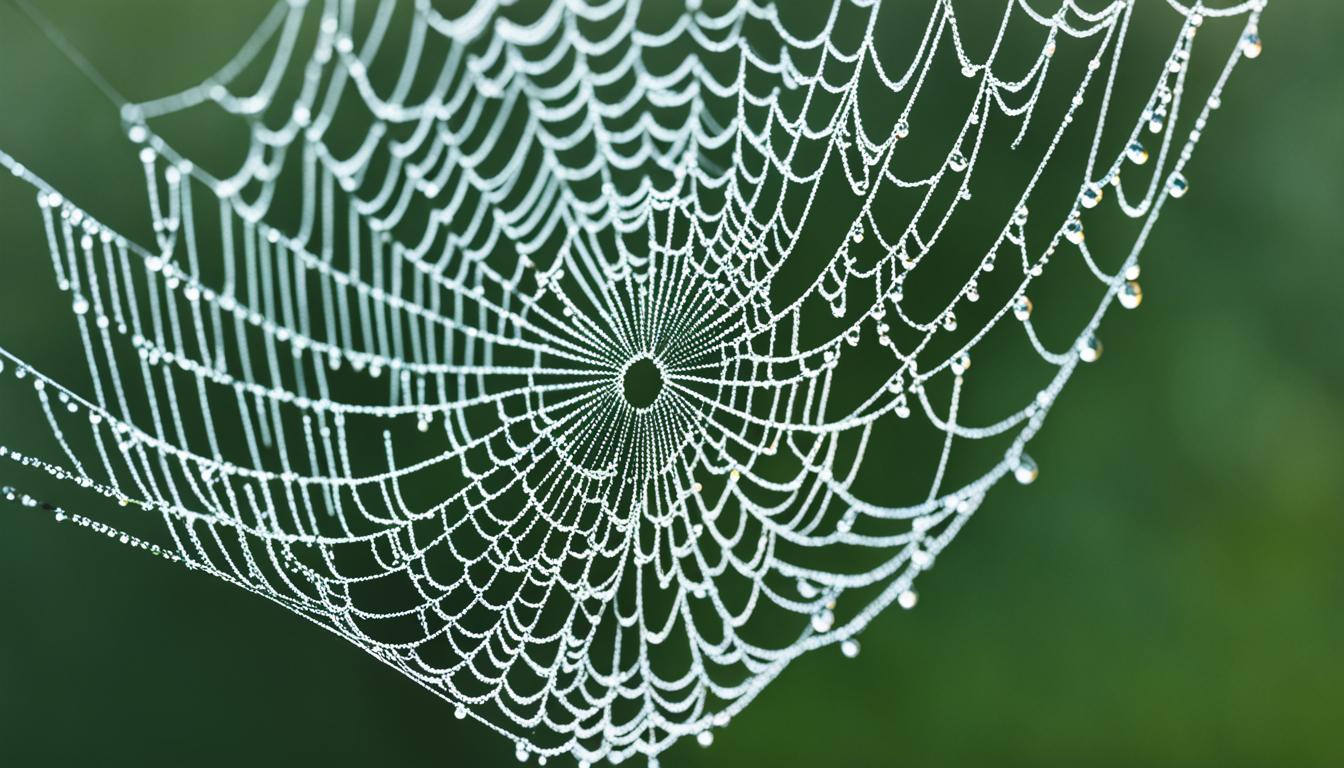
Welcome to our guide on macro photography in nature! If you have ever marveled at the intricate details of a flower petal or wanted to capture the beauty of a tiny insect up close, then macro photography is for you. With this technique, you can explore the world of nature photography, getting up close and personal with botanical wonders and captivating wildlife.
Macro photography is all about capturing the small, often unseen elements of the natural world. It allows us to capture stunning images of flowers, plants, and insects that reveal a whole new level of detail. Whether you are a professional photographer or just starting out, macro photography provides a unique perspective that will bring your images to life.
In this guide, we will show you how to get started with macro photography, find the perfect subjects, master manual mode, achieve sharp focus, enhance lighting, and edit your macro photos for maximum impact. So grab your camera or smartphone, and let’s delve into the world of macro photography!
Key Takeaways:
- Macro photography captures extreme close-up images of subjects in nature.
- It can be achieved with a smartphone camera and a macro lens or a DSLR/mirrorless camera with a dedicated macro lens.
- Your backyard, local parks, and even your own home can provide beautiful subjects for macro photography.
- Shooting in manual mode and using burst shooting techniques can help capture sharp images.
- Lighting plays a crucial role in macro photography, both natural and artificial.
Getting Started with Macro Photography
When it comes to capturing the intricate details of your subjects, a macro lens is essential. Whether you’re using a dedicated camera or a smartphone, there are options available that will allow you to get up close and personal with your photography.
Moment’s macro lens is a high-quality option for smartphone users, offering exceptional clarity and detail. Compatible with popular phone models like the iPhone 11, iPhone 11 Pro, Galaxy S10 Plus, and Pixel 4, this lens is designed to unleash your creativity and bring your macro photography to the next level.
Another great option is Olloclip’s clip-on macro lenses. These lenses can be easily attached to your phone’s camera and are compatible with a range of phone models. With Olloclip, you can capture stunning details and intricate textures, all without the need for expensive equipment or complicated setups.
If you’re interested in purchasing a macro lens for your smartphone or camera, you can find them on popular online retailers like Amazon. With just a few clicks, you’ll have the tools you need to start exploring the fascinating world of macro photography.
Comparison of Macro Lens Options
| Macro Lens | Compatible Devices | Key Features | Price |
|---|---|---|---|
| Moment Macro Lens | iPhone 11, iPhone 11 Pro, Galaxy S10 Plus, Pixel 4 | – High-quality optics – Easy to attach and detach – Captures intricate details |
$99.99 |
| Olloclip Macro Lenses | Various phone models | – Clip-on design – Compatible with multiple devices – Portable and convenient |
$79.99 |
Whether you choose Moment’s macro lens or opt for Olloclip’s clip-on lenses, you’ll be amazed at the incredible detail and close-up capabilities they offer. With these tools at your disposal, you’ll be able to capture stunning macro photographs that showcase the beauty of the smallest subjects.
Finding the Perfect Subjects for Macro Photography
The natural world is a treasure trove of captivating subjects for macro photography. Whether you’re exploring the flora and fauna in your garden, nearby parks, or even your own home, there are endless opportunities to discover and capture the beauty of insects, flowers, plants, and other small details. With a keen eye and a bit of patience, you can uncover hidden gems that reveal the intricate wonders of nature.
When venturing into the great outdoors, take the time to truly observe and immerse yourself in the environment. Allow yourself to be fascinated by the vibrant colors of blooming flowers, the delicate patterns on butterfly wings, or the fascinating structure of a tiny plant. Look for interesting compositions and unique perspectives that highlight the intricate details that may otherwise go unnoticed.
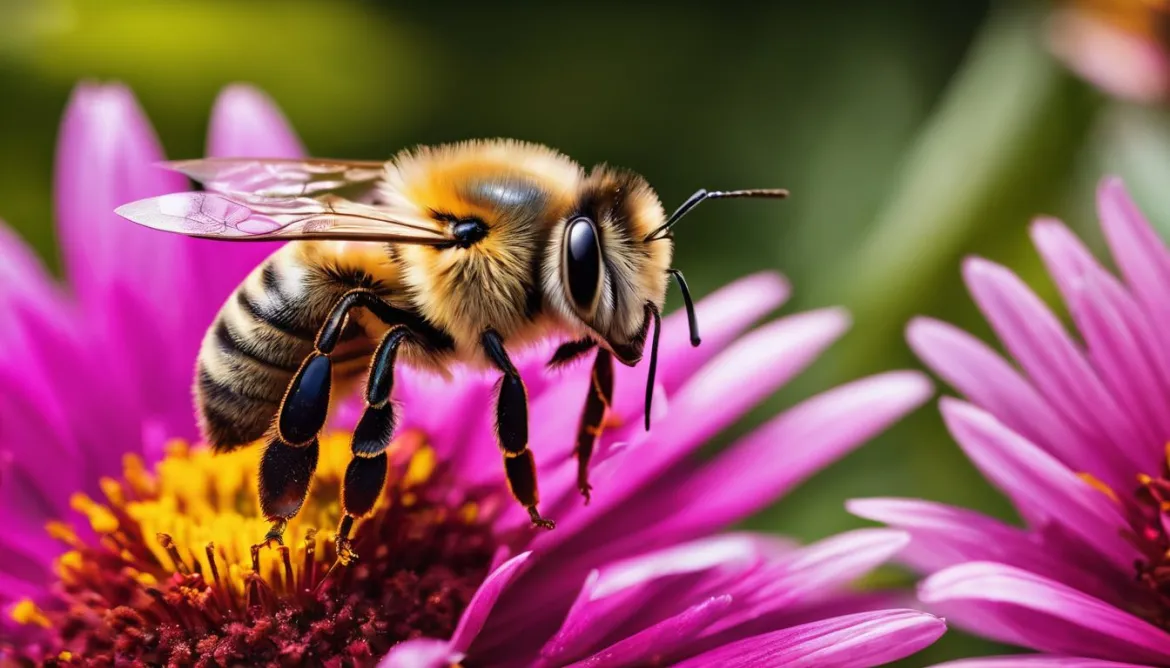
A visit to your local garden or park can be a fruitful expedition, offering a variety of natural items as potential subjects. You might come across a ladybug perched on a vibrant petal, a bee collecting pollen from a delicate blossom, or a captivating pattern etched onto a leaf. Remember to respect the habitats of these creatures and avoid causing any harm or disturbance to their natural surroundings.
Don’t overlook the possibilities within your own home! Even the tiniest details, such as the intricate texture of a seashell or the delicate veins on a houseplant’s leaf, can make for intriguing subjects. You can even create your own mini studio by arranging flowers or other natural elements on a tabletop and experimenting with different lighting and compositions.
“In every tiny aspect of the natural world, there is beauty waiting to be captured through our lenses.”
– Unknown
Remember, macro photography is all about capturing the often overlooked small details that make up the grand tapestry of life. So, grab your camera, venture out, and let the wonders of the natural world unfold before your lens!

| Subject | Location |
|---|---|
| Insects | Garden, Park |
| Flowers | Garden, Park |
| Plants | Garden, Park, Home |
| Natural Items | Home |
| Small Details | Garden, Park, Home |
Mastering Manual Mode for Macro Photography
Shooting in manual mode gives us greater control over our camera settings and allows us to achieve the desired look in our macro photos. Whether we’re using a smartphone camera or a dedicated camera, making use of Pro mode or Manual mode is essential.
For smartphone users, we can utilize apps like the Moment app to access and control manual settings. Moment also offers a range of high-quality Moment lenses that can enhance our macro photography.
When shooting in manual mode, it’s recommended to capture images in raw format. This format gives us the flexibility to make detailed adjustments during post-processing, ensuring the highest quality output.
One important setting to pay attention to is the shutter speed. Adjusting the shutter speed allows us to control the amount of light that enters the camera, minimizing the risk of blurry images caused by camera shake.
Remember, mastering manual mode is all about experimenting with different settings and finding the perfect combination that suits your style and the subject you are capturing.
| Advantages of Manual Mode for Macro Photography | Disadvantages of Manual Mode for Macro Photography |
|---|---|
|
|
Capturing the Perfect Shot with Burst Shooting
Capturing the perfect shot of moving subjects is essential in macro photography. That’s where burst shooting comes to the rescue. By utilizing burst shooting, you can increase your chances of capturing a sharp image even when your subject is in motion. This technique is particularly useful when photographing unpredictable creatures like insects.
Burst shooting involves taking multiple photos in quick succession with just a single press of the shutter button. This rapid-fire approach allows you to freeze the motion and capture the exact moment that showcases the subject’s movement. By doing so, you can minimize motion blur and increase the likelihood of getting that one perfect shot.
During burst shooting, each frame can capture a slightly different pose or position of your subject. This means that you’ll have a range of images to choose from when reviewing and editing your photos. You can carefully select the frame that captures the subject in the most appealing and impactful way.
Burst shooting is a game-changer in macro photography, enabling us to freeze the movement of tiny creatures and capture moments that we might miss otherwise. It’s like having a burst of excitement right in the palm of your hands.
Remember, burst shooting should be used strategically to avoid ending up with too many similar photos or filling up your memory card too quickly. It’s always a good idea to review and delete any unnecessary frames after your photo shoot.
Tips for Burst Shooting in Macro Photography
- Use burst shooting when capturing fast-moving insects or other creatures to increase your chances of getting a sharp shot.
- Experiment with different burst shooting modes on your camera or smartphone to find the best option for your specific needs.
- Ensure you have sufficient memory card space and a fast writing speed to accommodate the rapid succession of photos.
- When photographing a moving subject, try to predict its movement and be ready to press the shutter button at the right moment.
- Keep an eye on your camera’s autofocus system to ensure it can keep up with the quick changes in the subject’s position.
- Review and select the best frame(s) from the burst shots during the editing process to showcase the perfect moment.
Burst shooting is an invaluable tool for macro photographers looking to capture the dynamic beauty of their subjects. It allows us to freeze time and celebrate the mesmerizing movements that often go unnoticed in the blink of an eye.

| Burst Shooting | Benefits |
|---|---|
| Increased chance of capturing a sharp image | Minimizes motion blur and preserves details |
| Captures the exact moment of the subject’s movement | Freezes dynamic and captivating poses |
| Provides a range of images to choose from | Allows selection of the most impactful shot |
Achieving Sharp Focus in Macro Photography
In macro photography, achieving sharp focus can be a challenge due to the narrow plane of focus. When shooting up close, only a small portion of the subject will be in sharp focus, while the rest may appear blurry.
One technique that professional macro photographers use to overcome this limitation is focus stacking. Focus stacking involves capturing multiple images of the same subject, each with a different focus point, and then combining them into a single image where the entire subject is in focus. This method is especially useful when photographing subjects with intricate details, such as flowers or insects.
However, focus stacking requires the subject to remain still, which may not always be possible in the field. In such cases, manual focus becomes essential for achieving sharp focus on a specific area of the subject. By manually adjusting the focus ring on your camera or lens, you have greater control over which part of the subject you want to be in focus.
| Technique | Pros | Cons |
|---|---|---|
| Focus Stacking | – Ensures the entire subject is in focus – Ideal for subjects with intricate details |
– Requires subject to remain still – Time-consuming post-processing |
| Manual Focus | – Allows precise control over focus – Useful for capturing specific areas of the subject in sharp focus |
– Challenging when the subject is moving – Requires practice and skill |
Experiment with both focus stacking and manual focus to determine which technique works best for your specific macro photography needs.
Another tip for achieving sharp focus in macro photography is to pay attention to focus points. Most cameras offer multiple focus points that you can manually select. By choosing the focus point closest to your intended subject, you increase the chances of achieving sharp focus on that specific area.
Remember, in macro photography, even a slight movement can result in a loss of focus. So, it’s important to use a tripod or other stabilizing equipment to keep your camera steady. This will help minimize camera shake and ensure sharper images.
Enhancing Lighting in Macro Photography
When it comes to macro photography, lighting is a vital element that can greatly impact the quality of your images. In this section, we will explore the importance of both natural and artificial lighting in capturing stunning macro photos.
Many outdoor macro photographers prefer to work with natural light as it can beautifully enhance the colors and details of their subjects. The bright midday sun, in particular, provides ample light to illuminate your subjects. By taking advantage of natural light, you can capture the intricate details and vibrant colors of your subjects in a captivating way.
However, there may be situations where natural light is not sufficient or available. In shaded areas or when working indoors, additional lighting can be used to brighten up the subject and provide more control over lighting angles. One reliable option for macro photography is the RotoLight LED light. This versatile light source allows you to adjust the brightness and directionality of the light, enabling you to create the perfect lighting setup for your macro photos.
Experimenting with different lighting angles can dramatically transform the mood and overall effect of your macro images. By varying the placement of the light source, you can create interesting shadows, emphasize texture, or highlight specific details of your subjects. Don’t be afraid to get creative and explore different lighting setups to achieve the desired effect in your macro photos.
Benefits of RotoLight LED light:
| Features | Benefits |
|---|---|
| Adjustable brightness | Allows you to control the intensity of the light for optimal exposure |
| Directional lighting | Enables you to direct the light precisely where you want it, highlighting specific details |
| Portable and lightweight | Easy to carry and set up for on-location macro photography |
| Rechargeable batteries | Provides convenience and ensures you have ample power for longer shoots |
With the right lighting setup, you can bring out the best in your macro subjects, revealing their intricate details and textures. Whether you are working with natural light or incorporating artificial lighting with tools like the RotoLight LED light, don’t be afraid to experiment and push the boundaries to capture truly stunning macro photos.
Editing Macro Photos for Impact
Editing your macro photos can transform them from simple images into stunning works of art. With powerful editing software such as Adobe Lightroom, Snapseed, and VSCO, you can enhance the colors, exposure, and other key elements of your macro photos. Here are some techniques to achieve impactful edits:
- Adjusting White Balance: Achieve a natural and accurate look by fine-tuning the white balance of your macro photos. Use the tools in your editing software to correct any color cast and bring out the true tones of your subjects.
- Balancing Exposure: Ensure that your macro photos have balanced highlights and shadows by adjusting the exposure. This can be done through exposure sliders or curves in your editing software. Find the optimal exposure settings that best showcase the details and textures in your subjects.
- Using Adjustment Brushes: Highlight specific areas of your macro photos by using adjustment brushes. This allows you to selectively adjust brightness, contrast, saturation, or other parameters to draw attention to the subject or create mood in the image.
- Creating Vignettes: Add a subtle vignette effect to your macro photos to further emphasize the subject. Vignettes help to frame the subject and draw the viewer’s attention towards it. Experiment with the intensity and size of the vignette to achieve the desired effect.
Example:
“Editing our macro photos has been a game-changer for us. With Adobe Lightroom, we can bring out the vibrant colors and intricate details in our subjects. Fine-tuning the white balance ensures accurate representation, while exposure adjustments balance the highlights and shadows. Using adjustment brushes, we can selectively enhance specific areas, creating compelling focal points. Lastly, adding a subtle vignette effect draws attention to the subject, providing a finishing touch to our macro photos.”
Remember to maintain a natural look in your edits and avoid overly dramatic effects. The goal is to enhance the beauty of your macro photos while staying true to the original scene. Be sure to save a backup of your original files before making any edits, allowing you to revisit and refine your edits in the future if desired.
| Software | Key Features |
|---|---|
| Adobe Lightroom | Advanced editing tools, precise control over adjustments, non-destructive editing |
| Snapseed | Selective editing, powerful filters, intuitive interface |
| VSCO | Film-inspired presets, fine-tuned editing controls, community features |
Macro Photography Inspiration from Instagram
Looking for some inspiration to take your macro photography to the next level? Instagram is the perfect platform to discover talented macro experts and Instagram photographers who specialize in capturing the beauty of nature up close.
Follow these amazing Instagram photographers who are known for their stunning nature macro photography:
- Kyle van Bavel – @kylevanbavel
- Laurent Hesemans – @laurent.hesemans
- Mika Geiger – @mikasmacros
- Hannah Mather – @hannahmatherphotography
- Javier Aznar González de Rueda – @javieraznarphotography
- Karine Aigner – @karineaigner
- Caroline Jensen – @carolinej
- Gina Danza – @gina_danza
- Dominik Walter – @dwalterphotography
- Kristine – @macrofunatics
These photographers showcase their incredible macro images using the Sony Alpha camera series and lenses, such as the Sony 90mm f/2.8 Macro G lens. Their photographs capture the intricate details and breathtaking beauty of the natural world.
Take a moment to explore their work and discover new techniques and perspectives for your own macro photography.
Remember, in macro photography, it’s all about capturing the finer details of nature and creating visually stunning images. So grab your camera, find inspiration from these talented photographers, and let your creativity flourish!
Conclusion
Macro photography in nature offers an enchanting exploration of the intricate details and unseen beauty of the natural world. By implementing these macro photography tips, utilizing a macro lens, mastering manual mode, and experimenting with lighting and post-processing techniques, you can skillfully capture stunning macro images of plants and insects.
Remember, patience is key in the world of macro photography. Take the time to observe and appreciate the surroundings, respecting the environment as you seek out captivating subjects. Continuously seeking inspiration from other photographers, both on and off Instagram, can further refine your skills and ignite your creative spark.
With dedication, creativity, and a keen eye for detail, macro photography can become a truly rewarding and captivating pursuit. So, grab your macro lens, harness the power of lighting, and unleash your post-processing prowess. Dive into the fascinating world of macro photography, where every click of the shutter reveals the extraordinary beauty hidden within the tiniest of details.
FAQ
What is macro photography?
Macro photography is a technique used to capture extreme close-up images of subjects, such as insects and flowers, with incredible clarity and detail.
What equipment do I need for macro photography?
To get started with macro photography, you will need a macro lens for your camera or smartphone. Moment’s macro lens is a high-quality option for smartphones, while Olloclip offers clip-on macro lenses that are compatible with many phone models.
Where can I buy a macro lens for my smartphone?
Moment’s macro lens and Olloclip’s clip-on macro lenses can be purchased on Amazon and other online retailers.
What subjects are suitable for macro photography?
The natural world provides countless subjects for macro photography, including insects, flowers, plants, and other small details. You can find interesting compositions and unique perspectives in your garden, nearby parks, or even in your own home.
How can I achieve sharp focus in macro photography?
Manual focus and selecting the desired focus point on your camera or smartphone can help achieve sharp focus on a specific area of the subject. Furthermore, professional macro photographers often use a technique called focus stacking, where multiple images with different focus points are combined to create a fully in-focus subject.
How can I capture moving subjects in macro photography?
Burst shooting is a helpful technique for capturing the perfect shot of moving subjects in macro photography. By taking multiple photos in quick succession, you increase your chances of getting a sharp image and minimizing motion blur.
What lighting should I use for macro photography?
Outdoor macro photographers often rely on natural light, such as the bright midday sun, to enhance the colors and details of their subjects. In shaded areas or when working indoors, additional lighting may be needed. LED lights like RotoLight can be used to brighten up the subject and provide more control over lighting angles.
How can I enhance my macro photos through editing?
Editing software like Adobe Lightroom, Snapseed, and VSCO can be used to enhance the colors, exposure, and other elements of your macro photos. Adjusting white balance, exposure, and using adjustment brushes and vignettes can help create stunning works of art.
Where can I find inspiration for macro photography?
Instagram is a great platform to find inspiration for macro photography. Follow talented photographers like Kyle van Bavel, Laurent Hesemans, Mika Geiger, Hannah Mather, Javier Aznar González de Rueda, Karine Aigner, Caroline Jensen, Gina Danza, Dominik Walter, and Kristine for their stunning macro images.
Any tips for getting started with macro photography?
To get started with macro photography, you will need a macro lens, master manual mode, experiment with lighting and editing techniques, and continuously seek inspiration from other photographers. Patience, respect for the environment, and dedication are crucial in capturing stunning macro images of plants and insects.
What is the importance of macro photography in capturing natural details?
Macro photography allows us to explore the intricate details and unseen beauty of the natural world. Through macro photography, we can appreciate the small wonders of nature, from the delicate patterns on a butterfly’s wings to the intricate structure of a flower petal.
How can I use Macro Photography to Capture Movement in Nature?
Macro photography allows you to capture movement techniques in nature in amazing detail. By using a fast shutter speed and proper lighting, you can freeze the motion of a fluttering butterfly or a buzzing bee, creating stunning images that highlight the beauty and intricacy of the natural world.


