When it comes to astrophotography, capturing breathtaking images of the night sky is just the beginning. The real magic happens during post-processing, where we can unleash the full potential of our astrophotography captures. In this article, we’ll explore the essential post-processing techniques that can take your astrophotography images to new heights.
Post-processing techniques for astrophotography involve a series of steps that can greatly enhance the color, detail, clarity, and overall appearance of your images. By mastering these techniques, you can bring out the hidden beauty of the cosmos in your photographs.
One of the key steps in the post-processing workflow is color calibration. It involves standardizing the colors of deep sky objects to match generally accepted colors. This technique ensures that your astrophotography images display accurate and visually pleasing colors. Additionally, noise reduction techniques can significantly improve the signal-to-noise ratio and reduce the graininess in your images, resulting in cleaner and more detailed captures.
Image stacking is another commonly used technique in astrophotography post-processing. By combining multiple images, you can increase the signal-to-noise ratio, revealing more details in your final photograph. Furthermore, star removal and reduction techniques allow you to enhance the focus on your intended target by toning down the background star field.
Key Takeaways:
- Color calibration is essential in astrophotography to ensure accurate and visually pleasing colors.
- Noise reduction techniques can help improve the signal-to-noise ratio and reduce graininess in your images.
- Image stacking can enhance the details in your astrophotography captures.
- Star removal and reduction techniques allow you to focus on your intended target.
- Mastering post-processing techniques can take your astrophotography images to new heights.
Color Calibration
Color calibration is an essential step in astrophotography processing. It involves standardizing the color of the deep sky objects to match accepted colors for those objects.
There are two main ways to perform color calibration: manual color calibration and photometric color calibration. In software like Pixinsight and Siril, both methods can be easily implemented.
Manual color calibration requires setting a black point and choosing a bright area as a reference for color analysis. This method allows for precise control over the color adjustment process. By selecting a bright area as a reference, we can ensure accurate color representation for the entire image.
Photometric color calibration takes advantage of pre-set palettes for specific objects in the night sky. This method simplifies the color calibration process by providing predefined color profiles for different celestial objects. By using this approach, we can achieve quick and consistent color calibration without the need for manual adjustments.
Both manual color calibration and photometric color calibration have their advantages and can significantly improve the overall color accuracy of astrophotography images.
Comparison of Manual Color Calibration and Photometric Color Calibration
| Method | Advantages | Disadvantages |
|---|---|---|
| Manual Color Calibration |
|
|
| Photometric Color Calibration |
|
|
Regardless of the chosen method, color calibration plays a crucial role in ensuring accurate and visually appealing astrophotography images. It allows us to bring out the true colors of celestial objects and present them in a way that aligns with scientific expectations.
Noise Reduction
Noise reduction is a critical consideration in astrophotography. As we capture images of dim and distant objects in the night sky, the low signal can be easily affected by noise, resulting in a decrease in image quality. The signal-to-noise ratio plays a crucial role in determining the clarity and detail of our astrophotography images.
To overcome the challenges of noise, we can employ various techniques that are proven to be effective in reducing noise and improving the overall image quality. One key aspect is using a high-quality camera with less noise production. Investing in a top-tier camera can significantly contribute to reducing noise and enhancing image results.
Another technique for noise reduction is image stacking. By capturing multiple images of the same target and stacking them using specialized software, we can increase the signal-to-noise ratio and reduce the impact of noise. The stacking process aligns and averages the images, effectively reducing random noise and emphasizing the desired signal.
Furthermore, noise reduction tools available in software like Photoshop and Pixinsight can be utilized to further enhance the quality of our astrophotography images. These tools offer advanced algorithms and filter options to effectively reduce noise while preserving important details and maintaining overall image integrity.
Additionally, it’s important to note that imaging in colder temperatures can help reduce thermal noise. Thermal noise is caused by the heat generated within the camera’s sensor, resulting in unwanted signals in our astrophotography images. To address this, using a cooled camera can significantly reduce thermal noise and improve the overall image quality.

By implementing these noise reduction techniques and leveraging advanced software tools, we can optimize our astrophotography workflow and achieve stunning results with enhanced clarity, detail, and signal-to-noise ratio.
Star Removal and Reduction
When capturing astrophotography images, it’s not uncommon for the background stars to overshadow the details of the intended target, especially in areas where the sky is densely populated with stars. To address this issue and enhance the focus on the target, star removal and reduction techniques can be employed.
To remove or reduce the brightness of stars in your astrophotography images, you can utilize software tools like Photoshop’s Astronomy Tools set and StarXterminator. These tools provide the necessary features and functionalities to perform star removal and reduction effectively.
Enhancing the focus on the target is key in astrophotography. By removing or toning down the background star field, we can reveal the intricate details and bring out the best in our images.
By removing or reducing stars, a more balanced image is achieved, allowing the intended target to take center stage. This technique enhances the details and clarity of the target, resulting in visually stunning and breathtaking astrophotography images.
The following table provides a comparison of different star removal and reduction techniques:
| Technique | Software | Pros | Cons |
|---|---|---|---|
| Astronomy Tools | Photoshop | – Easy to use – Offers precise control over star removal – Compatible with popular astrophotography software |
– Requires prior knowledge of Photoshop – Access to Astronomy Tools set |
| StarXterminator | Photoshop | – Designed specifically for star removal and reduction – Offers automated star detection – Provides customizable settings |
– Requires prior knowledge of Photoshop – Additional cost for the StarXterminator plugin |
With these powerful tools at our disposal, we can effectively enhance our astrophotography images by removing or reducing stars and bringing out the details of our intended targets. By striking a balance between the background star field and the desired subject, we create visually captivating images that astound viewers.
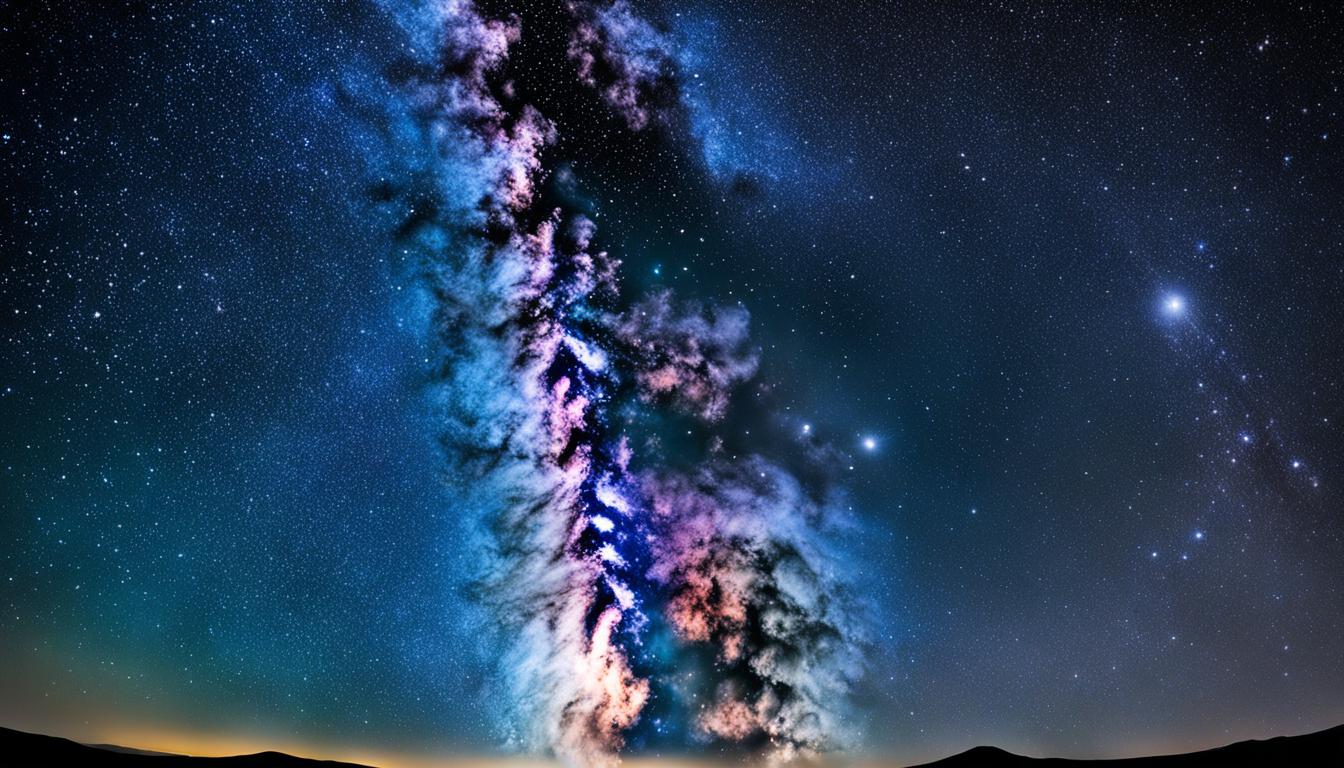
A mesmerizing background star field enhances the overall aesthetic of astrophotography images.
Editing Workflow for Different Types of Astrophotography
When it comes to astrophotography, the editing workflow can vary depending on the type of subject you’re capturing. Whether you’re working with starry landscapes or editing moon photos, different strategies and techniques can be employed to enhance your images and bring out the desired details.
Starry Landscapes
For starry landscapes, software like Starry Landscape Stacker and Sequator can be valuable tools in your editing arsenal. These programs allow you to stack and align multiple images of the night sky while keeping the landscape fixed, resulting in stunning starry compositions. The stacked images help to reduce noise and enhance the overall quality of the final image, allowing you to create captivating astrophotography of majestic star-filled landscapes.
Editing Moon Photos
Editing moon photos requires a slightly different approach. Preprocessing software like PIPP can be used to optimize the captured frames, preparing them for subsequent editing. Stacking tools such as Registax or Autostakkert! can then be utilized to combine multiple frames and create a sharper, more detailed representation of the moon. Finally, applying adjustments in software like Photoshop allows for further enhancement of details and colors, bringing out the intricacies and beauty of Earth’s celestial neighbor.
Each type of astrophotography subject may have its own unique editing requirements. Adjustments that work well for starry landscapes may not yield the same results for moon photos. Understanding the nuances of each type of subject and employing specific editing strategies can help you achieve remarkable astrophotography results.

| Subject Type | Software | Techniques |
|---|---|---|
| Starry Landscapes | Starry Landscape Stacker, Sequator | Image stacking, aligning sky and landscape |
| Moon Photos | PIPP, Registax, Autostakkert!, Photoshop | Preprocessing, image stacking, adjustments |
By utilizing the appropriate editing strategies and tools tailored to each type of astrophotography, you can elevate your images and bring out the desired details in a visually pleasing way. Experiment with different techniques, refine your workflow, and let your creativity shine through the starry landscapes and moon photos you capture.
Conclusion
The post-processing techniques discussed in this article provide valuable insights into enhancing astrophotography images and bringing out the desired details. By incorporating color calibration, noise reduction, star removal and reduction, and other editing strategies, astrophotographers can significantly improve the overall quality and appearance of their captures. It is crucial to follow a professional astrophotography workflow and utilize appropriate photo editing tips and tools to achieve the best results.
Color calibration plays a crucial role in standardizing the color of deep sky objects. Whether through manual color calibration or photometric color calibration, astrophotographers can achieve greater color accuracy in their images. Furthermore, noise reduction techniques, such as stacking multiple images and using noise reduction tools, can effectively enhance the signal-to-noise ratio, resulting in clearer and more visually appealing astrophotography.
Additionally, star removal and reduction techniques help direct the viewer’s focus towards the intended target. By toning down the background star field, the details of the subject are emphasized, creating more balanced and impactful astrophotography images. By following these astrophotography enhancements and experimenting with different editing strategies, photographers can elevate their starry captures and transform them into galactic works of art.
FAQ
What are some post-processing techniques for astrophotography?
Some post-processing techniques for astrophotography include color calibration, noise reduction, image stacking, and star removal and reduction.
What is color calibration in astrophotography post-processing?
Color calibration in astrophotography post-processing involves standardizing the color of deep sky objects to match accepted colors. It can be done manually or using photometric color calibration methods.
How can noise reduction be achieved in astrophotography?
To achieve noise reduction in astrophotography, techniques such as using a high-quality camera with low noise production, stacking multiple images, and using noise reduction tools in software can be applied. Lowering the camera’s temperature can also help reduce thermal noise.
How can star removal and reduction enhance astrophotography images?
Star removal and reduction techniques can enhance astrophotography images by toning down the background star field, which allows the intended target to stand out more clearly and reveal finer details.
What is the editing workflow for different types of astrophotography?
The editing workflow for different types of astrophotography varies. For starry landscapes, software like Starry Landscape Stacker and Sequator can be used for image stacking and alignment. For moon photos, preprocessing with software like PIPP, stacking with tools like Registax or Autostakkert!, and applying adjustments in Photoshop are common techniques.
How can post-processing techniques enhance astrophotography images?
Post-processing techniques can greatly enhance astrophotography images by improving color accuracy, reducing noise, highlighting target details, and creating a visually pleasing overall result.
How Can Post-Processing Techniques Enhance Advanced Composition in Astrophotography?
Post-processing techniques play a crucial role in enhancing advanced astrophotography composition techniques. By using tools such as stacking, sharpening, and noise reduction, photographers can bring out the intricate details and create stunning, high-quality images of celestial objects. These techniques are essential for achieving professional-level results in astrophotography.