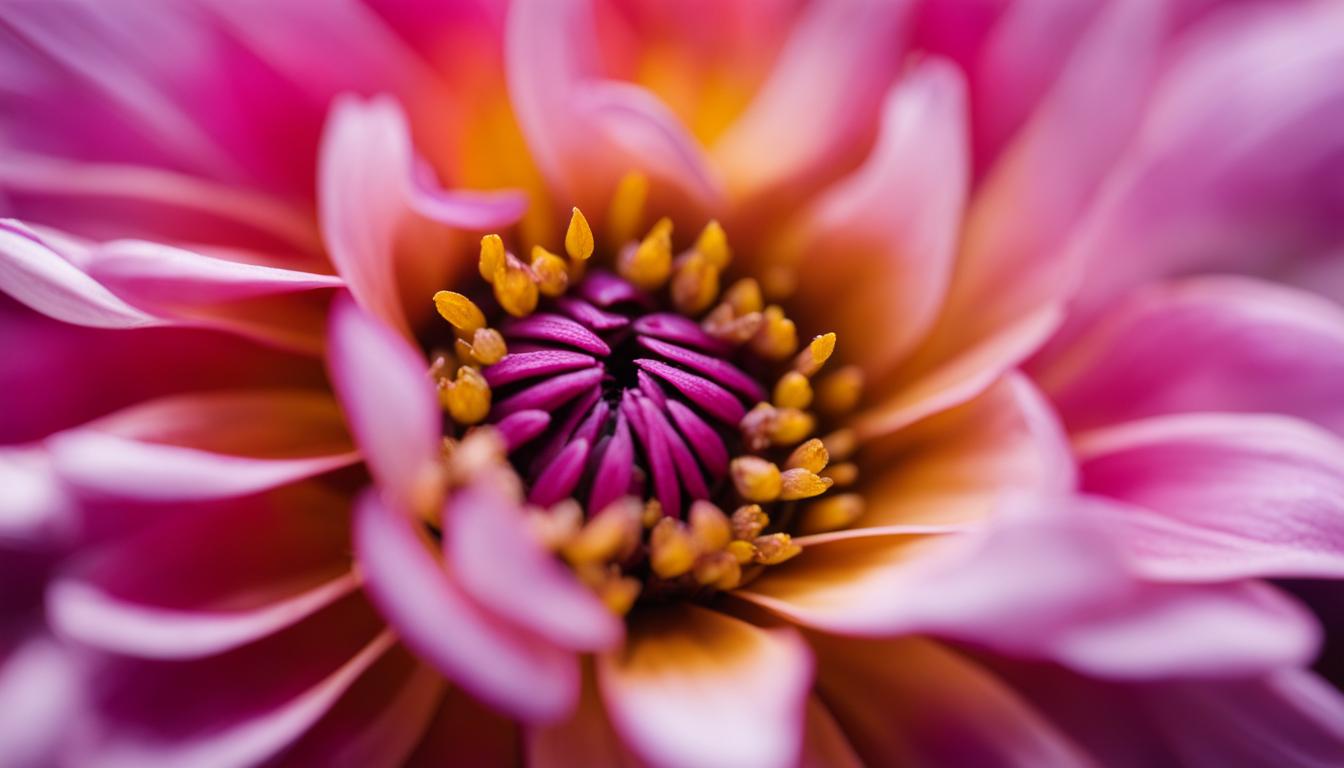
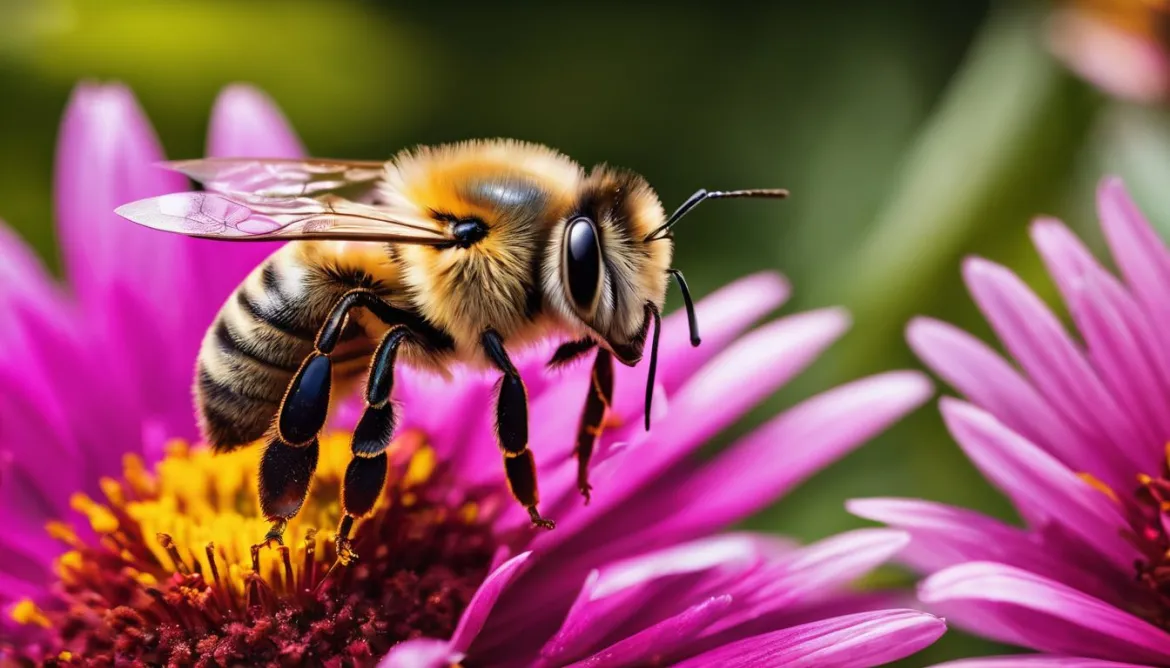
When it comes to capturing the beauty of the tiny world in macro photography, post-processing plays a vital role. By carefully adjusting the details and reducing noise, we can elevate our macro photos to a whole new level. In this article, we’ll explore the essential techniques to enhance the quality of your macro images through post-processing.
Raw files are highly recommended for macro photography, as they capture more information, dynamic range, and color gamut. Additionally, focus stacking, a technique that combines multiple shots with different focal depths, is often used to achieve extended depth of field in macro photography.
Key Takeaways:
- Post-processing is essential for bringing out the full potential of macro images.
- Raw files provide more flexibility and creativity in editing macro photos.
- Focus stacking is a useful technique for achieving extended depth of field.
- Reducing noise and enhancing details are key steps in post-processing macro shots.
- Experiment with different adjustments to achieve the desired look and feel in your macro photos.
The Importance of Post-Processing for Macro Photography
When it comes to capturing stunning macro shots, the work doesn’t end after clicking the shutter button. Post-processing plays a crucial role in enhancing and refining your macro images, allowing you to achieve the highest level of quality and detail. While capturing a great macro shot is important, it is in the post-processing stage where you truly bring your vision to life.
Macro photography presents unique challenges, such as limited depth of field and lighting issues, that can be effectively addressed through post-processing techniques. By making adjustments to exposure, colors, composition, and noise reduction, you can elevate your macro photos to new heights and create visually captivating images.
Through careful editing and post-processing, you have the power to improve macro photo quality and bring out the intricate details that might have gone unnoticed in the original image. Whether it’s enhancing the colors of a delicate flower petal or reducing noise to reveal the fine textures of a bug’s exoskeleton, post-processing enables you to unlock the true potential of your macro photographs.
Post-processing is the key to transforming your macro images from good to extraordinary. It allows us to fine-tune the smallest details and create images that evoke emotion and captivate viewers. With the right editing techniques, we can turn our vision into a reality.
To understand the importance of post-processing in macro photography, let’s delve into some of the essential techniques that can greatly improve the quality and impact of your images:
Adjusting Exposure for Maximum Detail Enhancement
One of the first steps in post-processing macro photos is to adjust the exposure. This involves refining the brightness, contrast, and overall tonal range to maximize the detail in your images. By carefully adjusting the exposure levels, you can bring out the intricate textures, highlight the important elements, and create a more visually appealing composition.
Enhancing Colors to Make Your Macro Photos Pop
The vibrant colors in macro photography can make your images truly stand out. Through post-processing, you can enhance and fine-tune the colors to create a more captivating visual experience. Whether it’s adjusting the white balance to achieve accurate and natural colors or increasing the saturation to make the colors more vibrant, color adjustment techniques can breathe life into your macro images.
Reducing Noise for a Clean and Crisp Look
Noise can be a common issue in macro photography, especially when shooting in low-light conditions or at higher ISO settings. Post-processing software provides powerful noise reduction tools that can significantly improve the overall quality of your macro photos. By reducing noise while preserving crucial details, you can achieve a cleaner and more professional look in your images.
Sharpening to Enhance Fine Details
To truly bring out the intricate details in your macro photographs, it’s important to apply sharpening techniques during post-processing. Sharpening enhances the clarity and definition of the fine textures, making the subject appear more detailed and visually appealing. By selectively sharpening the important areas, you can create a more impactful image that grabs the viewer’s attention.
Post-processing is the key to taking your macro photography to the next level. By harnessing the power of editing software and implementing the right techniques, you can improve macro photo quality, magnify the smallest details, and create images that leave a lasting impression. With each adjustment and refinement, you have the opportunity to transform your macro images into works of art.
Selecting the Best Image for Editing
When it comes to editing macro photos, choosing the right image to work on is crucial for achieving the best results. In close-up photography, it’s common to have a series of similar shots with subtle variations in settings. To make the selection process easier, we recommend utilizing tools like Lightroom’s Compare View.
Compare View allows you to compare files side-by-side, enabling you to carefully analyze and evaluate each image in detail. This feature helps determine the best shot in a sequence based on various factors such as sharpness, composition, and overall visual impact.
By visually comparing images, you can identify the one that stands out from the rest and possesses the desired qualities for post-processing. Pay attention to the level of detail, clarity, and overall aesthetic appeal of each photo.
Factors to Consider:
- Sharpness: Look for images that are well-focused and exhibit optimal sharpness in key areas of interest.
- Composition: Consider the composition of each shot and choose the one that showcases the subject in the most visually pleasing way.
- Visual Impact: Assess the overall visual impact of the image, including elements like color, contrast, and subject presence.
By carefully selecting the best image for editing, you can save time and energy during the post-processing stage while ensuring that you achieve the desired results. Remember, it’s all about choosing the photo that best represents your creative vision and captures the essence of the subject at hand.
Adjusting Exposure for Detail Enhancement
Achieving the perfect exposure is crucial when it comes to macro photography. It allows us to capture the intricate details and highlight the subject’s features effectively. In post-processing software like Lightroom, we have a range of tools that enable us to refine the exposure and enhance the overall quality of our macro shots.
Tone Settings for Exposure Refinement
Lightroom provides us with a powerful feature called Tone settings, which allows us to adjust various aspects of the exposure. By modifying the exposure, contrast, highlights, shadows, and whites, we can fine-tune the overall look of our macro photographs. This enables us to bring out the details and create images that truly stand out.
When adjusting the exposure, it’s important to strike a balance between enhancing details and maintaining a natural look. Overprocessing can lead to an artificial appearance, so we need to exercise caution and ensure that the final result reflects the true essence of the subject.
Setting the Black and White Points
Another technique that can greatly enhance the detail and contrast in our macro photos is setting the black and white points. This involves using the histogram or the auto setting to determine the optimal endpoints of the tonal range.
By setting the black point, we establish the darkest part of the image, while the white point determines the lightest part. This adjustment helps us achieve the desired contrast and tonal balance in our macro photographs.
Let’s take a look at an example of how adjusting the exposure and setting the black and white points can elevate the quality of a macro shot:
| Before | After |
|---|---|
As you can see, with proper adjustments to the exposure and setting the black and white points, the image on the right brings out the details and depth more effectively, creating a visually striking macro photograph.
Taking the time to adjust the exposure and set the black and white points can significantly enhance the quality of our macro photos. It allows us to highlight the details and create images that truly captivate the viewer’s attention. So, let’s not underestimate the power of post-processing in achieving exceptional macro photography results.
Enhancing Colors in Macro Photos
When it comes to macro photography, adjusting the colors can truly make your images stand out. By fine-tuning the color balance, you can bring out the intricate details and vibrancy of your subject, creating visually stunning photos. In this section, we’ll explore how to adjust the colors in macro photos using white balance and temperature.
One of the key tools for color adjustment in macro photography is the white balance feature. Software like Lightroom offers a range of options, including preset values and manual adjustment of temperature and tint. Experimenting with these settings allows you to achieve the desired color temperature and balance in your image.
Let’s take a look at how you can use white balance to enhance the colors in your macro photos:
1. Selecting the Right White Balance Preset
Lightroom provides preset white balance options that are tailored to different lighting conditions. These presets include options such as daylight, cloudy, shade, tungsten, and fluorescent. By selecting the appropriate preset, you can instantly improve the color balance of your macro photos.
2. Fine-Tuning White Balance Manually
If the preset options don’t quite achieve the desired result, you can manually adjust the white balance using the temperature and tint sliders in Lightroom. The temperature slider allows you to cool down or warm up the overall color temperature of the image, while the tint slider lets you adjust the color balance towards green or magenta.
Experimenting with these sliders can help you achieve the perfect color balance that brings out the true essence of your subject.
Additionally, you can make further color adjustments in Lightroom by carefully applying the vibrance and saturation sliders. These tools allow you to enhance the colors without making them appear oversaturated or unrealistic.
To illustrate the importance of color adjustment in macro photography, take a look at the image below:
As you can see, by adjusting the white balance and fine-tuning the colors, the image has become more visually appealing and vibrant.
“The colors in macro photography are like an artist’s palette, waiting to be adjusted and brought to life. By using white balance and temperature adjustments, we can create images that truly captivate the viewer.”
Remember, the goal is to enhance the colors while maintaining a realistic look. It’s important to strike the right balance and avoid overprocessing, as it can diminish the natural beauty of your macro photos.
In the next section, we’ll explore how to make localized adjustments in macro photos to further enhance the details and composition of your images.
Making Localized Adjustments in Macro Photos
When it comes to macro photography, every detail matters. To take your macro shots to the next level, it’s essential to make localized adjustments that highlight specific areas of the image. Fortunately, raw converters like Lightroom offer advanced tools that allow you to achieve this level of precision.
One such tool is the radial gradient tool. With this tool, you can create elliptical masks and adjust specific areas of the image. By applying adjustments like exposure, contrast, and saturation to these selected areas, you can enhance the details and create a more impactful composition.
To use the radial gradient tool effectively, follow these steps:
- Select the radial gradient tool from the toolbar in Lightroom.
- Click and drag to create an elliptical shape over the area you want to adjust.
- Once the radial mask is selected, you can adjust various settings in the Develop module to enhance the specific area.
- Experiment with different adjustments, such as exposure, clarity, and sharpness, to achieve the desired effect.
- Refine the mask by dragging the handles to adjust the size and shape of the elliptical mask.
By making localized adjustments using the radial gradient tool, you can bring attention to the intricate details in your macro photos. Whether you want to highlight a specific flower petal, darken distracting elements, or draw focus to the subject’s center, this tool allows for creative control and precise editing.
Let’s take a look at an example of the radial gradient tool in action:
| Before | After |
|---|---|
 |
As you can see in the example above, the radial gradient tool was used to highlight the center of the flower, resulting in enhanced details and a more visually striking image.
Remember, making localized adjustments is all about experimentation and finding the right balance. Take the time to fine-tune your macro photos using the radial gradient tool, and watch as your images come to life with stunning detail.
Managing Noise in Macro Photos
When it comes to macro photography, noise can often be a challenge, especially in situations with high ISO or low lighting conditions. However, with the right techniques and tools, you can effectively reduce noise in your macro images while preserving essential details.
One useful software for noise reduction in macro photography is Lightroom. This powerful editing tool offers various noise reduction features that can help you achieve cleaner and more professional-looking images. By experimenting with different noise reduction settings, you can find a balance that minimizes noise while retaining the fine details that make your macro photos stand out.
Another technique to reduce noise in macro photos is by stacking multiple exposures. This involves taking several shots of the same subject with different settings and then merging them to create a single composite image. The stacking process helps to average out the noise in each exposure, resulting in a cleaner final image with reduced noise levels.
Here’s an example of how the noise reduction process can improve a macro photo:
As you can see from the image above, the noise reduction technique not only reduces the noticeable grain in the background but also enhances the overall clarity and sharpness of the subject.
Below is a comparison table highlighting the advantages of managing noise in macro photos:
| Benefits of Managing Noise in Macro Photos | Without Noise Reduction | With Noise Reduction |
|---|---|---|
| Improved image quality | Noise can distract from the subject and reduce overall image quality | Noise reduction enhances the details and makes the image visually appealing |
| Greater focus on subject | Noise can compete for attention with the main subject of the photo | Noise reduction allows the subject to stand out and grab viewers’ attention |
| Professional-looking results | Noise can make a photo appear less polished and amateurish | Noise reduction gives the photo a clean and professional finish |
By effectively managing noise in your macro photos, you can elevate the overall quality of your images and create stunning visual representations of the intricate details found in the macro world.
Best Practices for Sharpening Macro Photos
Sharpening plays a crucial role in post-processing macro photos as it enhances the intricate details that make these images truly remarkable. By utilizing sharpening sliders and tools available in post-processing software, we can bring out the textures, patterns, and fine elements that might otherwise go unnoticed.
When sharpening macro photos, it is important to strike a balance between sharpening and preserving a natural look. Over-sharpening can result in artifacts and an overly processed appearance, detracting from the overall quality of the image. Therefore, it’s essential to fine-tune the sharpening settings to create a harmonious blend of enhanced detail and a lifelike representation of the subject.
One technique to achieve optimal sharpening in macro photos is localized sharpening. This approach allows you to selectively sharpen specific areas of the image, emphasizing the details that matter most. By using tools like the adjustment brush or the sharpening mask feature, you can isolate and sharpen key elements, such as the intricate patterns on a butterfly’s wing or the delicate textures on a flower petal, while leaving the background or less important areas untouched.
It’s worth noting that the effectiveness of sharpening can vary depending on the specific image and the desired outcome. Experimentation and practice are key to mastering this technique and achieving the desired results. Always remember to evaluate the sharpening effect at the intended viewing size to ensure it looks optimal when displayed or printed.
Summary of Best Practices for Sharpening Macro Photos:
- Use sharpening sliders and tools available in post-processing software
- Strive for a balance between sharpening and preserving a natural look
- Experiment with localized sharpening to emphasize specific areas
- Evaluate the sharpening effect at the intended viewing size
To illustrate the impact of sharpening in macro photography, take a look at the before and after examples below:
| Before Sharpening | After Sharpening |
|---|---|
“Sharpening is the key to unlocking the mesmerizing details hidden within macro photographs. With the right technique and tools at our disposal, we can elevate these images to a whole new level of visual impact and immersion.”
Final Touches and Fine-Tuning
Now that we have addressed the essential aspects of macro photography post-processing, it’s time for the final touches to refine your macro images. These adjustments play a crucial role in elevating the overall look and impact of your photographs.
One important aspect to consider is the contrast of your image. By adjusting the contrast, you can enhance the visual depth and make details stand out. Experiment with different contrast settings to find the perfect balance for your macro photo.
Another factor to fine-tune is the saturation of colors. Adjusting the saturation can make your macro subjects appear more vibrant and captivating. Be mindful not to overdo it, as excessive saturation can lead to unrealistic-looking photos.
The clarity of your macro images also deserves attention. By adjusting the clarity setting, you can enhance the sharpness and definition of the finer details in your subject. This will give your macro photos a crisp and professional look.
Additionally, cropping and straightening your image can help improve the composition of your macro photo. By removing distracting elements and aligning the image correctly, you can create a more visually pleasing result.
Let’s take a moment to see how these final adjustments can be made:
| Adjustment | Method |
|---|---|
| Contrast | Use the contrast slider in your post-processing software, such as Lightroom, to modify the contrast levels. |
| Saturation | Utilize the saturation slider to increase or decrease the intensity of colors in your macro photo. |
| Clarity | Adjust the clarity slider to enhance the sharpness and clarity of details in your macro image. |
| Cropping and Straightening | Use the cropping tool to remove unwanted elements and align the composition of your macro photo. |
Remember, these final touches and fine-tuning adjustments are the finishing steps to perfect your macro images. They can make a significant difference in the overall impact and professional quality of your photographs.

Whether you’re preparing your macro images for print, showcasing them on your website, or sharing them on social media, taking the time to meticulously fine-tune these details will ensure your macro photography stands out.
Conclusion
Post-processing is a crucial step in maximizing the potential of your macro photos. By following these macro photo post-processing tips and techniques, you can enhance the details, reduce noise, and create stunning macro images that truly capture the essence of your subjects.
Experimentation, practice, and attention to detail are key to achieving professional-level results in macro photo editing. Don’t be afraid to try different editing techniques and explore the capabilities of your post-processing software. With the right tools and a creative approach, you can elevate your macro photography to new heights.
Remember, the journey towards becoming a master of macro photo editing takes time and patience. Take the opportunity to fine-tune your skills and develop your own unique style through trial and error. As you continue to refine your techniques, you’ll see your macro photos transform into captivating works of art that showcase the beauty of the small details.
FAQ
Why is post-processing important for macro photography?
Post-processing is essential for bringing out the full potential of macro photos. It allows you to enhance details, reduce noise, and refine the overall quality of your images.
How do I select the best image for editing?
When working with similar macro shots, use tools like Lightroom’s Compare View to compare files side-by-side. Consider factors like sharpness, composition, and visual impact to choose the best image for editing.
How can I adjust exposure in macro photography?
In post-processing software like Lightroom, use the Tone settings to refine exposure, contrast, and other parameters. Setting the black and white points using the histogram can help achieve the desired contrast in the image.
What techniques are available for enhancing colors in macro photos?
Software like Lightroom offers options for adjusting white balance, temperature, and tint to refine the colors in your macro photos. Experimenting with sliders like vibrance and saturation can also help achieve the desired color balance.
Can I make localized adjustments in macro photos?
Yes, raw converters like Lightroom provide tools for making localized adjustments. The radial gradient tool allows you to create masks and adjust specific areas of the image, helping you highlight or darkens parts of the subject.
How can I reduce noise in macro photos?
Software like Lightroom offers noise reduction tools to minimize noise while preserving detail in macro photos. Experimenting with different settings and finding the right balance is crucial for reducing noise effectively.
What are the best practices for sharpening macro photos?
Sharpening is important for enhancing fine details in macro photos. Use tools like sharpening sliders in software to bring out intricate textures and patterns. Finding the right balance between sharpening and a natural look is key.
How can I add final touches and fine-tune my macro photos?
After addressing exposure, colors, noise, and sharpness, refine the overall look of the macro photo. Make adjustments to contrast, saturation, clarity, and consider cropping and straightening to perfect your image.
Why is post-processing essential for macro photos?
Post-processing maximizes the potential of macro photography by enhancing details, reducing noise, and refining the overall quality of the images.
How Can Noise Control Techniques Help Improve Macro Shots?
Noise control techniques can maximize macro dof techniques. By reducing unwanted noise, photographers can capture more detailed and sharp macro shots. Techniques like using a lower ISO, proper exposure, and utilizing image stabilization can help minimize noise and enhance the overall quality of macro shots, showcasing intricate details and improving the depth of field.


