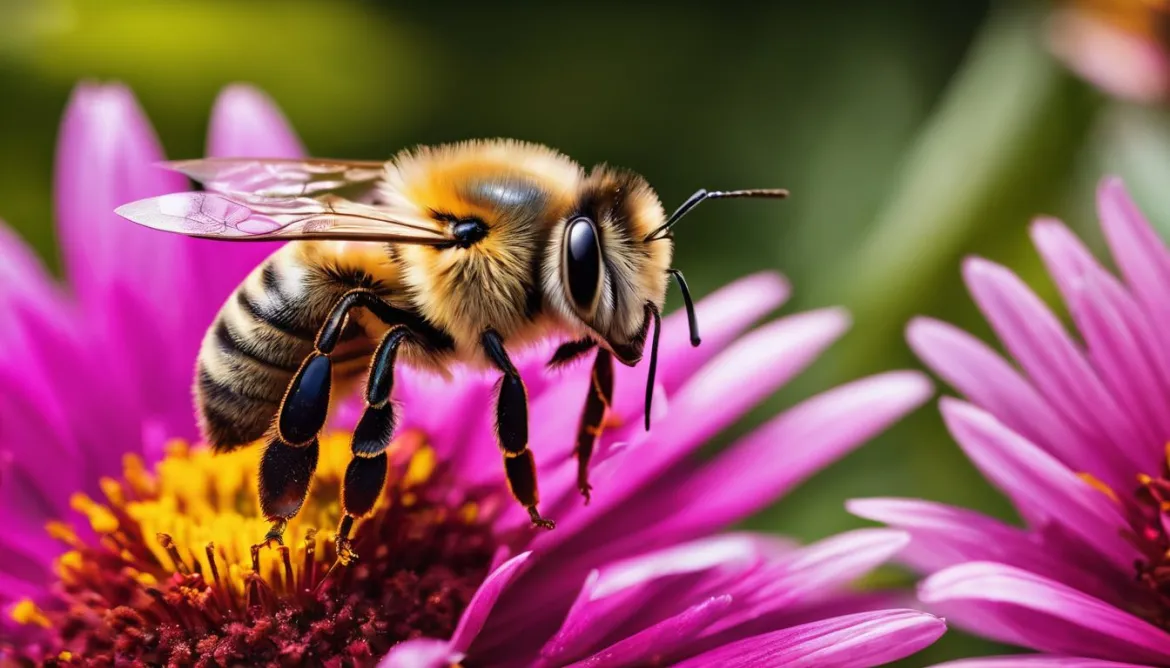
Macro photography allows us to explore the fascinating world of tiny details and capture stunning close-up images. However, many photographers believe that achieving great macro photographs requires expensive equipment. The truth is, you can enjoy macro photography without breaking the bank. In this article, we will share valuable tips and recommendations on budget-friendly macro photography gear and cost-effective techniques to help you capture remarkable images.
Key Takeaways:
- Macro photography doesn’t have to be expensive – with the right equipment and techniques, you can capture stunning close-up images on a budget.
- Building a macro photography setup on a budget is possible – by using a combination of extension tubes, a cheap lens, a tripod, and lighting equipment.
- Choosing the right camera for macro photography is essential – while any DSLR or mirrorless camera with interchangeable lenses can be used, investing in a sturdy tripod and a focus rail can greatly improve your macro photography results.
- Lighting options for macro photography can be cost-effective – consider using flash or continuous lighting alternatives to expensive dedicated macro flash systems.
- Maximize magnification with extension tubes – these inexpensive accessories can increase the close-up capabilities of your existing lenses.
Building a Macro Photography Setup on a Budget
Creating a macro photography setup doesn’t have to break the bank. With the right budget macro photography equipment, you can capture stunning close-up images without spending a fortune. In this section, we’ll guide you through the essential components you’ll need and provide recommendations for affordable options.
Extension Tubes: Unlocking Extreme Close-ups
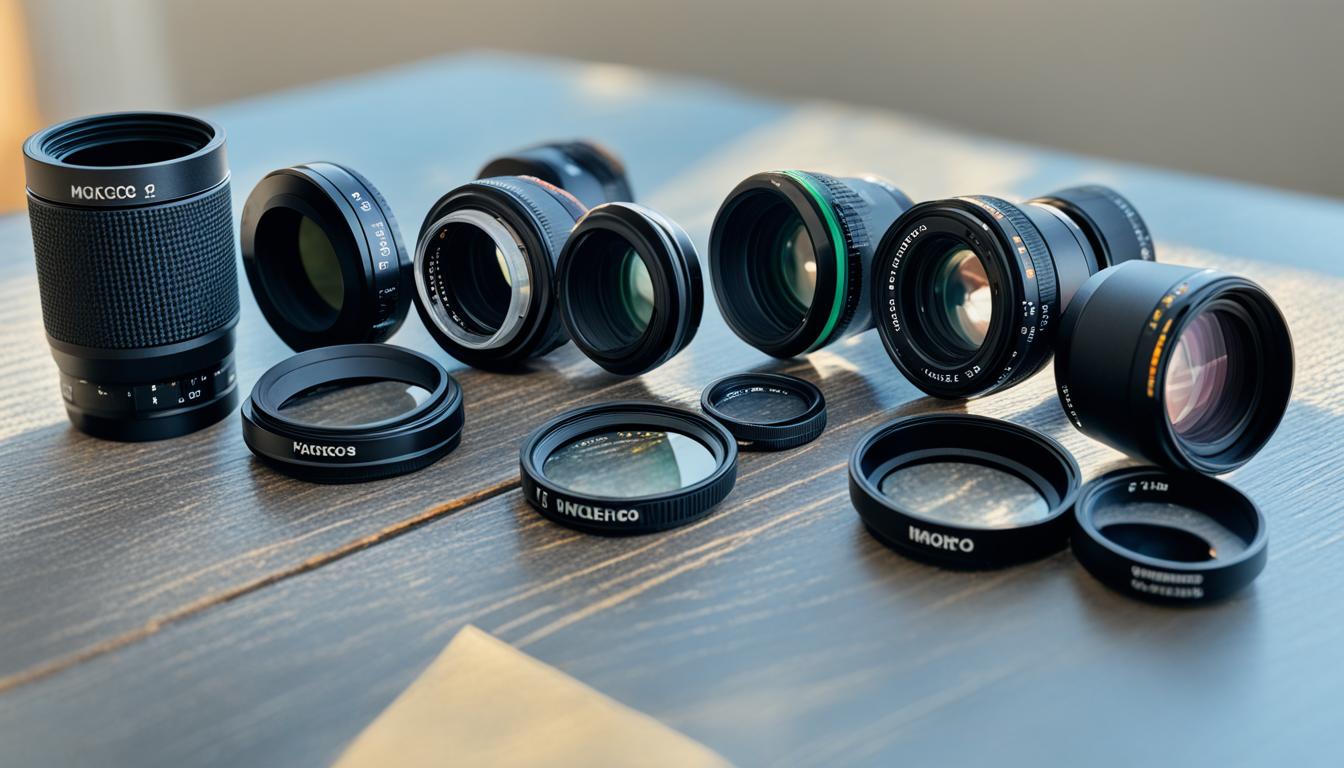
If you want to achieve extreme magnification without investing in expensive lenses, extension tubes are a game-changer. These hollow tubes fit between your camera body and lens, allowing you to focus closer and capture incredible detail. Look for budget-friendly extension tubes that are compatible with your camera and lens mount. Experiment with different lengths to achieve the desired magnification.
Affordable Lens Options
While dedicated macro lenses offer superb image quality, they can be costly. Instead, consider affordable lens options such as prime lenses with manual focus capabilities. Brands like Canon, Nikon, and Sony offer budget-friendly primes that can deliver excellent results for macro photography. Look for lenses with a focal length between 50mm and 100mm for versatile close-up shots.
Sturdy Tripod: Stability is Key
To capture sharp macro images, a sturdy tripod is essential. Look for tripods that offer stability and are lightweight to carry around. Make sure the tripod has a smooth pan and tilt mechanism for precise framing. Low-cost tripod options from reputable brands like Manfrotto or Vanguard offer a balance between affordability and quality.
Lighting Equipment: Illuminate the Details
Proper lighting is crucial for macro photography. Enhance your subjects’ details by using cost-effective lighting equipment. Consider using an external flash or LED ring light to create even and diffused lighting. Look for affordable options with adjustable brightness and color temperature controls. Don’t forget to experiment with light modifiers such as diffusers or bounce cards to achieve the desired lighting effect.
Putting it All Together
By combining extension tubes with an affordable lens, a sturdy tripod, and appropriate lighting, you can create an economical macro photography setup. Experiment with different settings and techniques to achieve stunning close-up shots without breaking the bank. Remember that practice and creativity are key to mastering macro photography on a budget.
Choosing the Right Camera for Macro Photography
When it comes to macro photography, having the right camera is essential for capturing intricate details and stunning close-up shots. The good news is that you don’t need to break the bank to get started. Any DSLR or mirrorless camera with interchangeable lenses can be used for macro photography.
While the specific camera model is not as crucial as the lenses and accessories you use, there are a few features to consider. Look for a camera with a high-resolution sensor to ensure sharp images with plenty of detail. Additionally, consider a camera with good low-light performance to handle macro photography situations with limited lighting.
A sturdy tripod is an indispensable tool for macro photography. It provides stability, eliminates camera shake, and allows you to shoot at slower shutter speeds for increased depth of field. Invest in a quality tripod that can support the weight of your camera and lens, ensuring stability during your macro photography sessions.
In addition to a tripod, a focus rail can greatly enhance your macro photography experience. A focus rail allows for precise adjustments in focus, enabling you to capture sharp images at different magnification levels. It is especially useful when working with subjects that require precise depth of field control.
To help you get started with your budget macro photography gear, here are some recommendations:
- Camera: Canon EOS Rebel T7
- Tripod: Vanguard Alta Pro 263AT
- Focus Rail: Neewer 4-Way Macro Focusing Rail Slider
Remember, the key to successful macro photography lies not only in the camera you choose but also in your lenses, tripod, and other accessories. With these budget-friendly options, you’ll be well-equipped to capture stunning macro images without breaking the bank.

Lighting Options for Macro Photography
When it comes to macro photography, proper lighting is essential for capturing the intricate details of your subjects. While dedicated macro flash systems can be expensive, there are budget-friendly alternatives available that can still produce excellent results.
Flash or Continuous Lighting? Pros and Cons
There are two main lighting options to consider for macro photography: flash and continuous lighting. Let’s explore the pros and cons of each:
- Flash Lighting: Using a dedicated macro flash system provides quick bursts of bright light, which can freeze motion and illuminate your subject effectively. The immediate burst of light helps eliminate motion blur and allows for faster shutter speeds. However, dedicated macro flash systems can be costly.
- Continuous Lighting: Continuous lighting sources, such as LED panels or ring lights, provide a constant light source that allows you to preview the lighting effect on your subject before taking the shot. They also tend to be more affordable compared to dedicated macro flash systems. However, continuous lighting may produce more heat and can be less powerful than flash units.
Recommended Affordable Lighting Options
If you’re looking for affordable lighting options for your macro photography setup, here are some recommendations:
- LED Ring Lights: These compact lights fit around the front of your lens and provide even illumination for macro subjects. They are lightweight, portable, and affordable.
- Portable LED Panels: Small LED panels offer adjustable brightness and color temperature, allowing you to customize the lighting for different macro scenes. They are compact, lightweight, and can be mounted on a tripod or handheld.
- Tabletop Studio Lighting Kits: These kits typically include multiple adjustable lights with softboxes or diffusers, providing a complete lighting solution for macro photography. They are versatile and offer more control over the lighting conditions.
To achieve the best results with your budget macro photography gear, experiment with different lighting angles, diffusion techniques, and light modifiers. Don’t be afraid to get creative and play around with different lighting setups to bring out the textures and details in your macro subjects.
Maximizing Magnification with Extension Tubes
Extension tubes are a game-changer when it comes to macro photography. These nifty accessories allow you to magnify your subjects without the need for expensive macro lenses. By placing extension tubes between your camera body and lens, you can achieve greater close-up capabilities with the equipment you already have.
So how do extension tubes work? Well, they increase the distance between the lens and the camera’s image sensor, which in turn magnifies the subject. This additional distance allows you to focus much closer to your subject, revealing intricate details that would otherwise be missed.
Choosing the right extension tubes for your setup is essential. They come in various lengths, such as 12mm, 20mm, and 36mm, and can be used individually or stacked together for even greater magnification. Keep in mind that different lenses have varying minimum focusing distances, so it’s important to select extension tubes that complement your lens’s focal length.
When using extension tubes, it’s important to note that you will lose the ability to focus at infinity. This means that they are primarily suited for close-up photography and may not be the best choice for other genres. However, if macro photography is your main focus, extension tubes are an excellent and budget-friendly option.
“Extension tubes are an incredibly versatile tool for macro photographers. They provide a cost-effective way to explore the microscopic world and capture stunning details without breaking the bank.”
Now, let’s take a look at some affordable extension tube options:
| Extension Tube Brand | Compatibility | Price Range |
|---|---|---|
| Nikon Auto Extension Tubes | Nikon DSLR cameras | $50 – $100 |
| Canon Auto Extension Tubes | Canon DSLR cameras | $60 – $120 |
| Kenko DG Auto Extension Tubes | Canon, Nikon, Sony DSLR and mirrorless cameras | $60 – $150 |
These extension tubes offer excellent compatibility with popular camera brands and provide a cost-effective solution for macro enthusiasts on a budget.
With extension tubes in your macro photography arsenal, you’ll be able to capture stunning close-up images without breaking the bank. Experiment with different combinations of extension tube lengths and explore the hidden world of macro photography with your existing lenses.
Reversing the Lens for Extreme Macro Photography
When it comes to achieving extreme magnification in macro photography, one budget-friendly technique that you can explore is reversing the orientation of your lens. By attaching the lens in reverse, you can capture intricate details and create stunning close-up images. Let’s dive into how you can reverse the lens and the benefits of using this technique.
How to Reverse the Lens
Reversing the lens may sound unconventional, but it’s actually a simple process. You’ll need a reverse adapter or a reversing ring that allows you to mount the lens backward onto your camera body. These affordable accessories can be easily found online or at photography stores. After attaching the reverse adapter or ring, you’ll need to remove the lens from your camera and attach it in reverse, effectively flipping the front and rear elements.
Once your lens is reversed, you’ll need to set your camera to manual mode and manually adjust the focus and aperture settings. This technique requires some experimentation and practice to achieve the desired results, so don’t be discouraged if it takes a few tries to get the hang of it.
The Benefits of Reversing the Lens
Reversing the lens opens up a whole new world of extreme macro photography. By flipping the lens, you can achieve magnification levels that would otherwise require expensive specialized macro lenses. This allows you to capture incredibly detailed images of small subjects such as insects, flowers, or even textures.
Reversing the lens also provides a shallow depth of field, resulting in a beautiful bokeh effect. This effect creates a visually pleasing background blur, drawing attention to the sharp details of your subject. It’s a great way to create eye-catching images with a unique and artistic touch.
Affordable Adapters and Reversing Rings
When it comes to affordable adapters and reversing rings, there are plenty of options available on the market. Here are a few recommendations:
| Adapter/Reversing Ring | Compatibility | Price |
|---|---|---|
| Nikon BR-2A | Nikon F-mount lenses | $20 |
| Canon Lens Mount Adapter EF-EOS M | Canon EF and EF-S lenses | $50 |
| Neewer Reverse Lens Mount Adapter | Various lens mounts | $15 |
These are just a few examples; make sure to check compatibility with your specific camera and lens. It’s also worth considering the build quality and customer reviews when selecting an adapter or reversing ring.

Reversing the lens for extreme macro photography is a cost-effective way to explore the world of close-up photography. By using affordable adapters and reversing rings, you can achieve incredible magnification and capture breathtaking images. Give this technique a try and discover the hidden beauty in the tiniest details of your subjects.
Alternative Techniques for Budget Macro Photography
In addition to using extension tubes and reversing the lens, there are other affordable techniques you can explore to enhance your macro photography. These alternative approaches can help you achieve stunning close-up shots without spending a fortune on equipment. Let’s dive into some creative solutions:
1. Screw-on Diopter Lenses
If you’re looking for a simple and cost-effective way to increase magnification, screw-on diopter lenses are a great option. These lenses attach to the front of your existing lens, allowing you to get even closer to your subject. They are available in different strengths, so you can choose the level of magnification that suits your needs.
2. Coupling Rings
Coupling rings are affordable accessories that enable you to combine multiple lenses for macro photography. By attaching one lens to your camera body and another lens in reverse, you can achieve extreme magnification. This technique, known as lens stacking, can produce impressive macro results on a budget.
3. Focus Stacking
Focus stacking is a post-processing technique that combines multiple images with different focus points to create a final photo with extended depth of field. While it requires some additional effort in post-production, it allows you to capture sharp details throughout your macro image. Utilizing focus stacking can compensate for limitations in depth of field, especially when working with wide apertures.
Expert tip: To capture images for focus stacking, use a tripod and make small adjustments in the focus point between shots. This technique works best for stationary subjects, as any movement can affect the alignment of the images.
Now that you have an idea of some alternative techniques for budget macro photography, let’s move on to our recommendations for affordable accessories to enhance your setup.
Recommended Budget Macro Photography Accessories
| Accessory | Price Range |
|---|---|
| Screw-on Diopter Lenses | $20 – $50 |
| Coupling Rings | $10 – $30 |
| Focus Stacking Software | $0 – $100+ |
These accessories are just a few examples of budget-friendly options available for macro photography. Remember, it’s not always about investing in the most expensive gear, but rather finding creative solutions that can produce incredible results on a budget.
With these alternative techniques and affordable accessories, you can expand your macro photography capabilities without emptying your wallet. Now, go out there and capture the tiny wonders of the world!
Post-Processing and Image Stacking for Macro Photography
Once you’ve captured your macro images, it’s time to enhance the final results through post-processing techniques and image stacking. These methods can take your macro photography to the next level, even on a budget. In this section, we’ll explore the process of focus stacking and introduce you to popular software options for post-processing. Additionally, we’ll share some valuable tips to help you achieve optimal results with your budget macro setup.
Focus Stacking: Combining Sharpness to Perfection
Focus stacking involves merging multiple images taken at different focus points into a single photograph that exhibits sharpness throughout the entire subject. This technique is particularly useful in macro photography, where achieving a large depth of field can be challenging.
To create a focus-stacked image:
- Compose your shot and set up your camera on a tripod to eliminate any movement.
- Select your subject and determine the focus points you want to capture.
- Take a series of shots, adjusting the focus slightly with each frame. Ensure consistent exposure settings across all images.
- Import the images into dedicated software for focus stacking.
- Follow the software’s instructions to align and blend the images into a single, sharp result.
Popular Software for Post-Processing
When it comes to post-processing your macro images, several software options are available that offer powerful editing capabilities without breaking the bank. These tools allow you to fine-tune your photographs, adjust colors, enhance details, and apply other artistic effects to make your macros truly stand out.
Some popular software options for budget-conscious macro photographers include:
- Adobe Lightroom: Ideal for organizing, editing, and enhancing your macro photographs in a user-friendly interface.
- GIMP: An open-source image editor with advanced features similar to Adobe Photoshop.
- Affinity Photo: A powerful editing tool offering advanced capabilities at an affordable price.
Tips for Optimal Results
Here are some tips to help you achieve the best possible results when post-processing your macro images:
Tip 1: Maintain a natural look. While post-processing offers countless creative possibilities, aim to enhance your images while preserving the integrity and natural appearance of your subjects.
Tip 2: Experiment with different software. Explore different software options to find the one that suits your workflow and editing needs. Many offer free trial versions, allowing you to test them out before making a purchase.
Tip 3: Take advantage of tutorials and online resources. Enhance your post-processing skills by following tutorials and learning from experienced photographers. Online communities, forums, and educational websites are great sources of knowledge.
By implementing these post-processing and image stacking techniques, you can elevate your macro photography without breaking the bank. Let’s move forward and discover other ways to make the most out of your budget macro setup.
Conclusion
Macro photography doesn’t have to be expensive. With the right budget macro photography equipment and cost-effective tips, capturing amazing close-up images is within reach. By following our recommendations, you can explore the fascinating world of macro photography without breaking the bank.
From building a budget-friendly macro photography setup to choosing the right camera and lenses, we’ve provided you with affordable options that deliver impressive results. Whether you’re using extension tubes, reversing your lens, or exploring alternative techniques, there are plenty of low-cost macro photography tools available to enhance your creativity.
Remember, it’s not just about the equipment. Post-processing and image stacking techniques can further enhance your macro images. With a focus on economical solutions, we’ve shared insights on achieving optimal results with your budget macro photography gear.
So, don’t let financial constraints hold you back. With our practical and cost-effective macro photography tips, you can unlock your creativity and capture stunning close-up shots without breaking the bank.
FAQ
Do I need expensive gear for macro photography?
No, you don’t need to invest in expensive specialized gear. With the right budget equipment, you can capture stunning close-up images without breaking the bank.
What components do I need for a budget macro photography setup?
To build a budget macro photography setup, you’ll need extension tubes, a cheap lens, a tripod, and lighting equipment.
Can I use any camera for macro photography?
Yes, any DSLR or mirrorless camera with interchangeable lenses can be used for macro photography. The specific camera model is not as important as the lenses and accessories you use.
How important is lighting in macro photography?
Lighting is crucial in macro photography to highlight the intricate details of your subjects. There are budget-friendly alternatives available, such as flash or continuous lighting.
What are extension tubes and how do they work?
Extension tubes are a cost-effective way to increase the magnification capabilities of your lens without compromising image quality. They allow you to achieve greater close-up capabilities with your existing lenses.
How can I achieve extreme magnification in macro photography?
One technique is to reverse the orientation of your lens. This allows you to achieve extreme magnification. There are affordable adapters and reversing rings available for this purpose.
Are there other budget-friendly techniques for macro photography?
Yes, you can also use screw-on diopter lenses, coupling rings, and other creative solutions to achieve macro photography on a budget.
How can I enhance my macro images through post-processing?
One technique is focus stacking, where multiple images with different focus points are merged to increase depth of field. There are popular software options available for post-processing.
Is macro photography accessible for photographers on a budget?
Yes, macro photography is accessible to photographers on a budget. With the right equipment and techniques, you can capture stunning close-up images without breaking the bank.
Can Budget Equipment for Macro Photography Still Produce Sharp Shots?
When it comes to handheld macro photography tips, budget equipment can still yield sharp shots. With a steady hand and good lighting, even entry-level macro lenses and affordable cameras can produce impressive results. Practice proper technique and make the most of your gear for stunning macro shots.


